[ad_1]
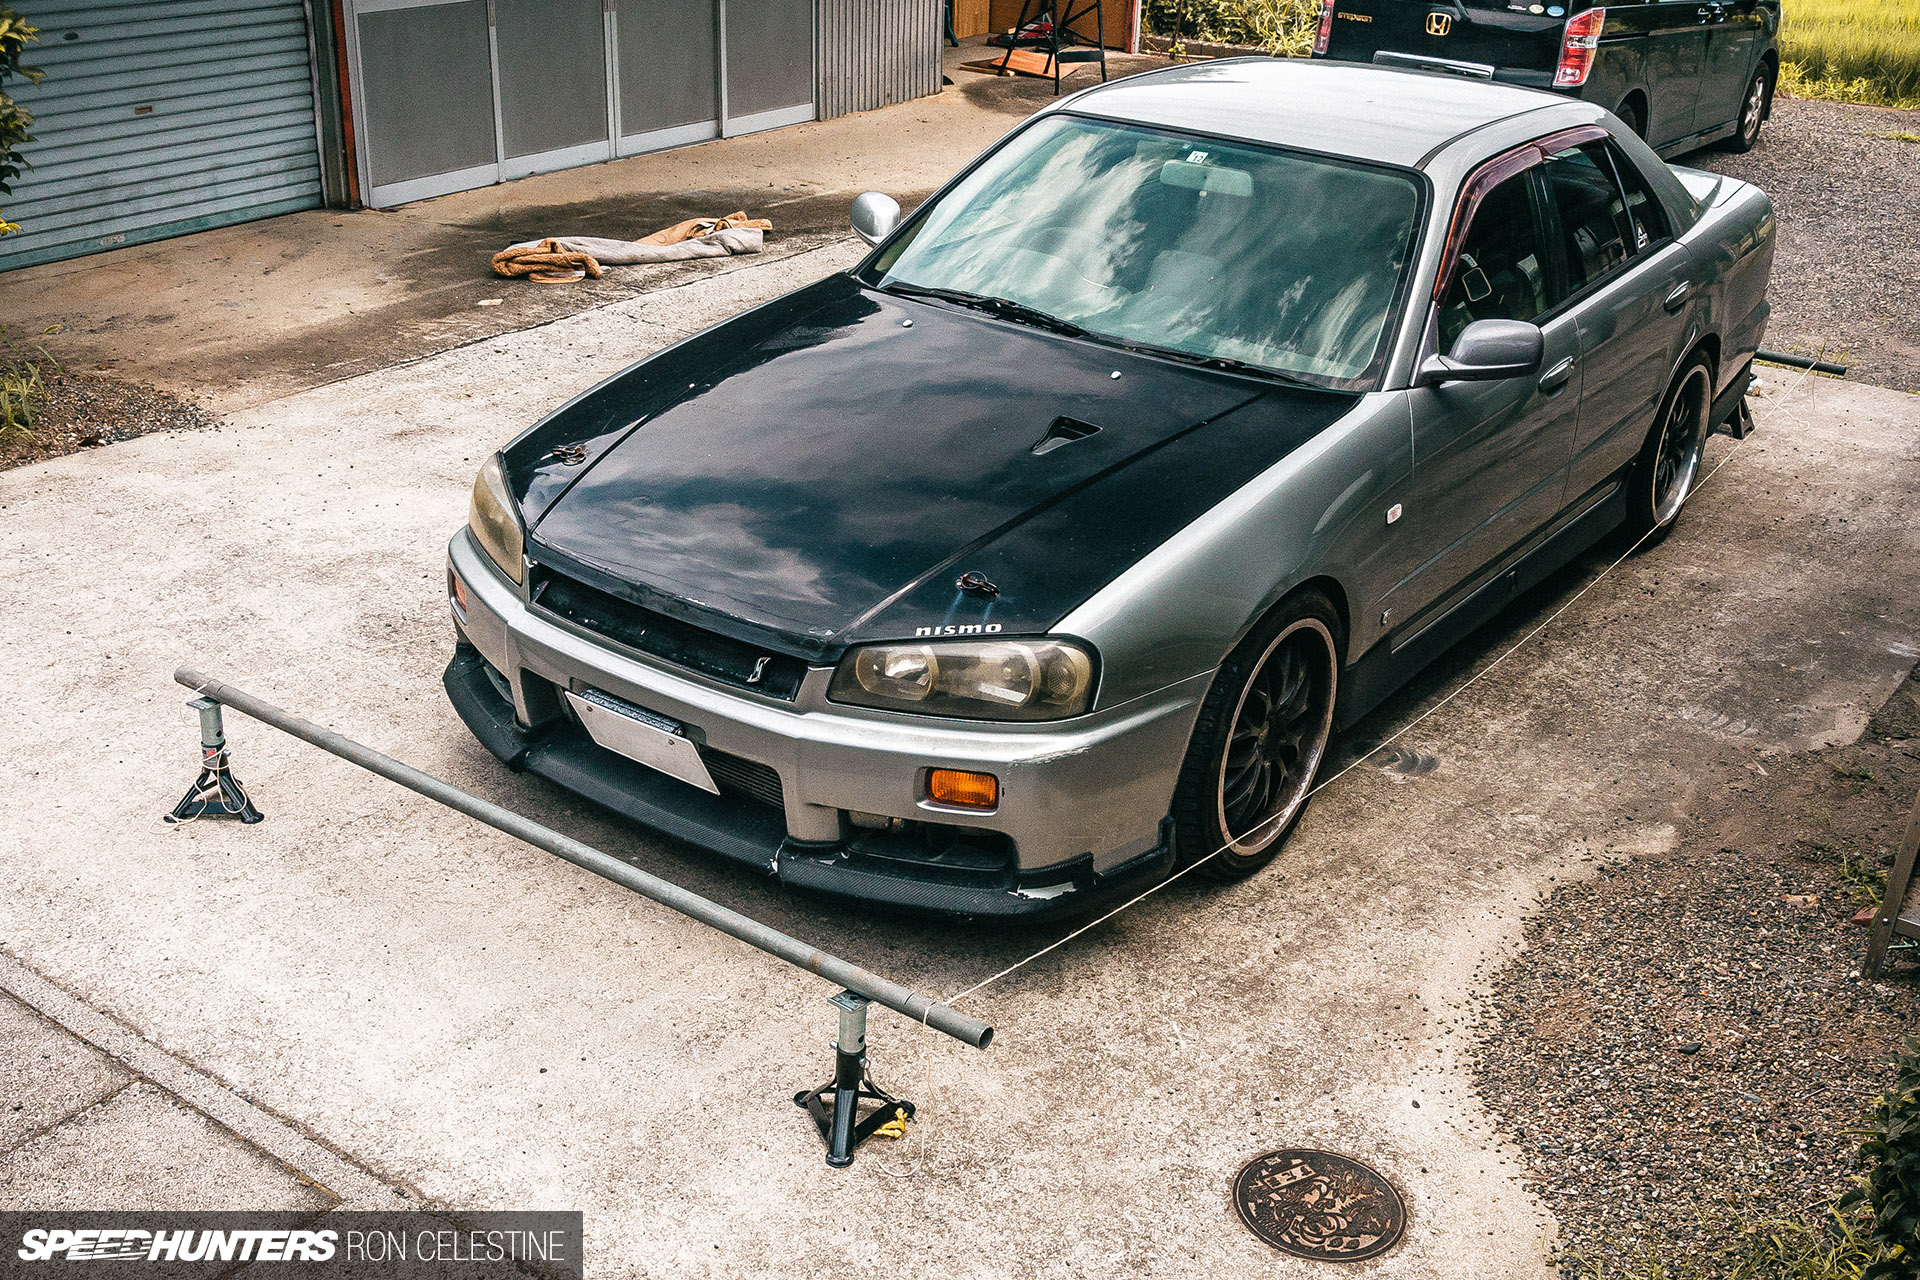
With Project Rough, my 1999 ER34 Nissan Skyline 25GT-T, I’ve challenged myself to tackle some fairly bold DIY tasks. I’ve executed this not just for the sake of fixing and bettering my Skyline, but in addition to realize a greater understanding of how vehicles work mechanically, by trial and error.
It’s protected to say there’s been a little bit of error alongside the way in which, however what’s studying with out failure a couple of instances within the course of? Certain, you possibly can analysis and research theories on how issues ought to work, however till you really apply these concepts and ideas in the true world, you actually received’t know.
With this and my subsequent couple of SH Garage tales, I’m going to cowl off what I’ve been attempting to grasp over the previous yr. As a result of lastly, I’ve had some success.
One of the best modification you are able to do to your automobile to improve efficiency is match stickier rubber on all 4 corners. In any case, the one factor that’s really connecting the automobile to the pavement is the tires themselves, thus it is sensible to go for the grippiest tires you possibly can afford and reap the moment advantages, proper?
Nicely, sure, nevertheless I feel there ought to be a caveat to this, that being the state of your suspension and its geometry.
If in case you have drained or utterly shot suspension bushings, you’re not going to have the ability to maximize the potential grip that turns into obtainable with respectable tires. Likewise, if in case you have worn suspension parts together with management arms, shock absorbers and tie rods, you’re merely leaving efficiency on the desk. Wheel alignment completely out? Not solely will you not be capable of take full benefit of these gripper tires, however the automobile might grow to be unpredictable and, as a consequence, harmful.
On the flip aspect, in the event you’re assured your automobile’s suspension system is in good working situation and is ready up appropriately, then sure, a superb set of efficiency tires could have a extremely constructive impact on how effectively it drives.
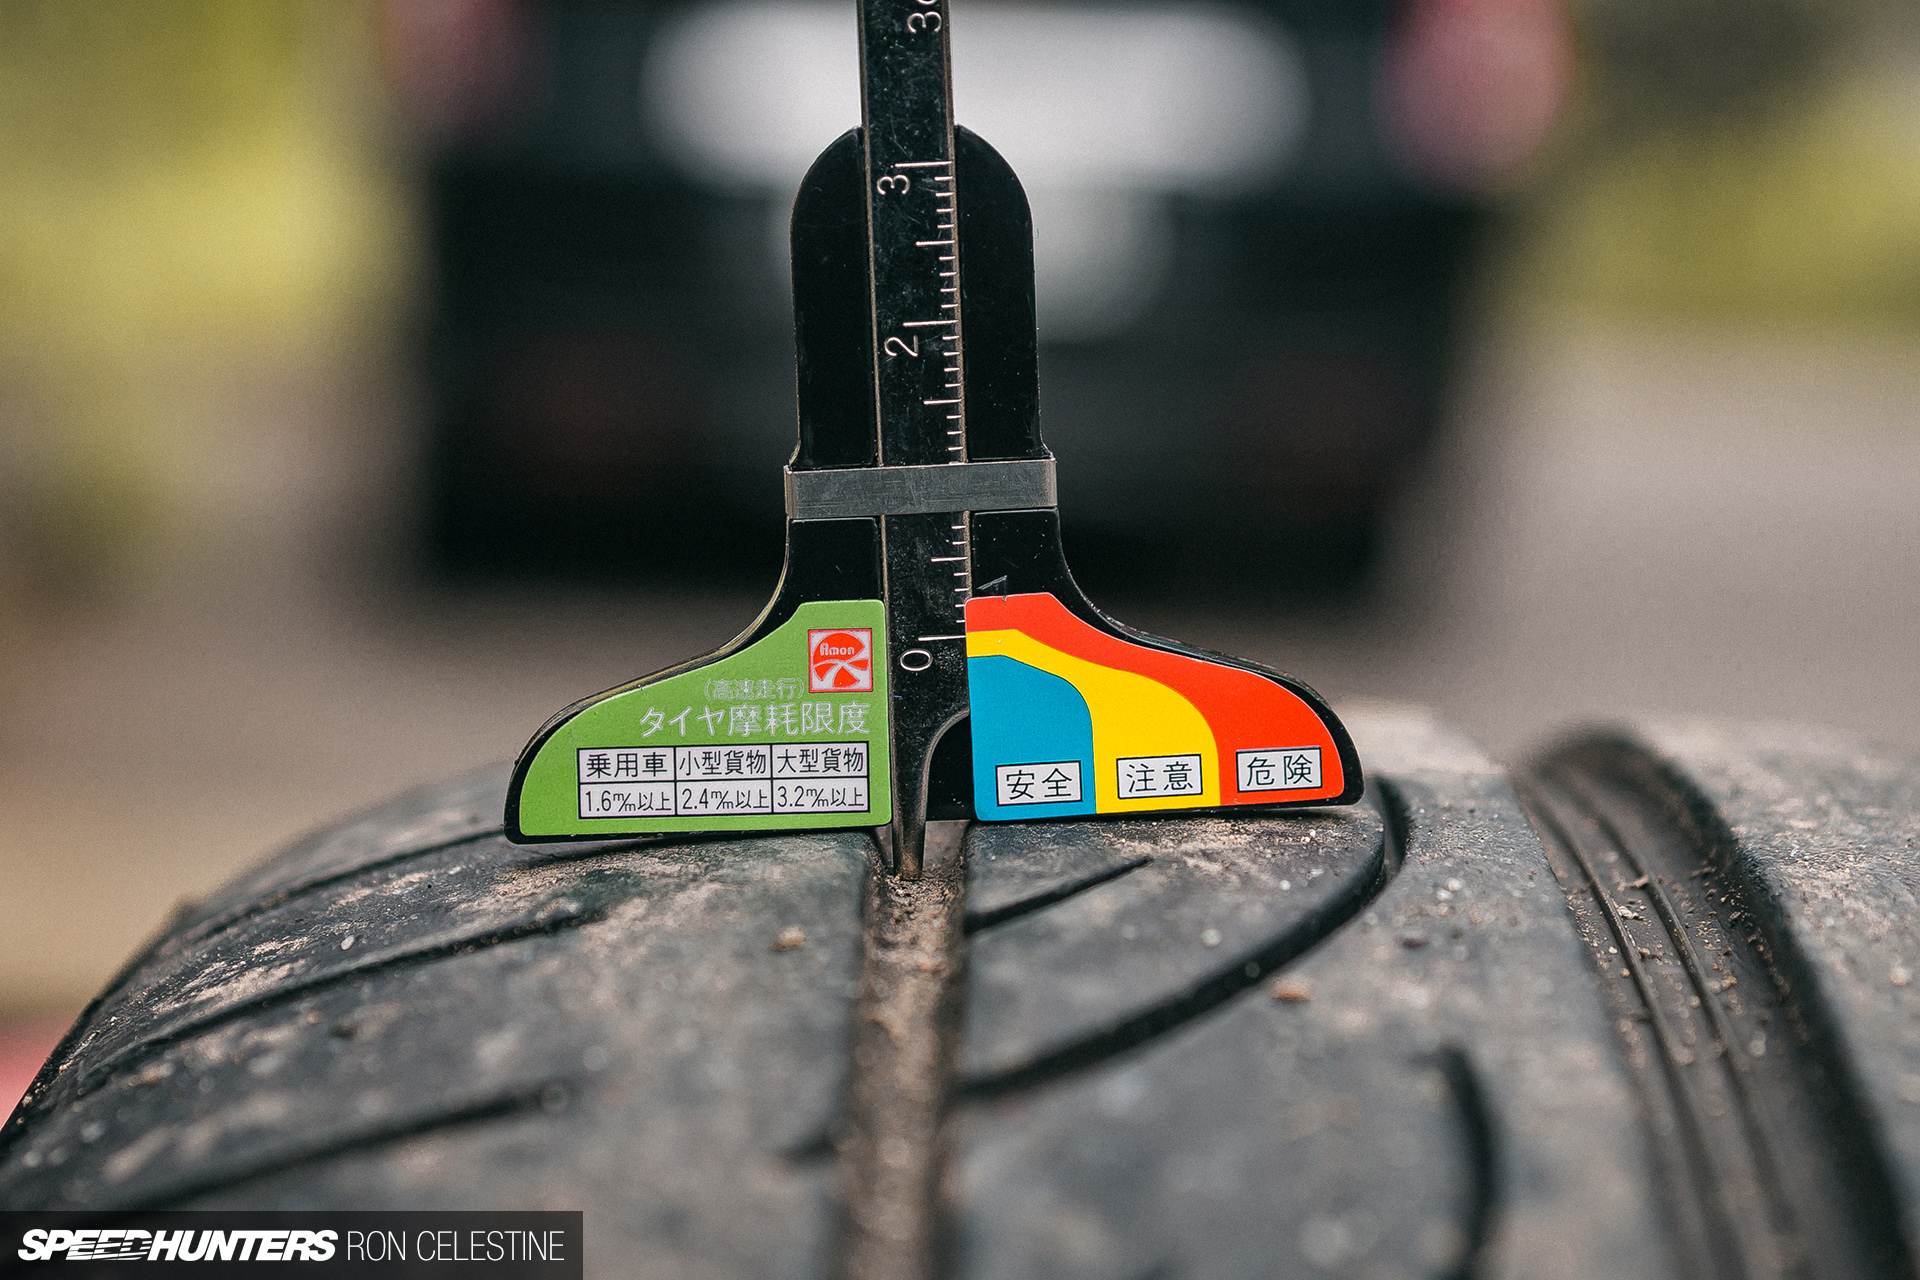
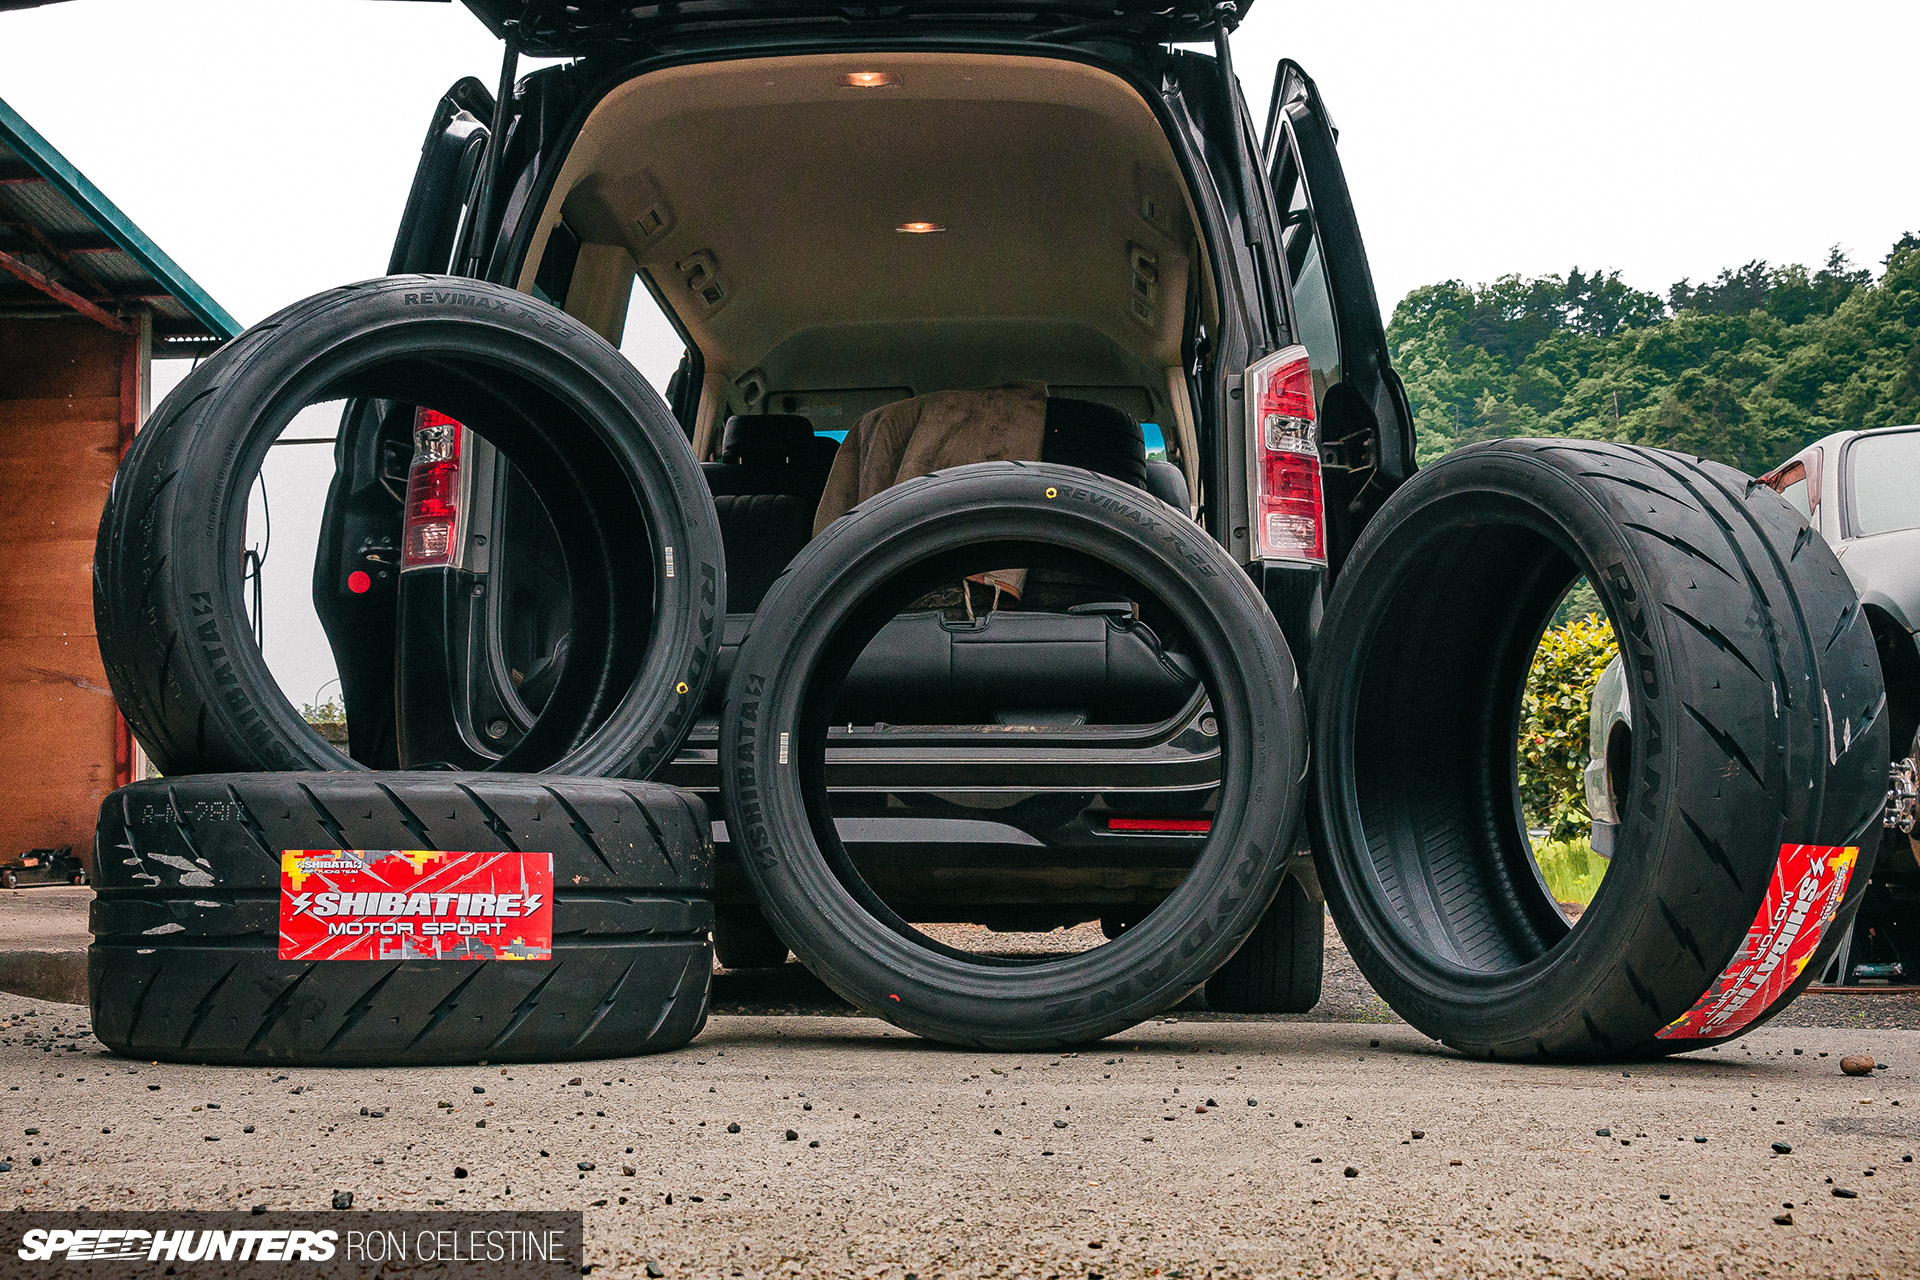
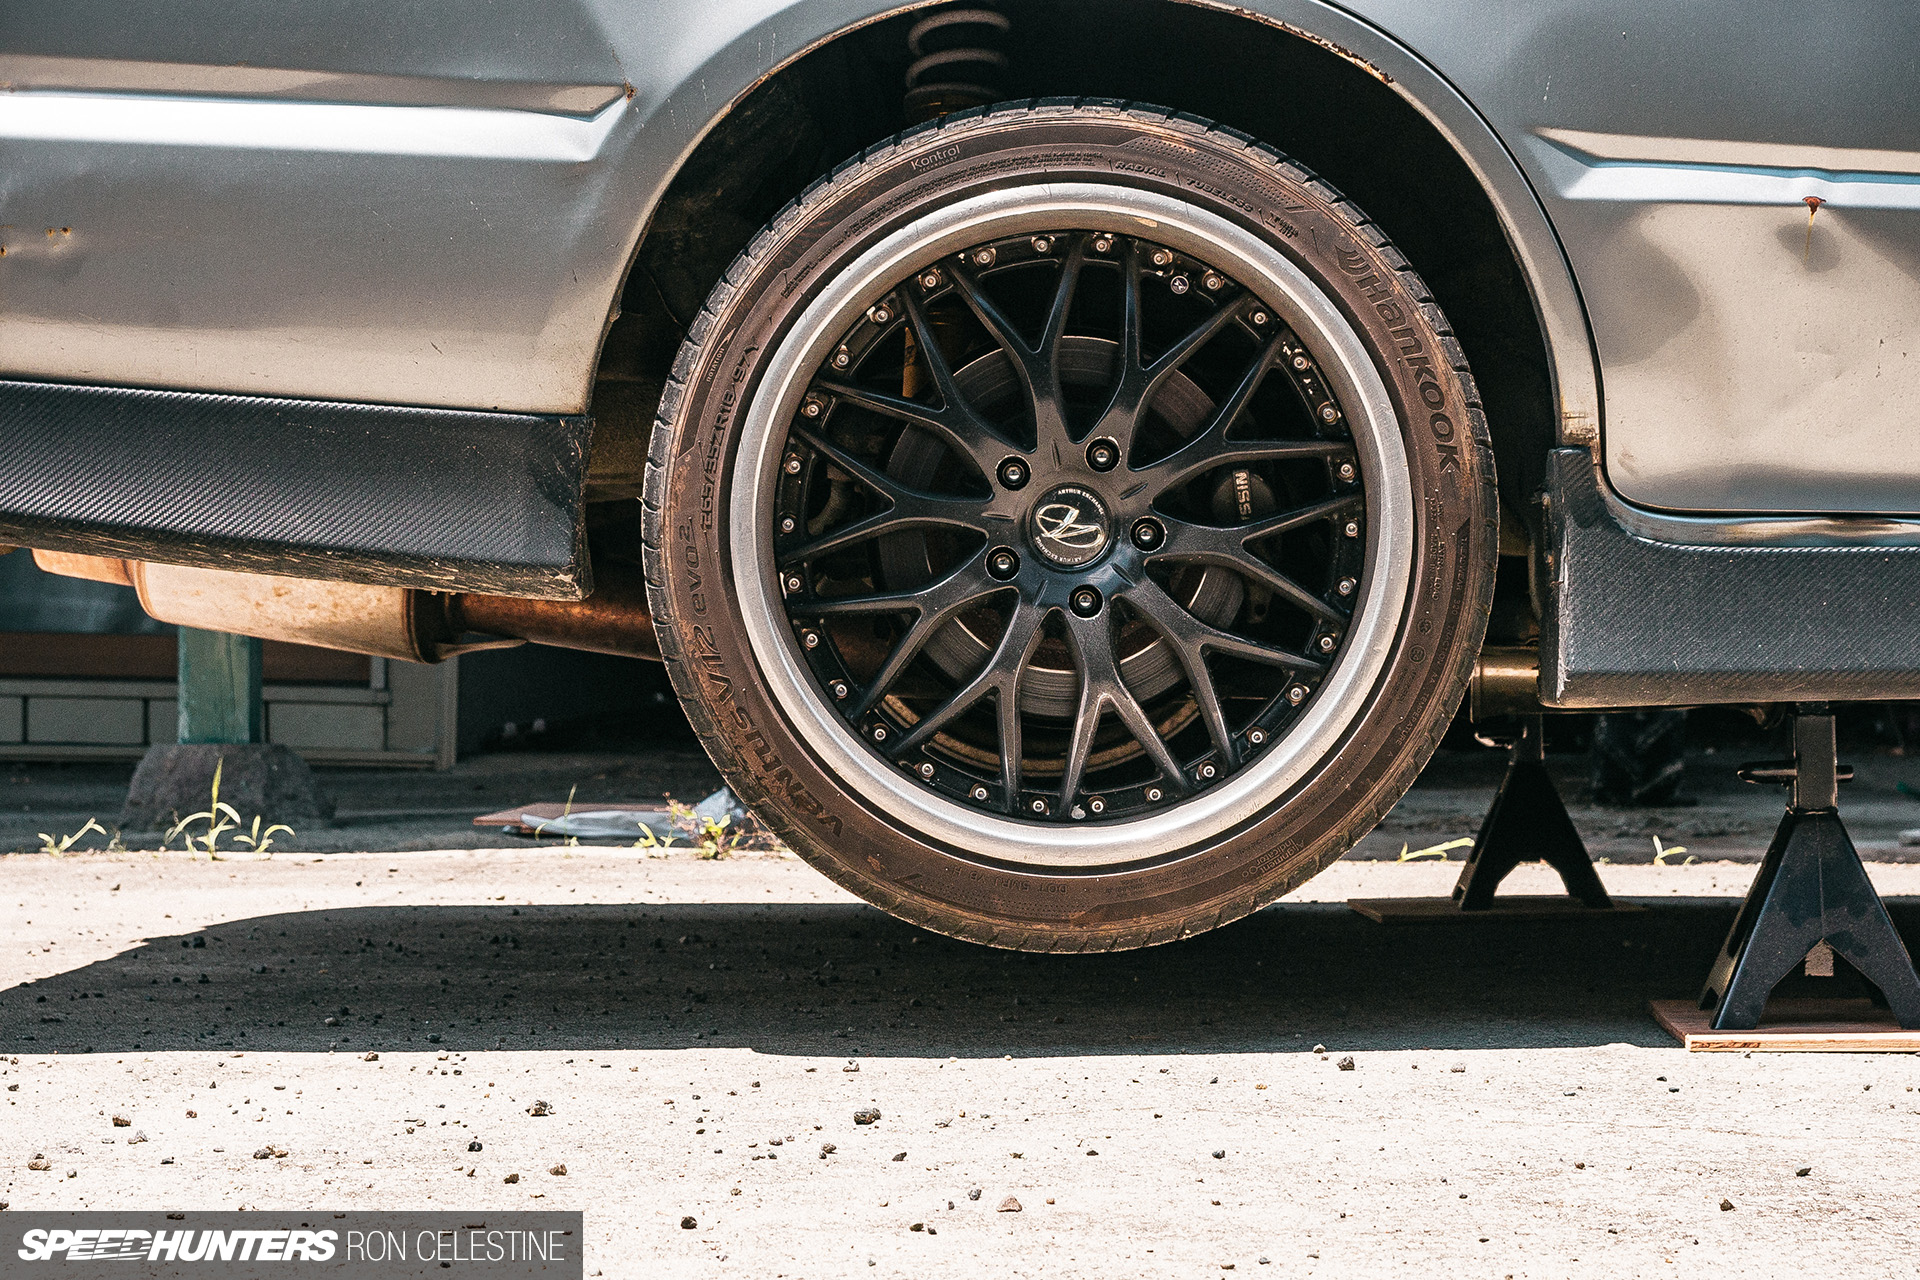
I’ve been working Hankook Ventus V12 Evo2s on my automobile, and don’t actually have something unhealthy to say about them. Nevertheless, a fast verify with my tire gauge after a visible inspection revealed it was time for them to get replaced.
Though the Hankooks have been nice, I used to be curious to attempt one thing a bit extra aggressive to see what sort of impact it will have on Challenge Tough’s driving efficiency.
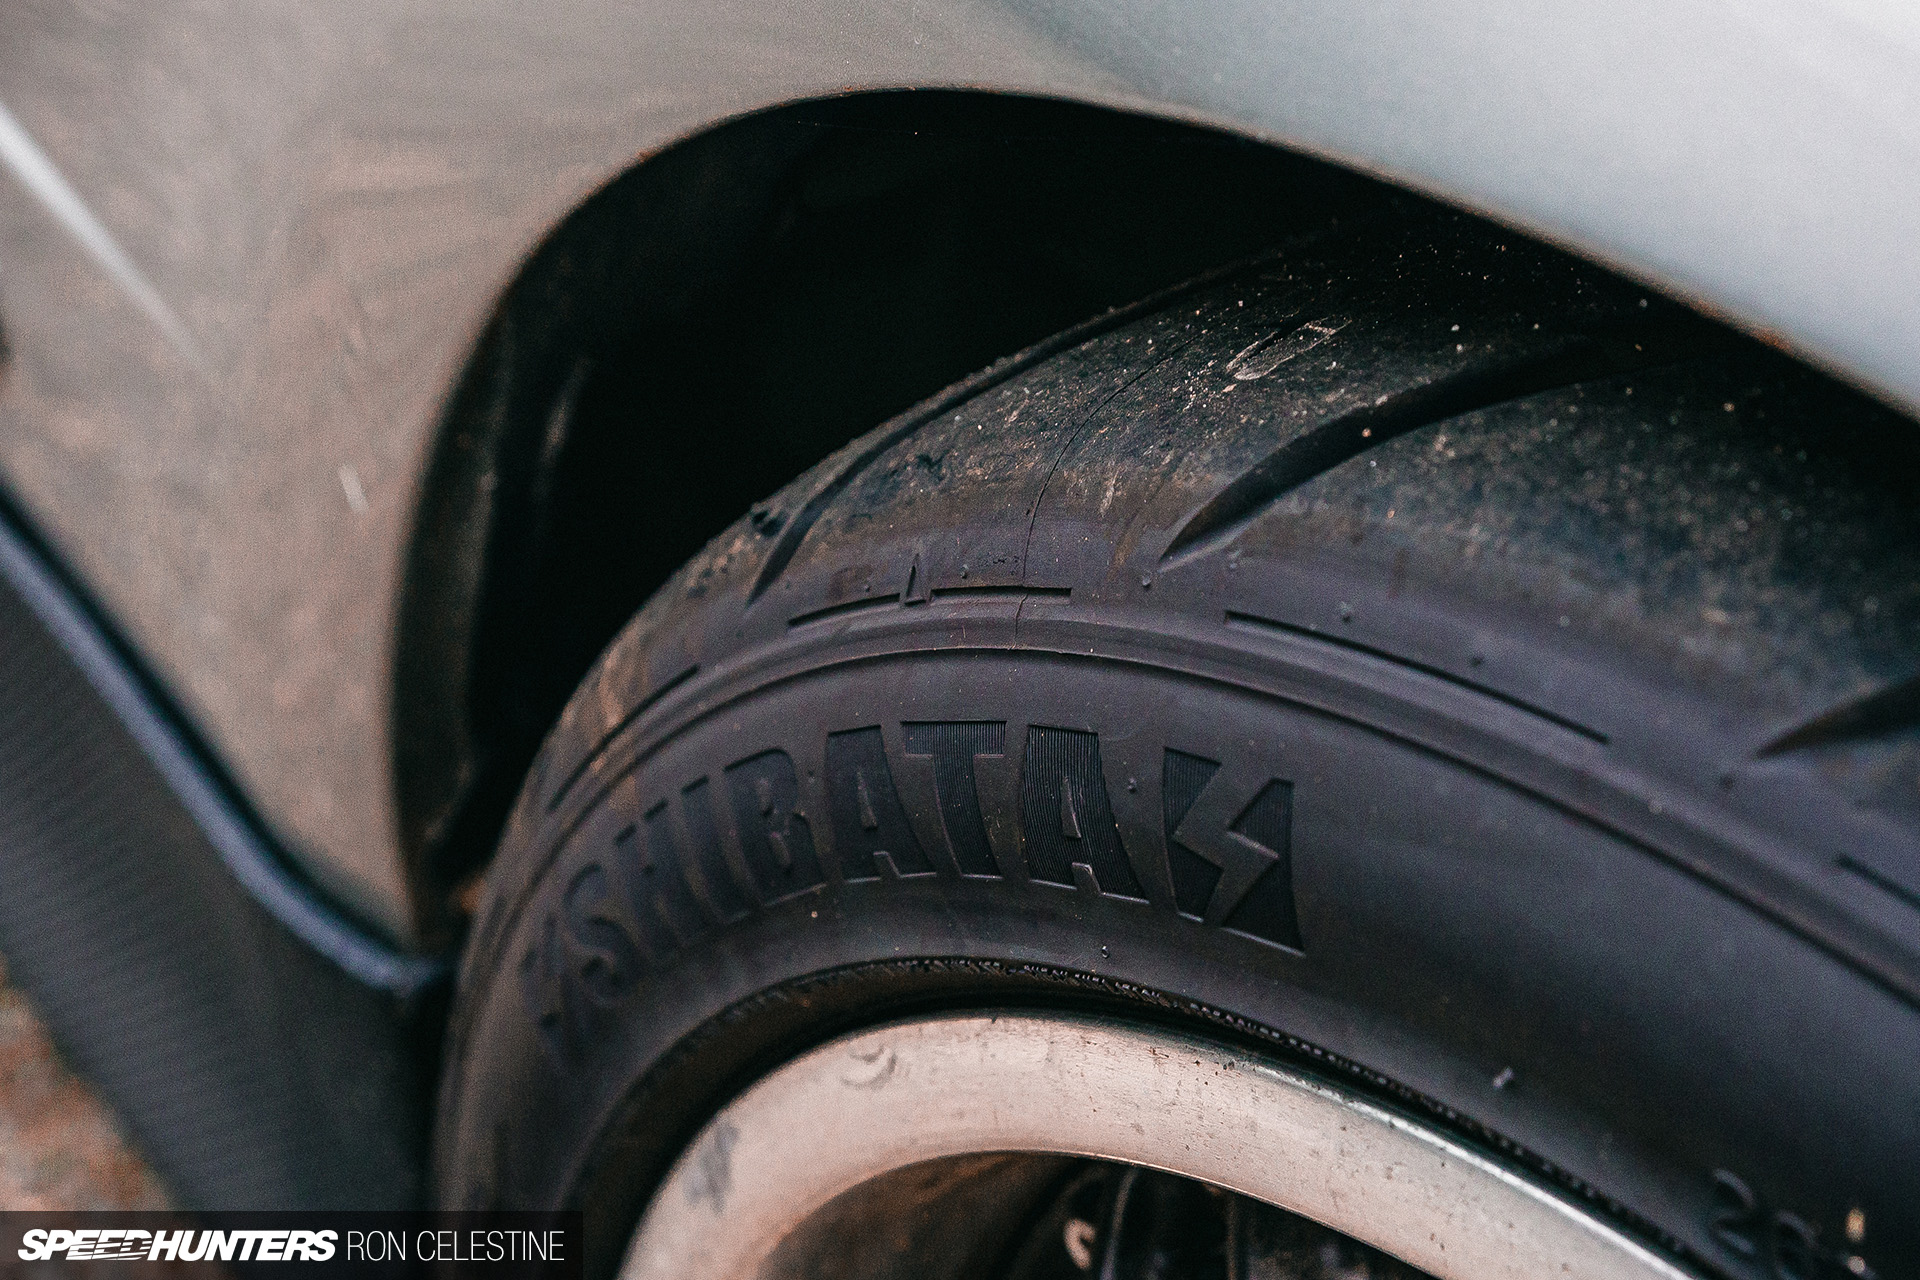
Everyone knows that R31 House is king in the case of the boxy san-ichi. They do every thing from fabrication, portray and modifications by to full ground-up restorations, and all in-house. However R31 Home’s proprietor, Shibata-san, has by no means rested on his laurels, and is at all times in search of new ventures. His Shiba Tire enterprise a type of issues.
Having heard good issues about these tires from a few associates, I despatched Shibata-san a message to ask him extra about them, and why he determined to get into the tire enterprise within the first place. Shibata-san’s response was that he needed to create a tire with not solely glorious efficiency for time assault, gymkhana, drifting and spirited driving, however one that may additionally “swimsuit JDM automobile tradition.”
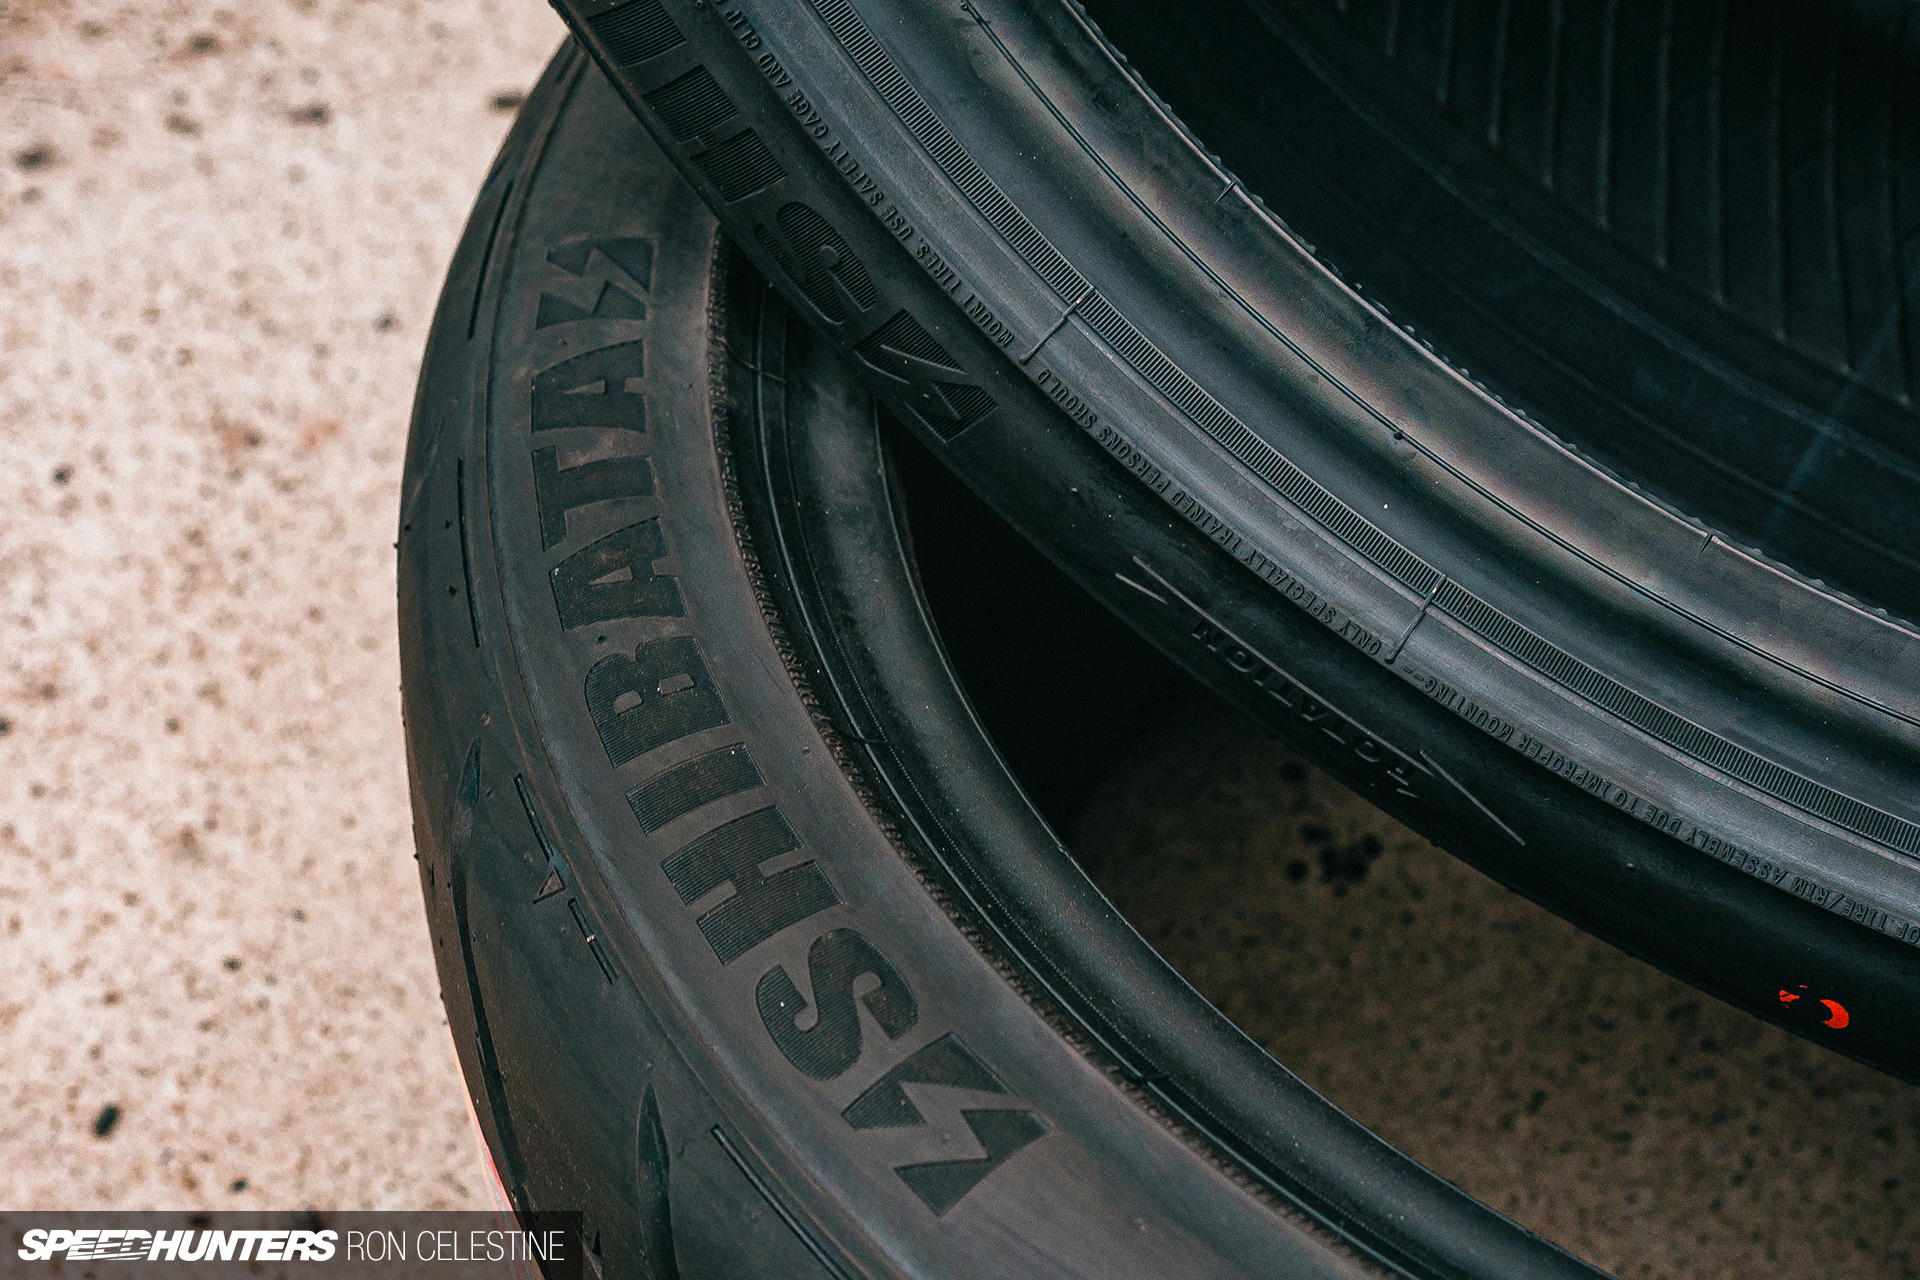
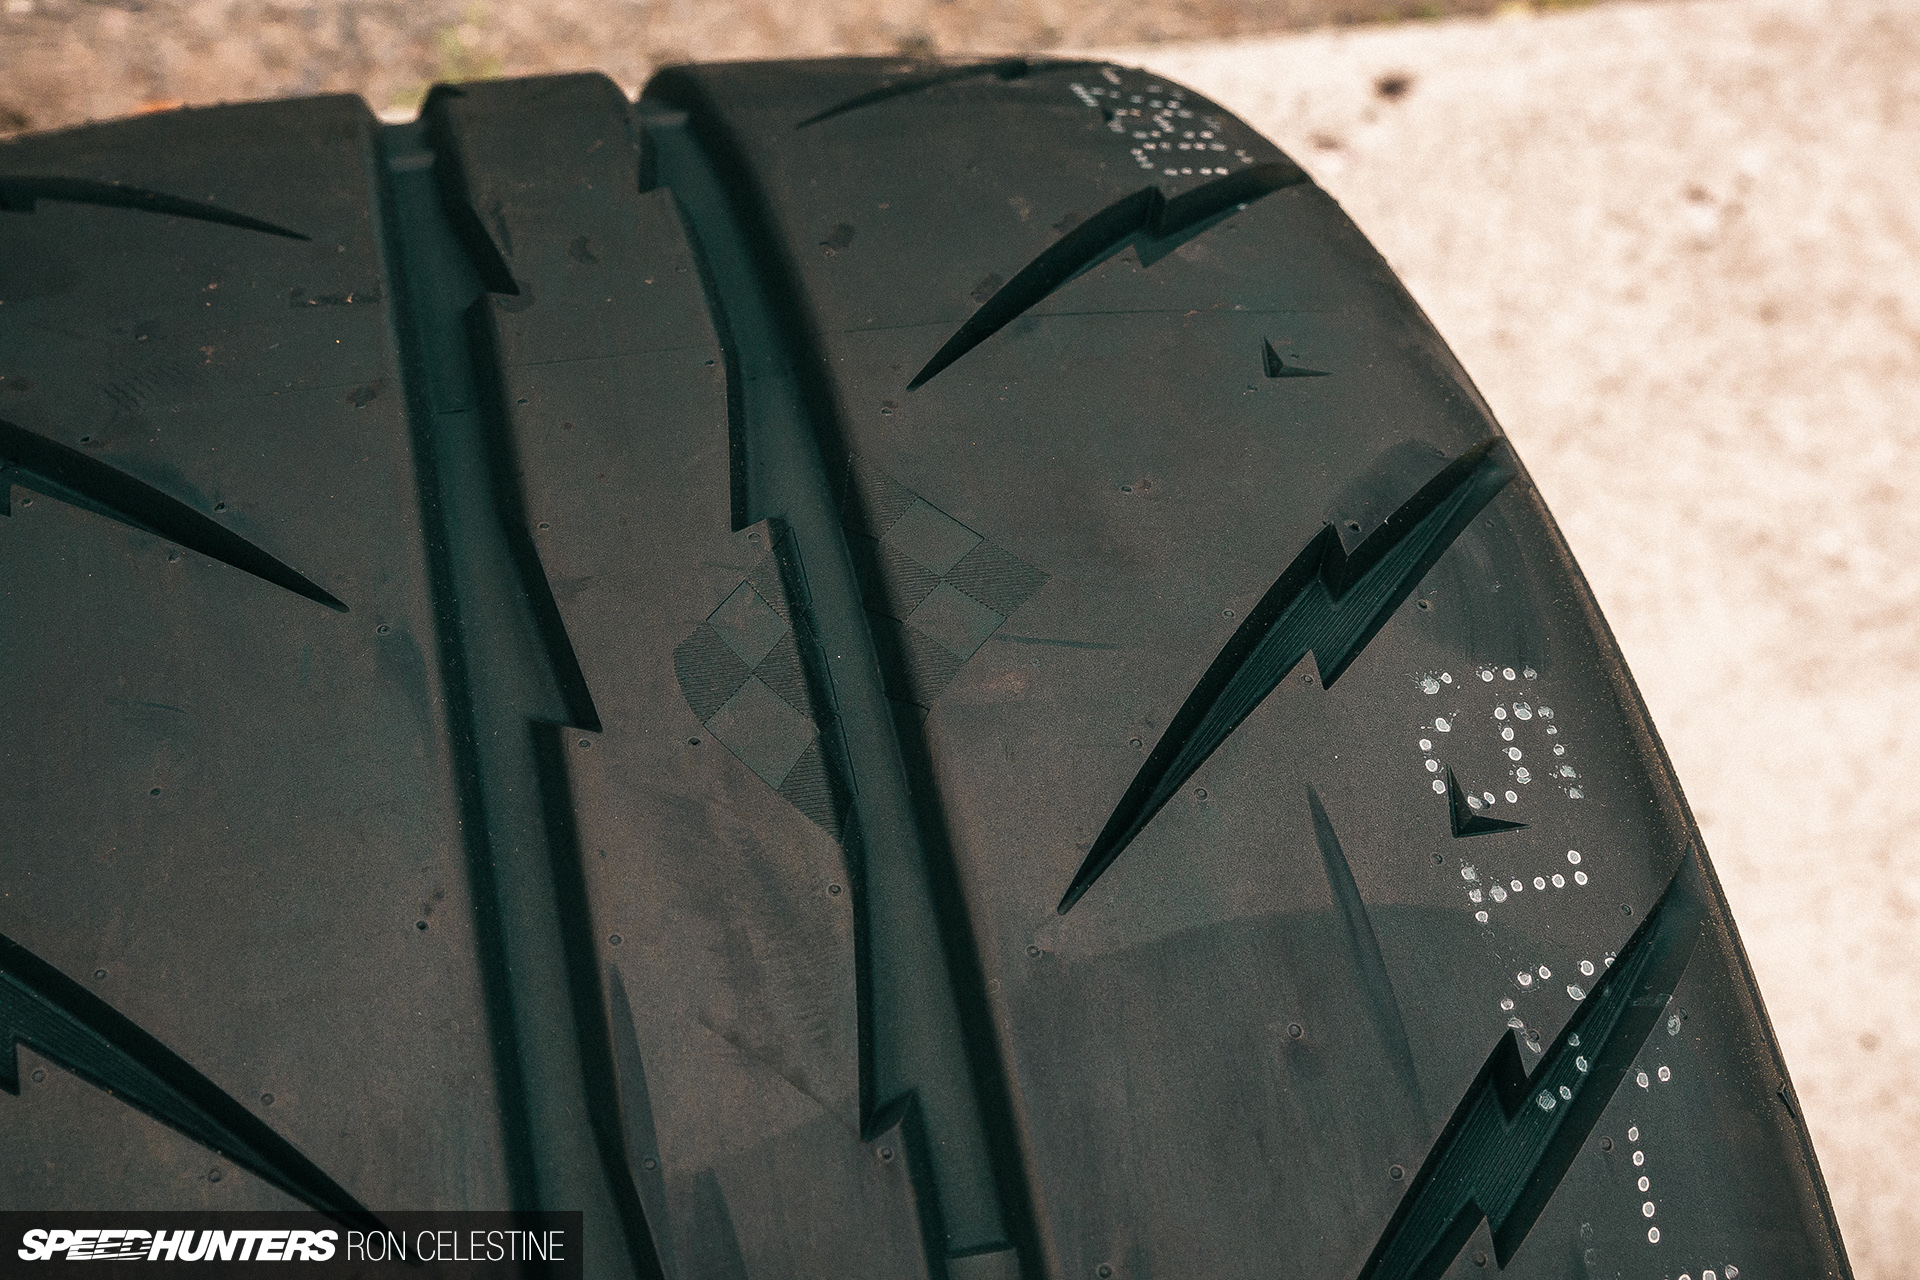
What that roughly interprets to is a tire that was designed in Japan and has a novel lightning bolt tread design plus a raised rib that acts as a rim protector, all at an inexpensive worth level. The tires are manufactured in China by a partnership with Rydanz, and are aimed toward each newer vehicles and basic kyusha too.
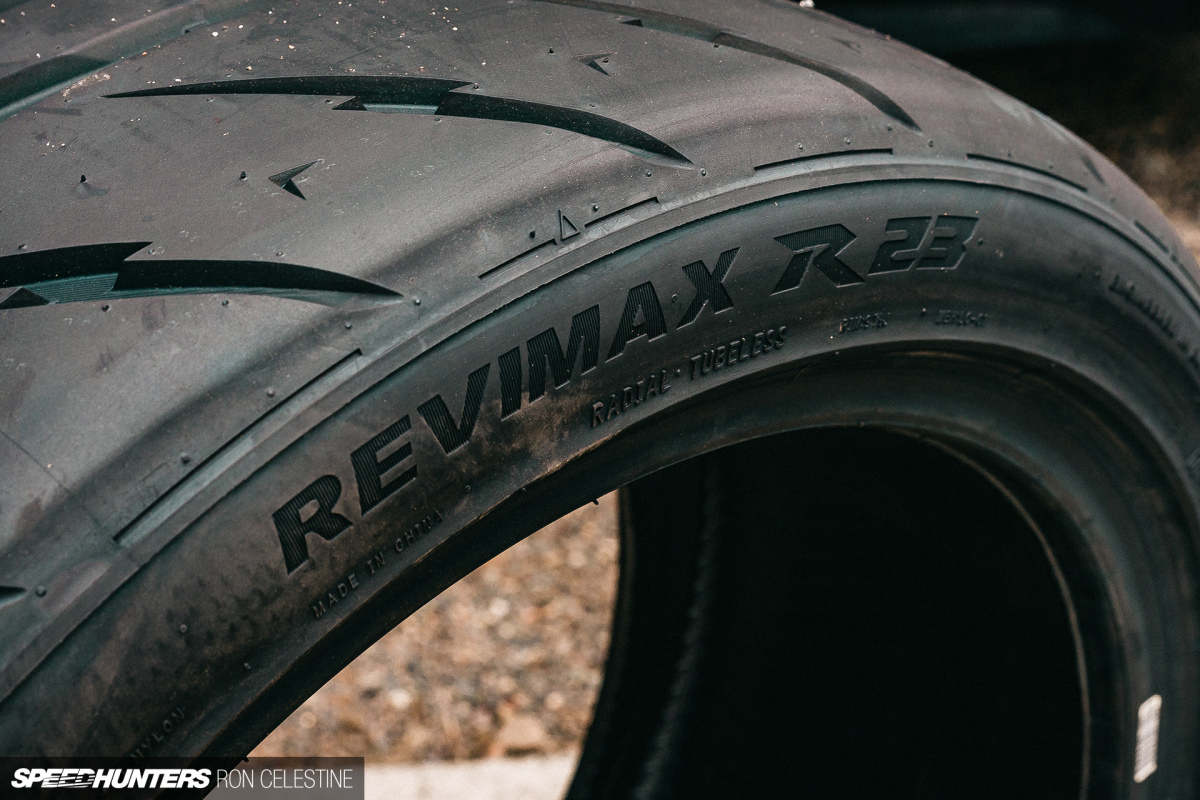
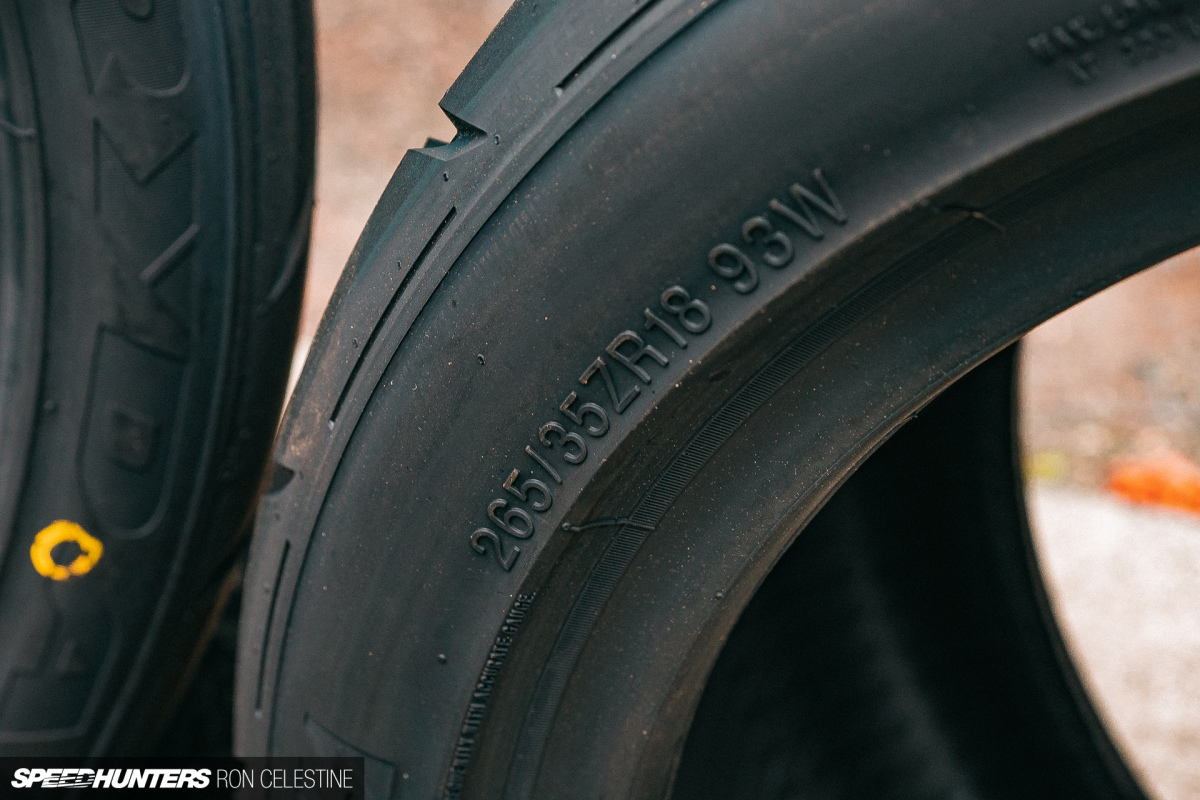

We continued to debate tires and which mannequin may finest swimsuit Challenge Tough, ending up at Shibata’s Rydanz Revmax R23 in 265/35R18 for all corners. After they first arrived, I couldn’t imagine that these have a 280 treadwear score, and that Shibata-san needed me to attempt a fair decrease treadwear rated tire (although which may occur at a future date).
As of proper now, I truthfully can’t give an excessive amount of suggestions on the tires as a consequence of the truth that by the point I received them mounted (which was the top of final month), the automobile was nonetheless off the highway as I accomplished my newest improve undertaking – one I’ve being attempting to get my head round on and off for the previous yr.
The Unglamorous Aspect Of Challenge Tough, Half II
That’s, doing a wheel alignment at residence.
I’ve at all times been curious to see how wheel alignment setting modifications translate to real-world driving. If I might determine how issues work, and break down modifications in caster, camber, and toe to their particular person components, I felt like I’d be ready perceive why Challenge Tough (or any automobile for that matter) behaves the way in which it does, after which make obligatory tweaks when required.

If I might create a DIY methodology that was repeatable and made sense, I would be capable of get nearer to maximizing the obtainable grip at hand. That was my idea no less than.
Nevertheless, earlier than I might get thus far, or set up these GKTech goodies (which I’ll save for the following story), there was a bit extra upkeep and a bit extra of Murphy’s regulation to take care of. So, following on from my last project update, let’s name this ‘The Unglamorous Aspect Of Challenge Tough, Half II’.
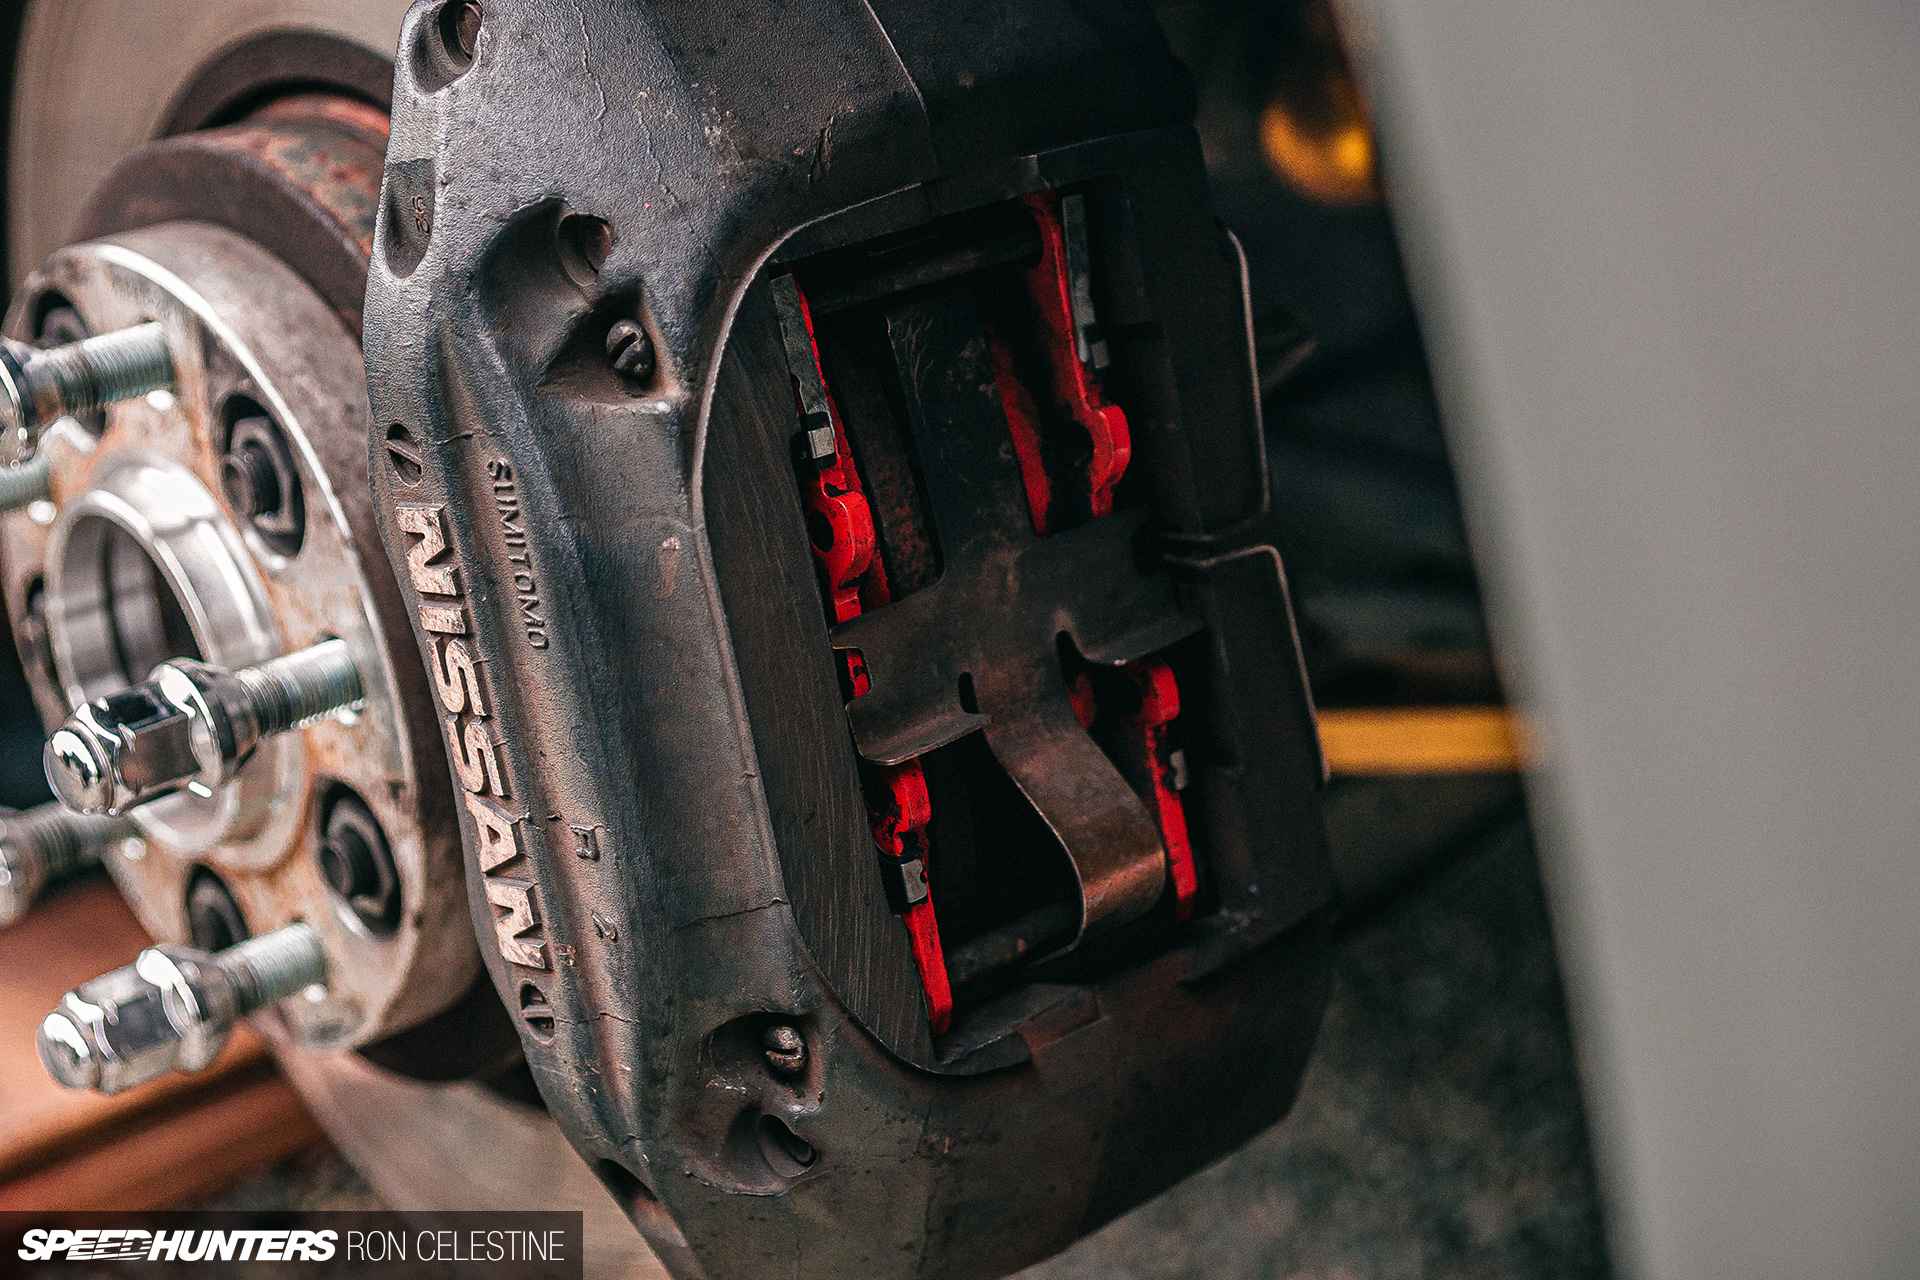
Beginning with the brakes, in that earlier replace I talked about altering over to Winmax Arma AT3 pads and the inventory shims turning to mud. I ran the automobile with out shims for some time, as I used to be doing a little bit of myth-busting; I needed to see if the brake really feel would enhance with out shims in play.
By the point I made it to my native Nissan dealership to decide up some new shims and get them fitted, the little vibration noise I discussed had developed right into a fairly embarrassing, ear-piercing shriek each time I touched the brake pedal.
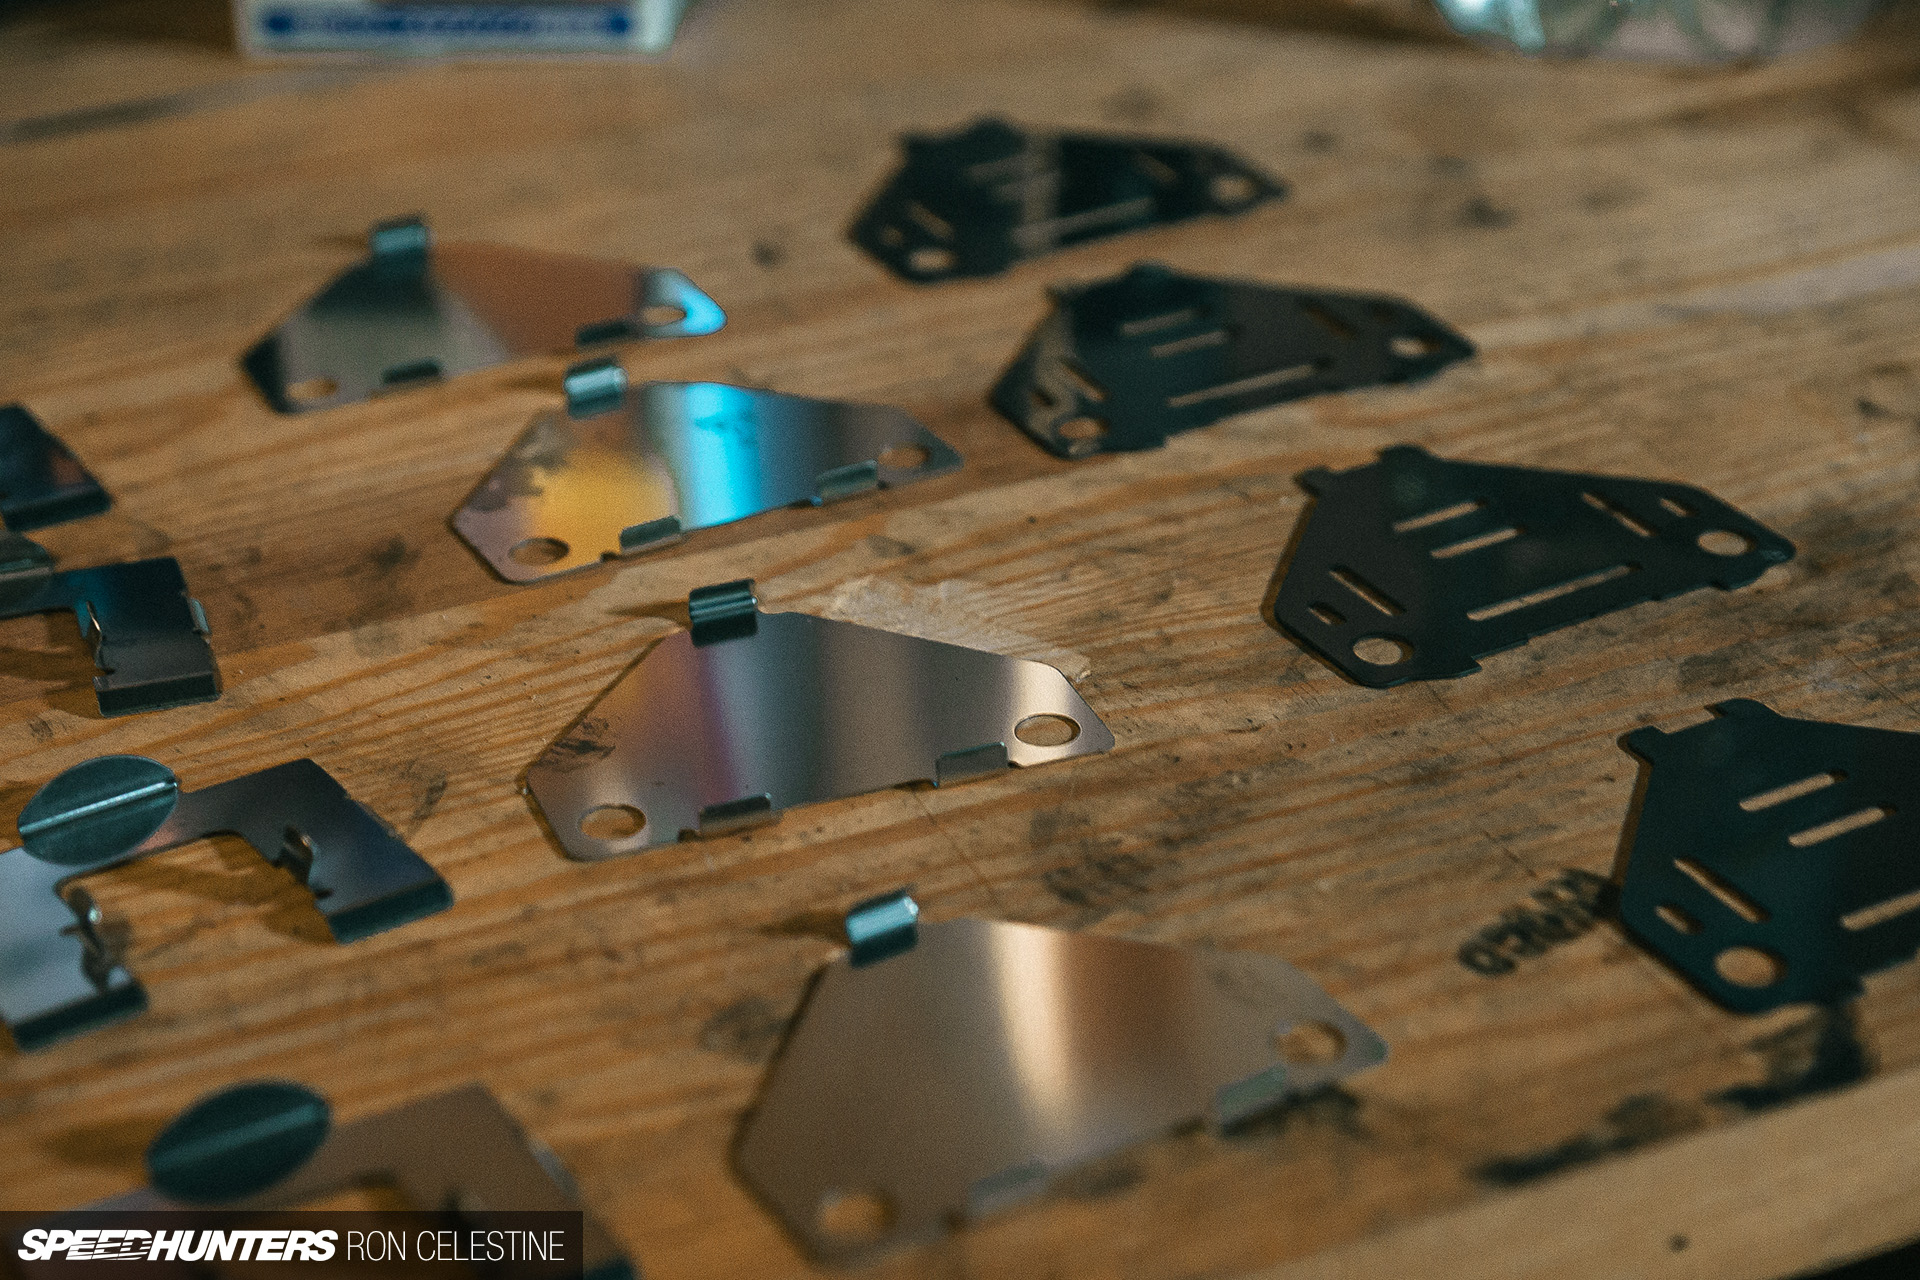
I can conclude from my little experiment, that in the event you’re going after improved brake feeling, you’re higher off spending the cash on braided traces. There was no enchancment to me in brake feeling with out shims, and it might need even improved once I fitted the brand new ones because the pads stopped wandering round. Simply make certain to correctly lubricate the shims or your pads may shriek nonetheless. Ask me how I do know…

Since I used to be engaged on the brakes, I made a decision to bleed the system as effectively. The final time I did this was after I totally boiled the brake fluid throughout a observe day at Tsukuba Circuit a couple of years in the past that Blake additionally attended with Project NSX, so it was most likely due anyway.
Having simply flushed out and bled the clutch’s hydraulic system, I thought the brakes could be a piece of cake. However that is Challenge Tough, and barely something occurs with out some kind of trouble.
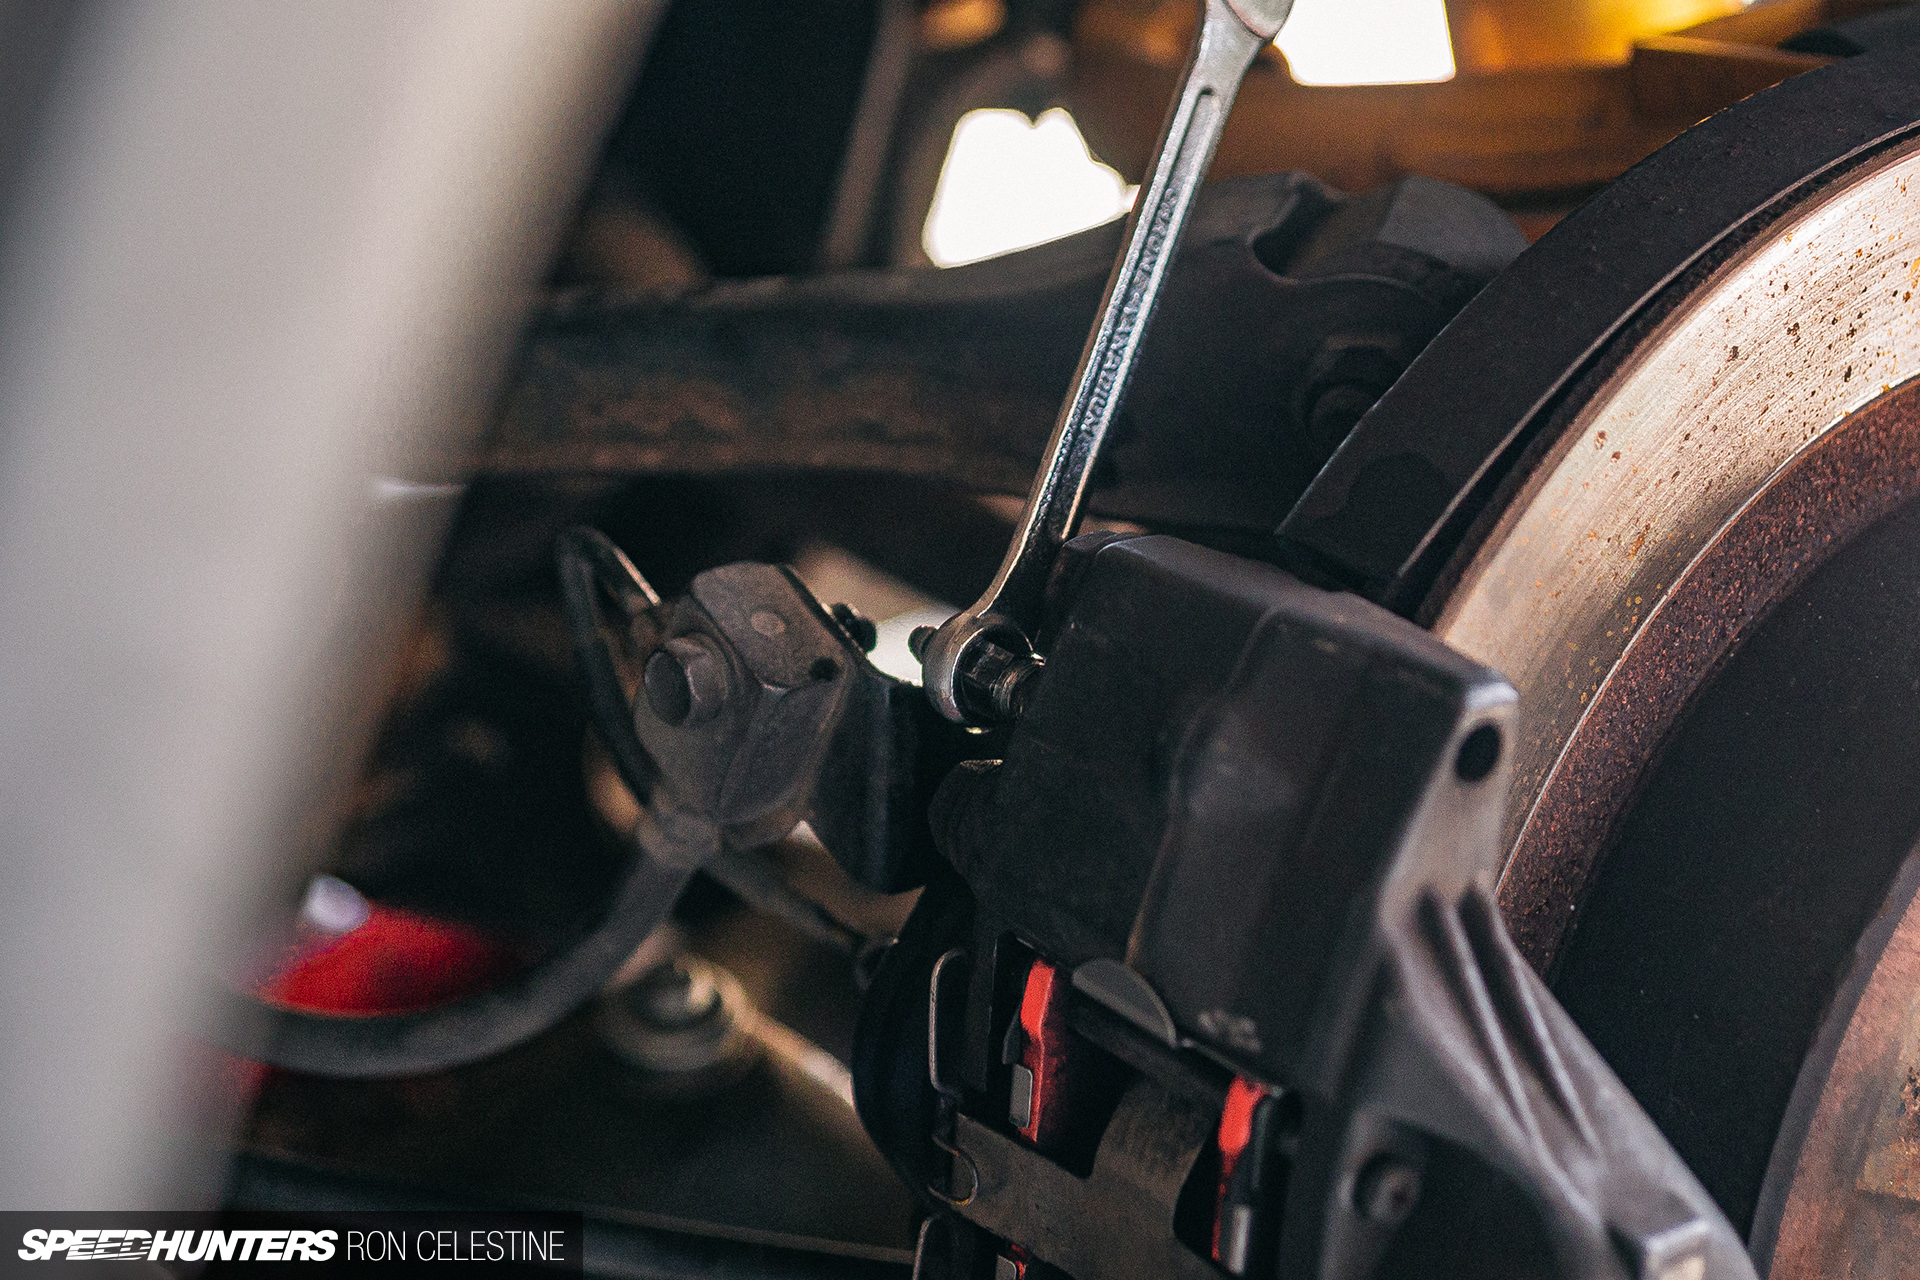
I attempted to crack open the primary valve, but it surely didn’t budge. I attempted somewhat tougher, however the outcome was the identical. So I attempted hitting the wrench with a hammer. Nonetheless nothing.
It was at this level that I made a decision it was finest to cease. Sure, I might have gone full ham on the bleeder, however I knew if I snapped it or ruined the threads contained in the caliper, a easy and cheap restore might rapidly grow to be an enormous headache. As an alternative, I spent the following few days researching one of the simplest ways to loosen a rusted brake bleed valve.
I discovered that many individuals use a blow torch to warmth the realm so the metallic expands sufficient that the rust inside comes unfastened. If the caliper was off the automobile I might need tried this, however the brake traces have been a bit too shut for my liking. I used to be additionally nervous about damaging the seals contained in the caliper itself.
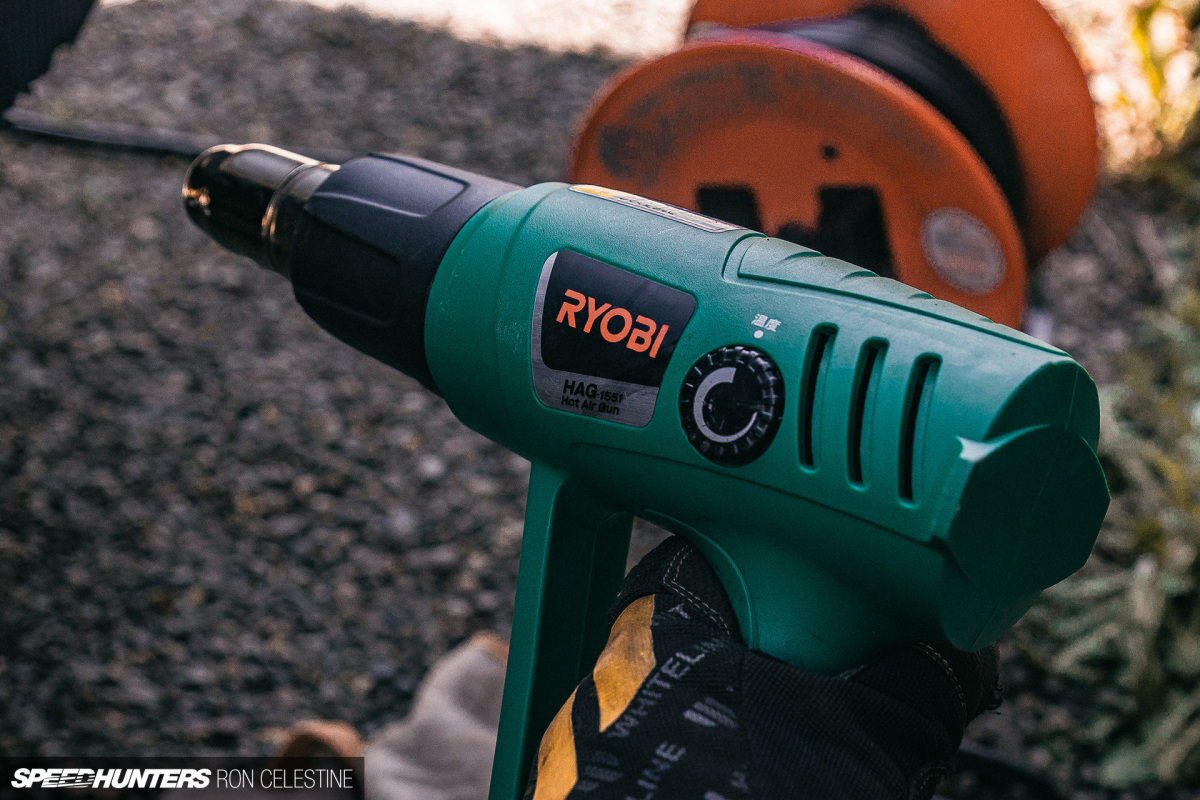
What labored for me was rust-penetrating spray (which I left to soak in for few hours), a warmth gun, and dealing the bleeder backwards and forwards with the wrench and hammer combo till I might transfer it simply.
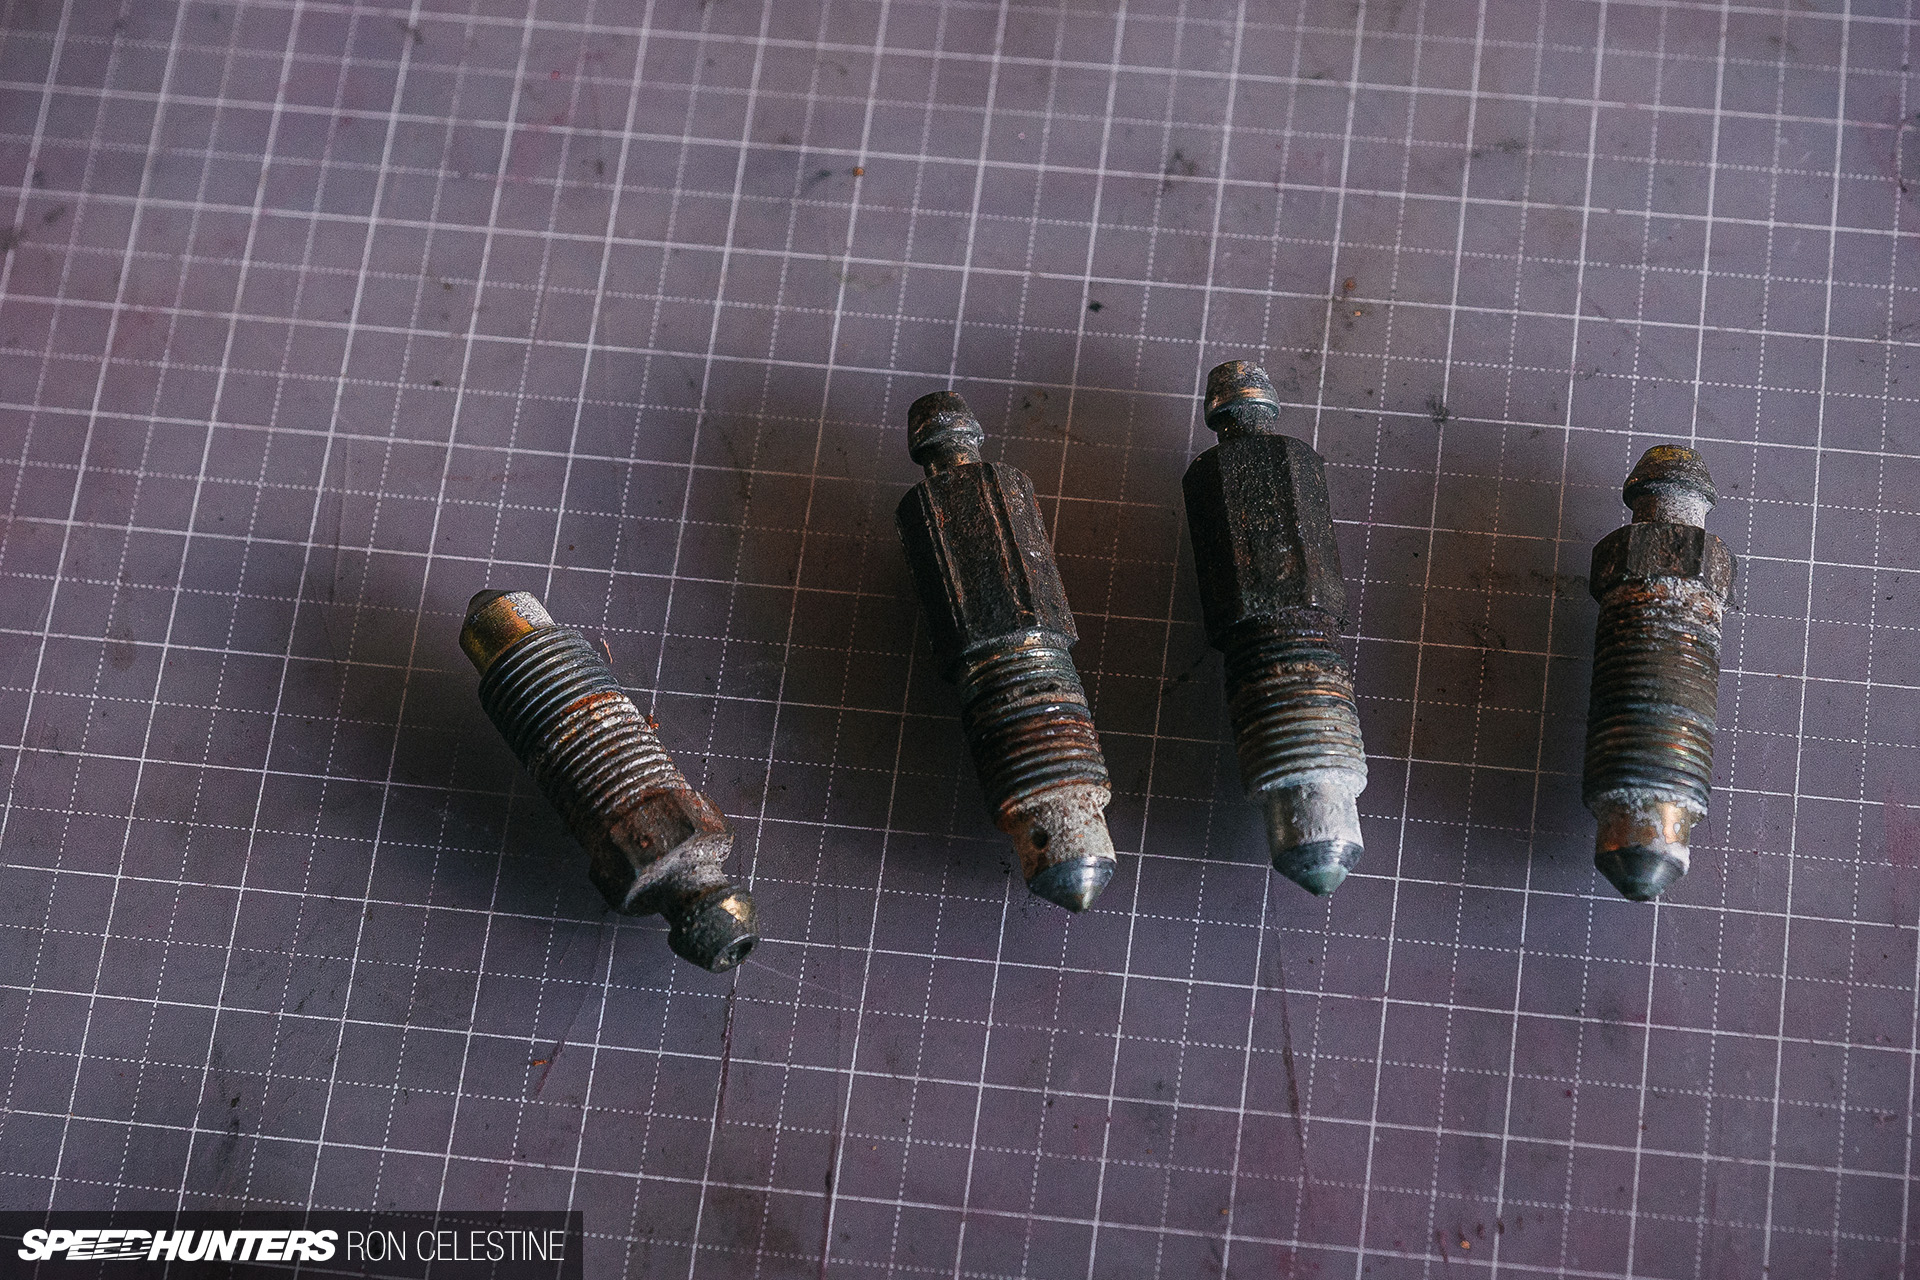
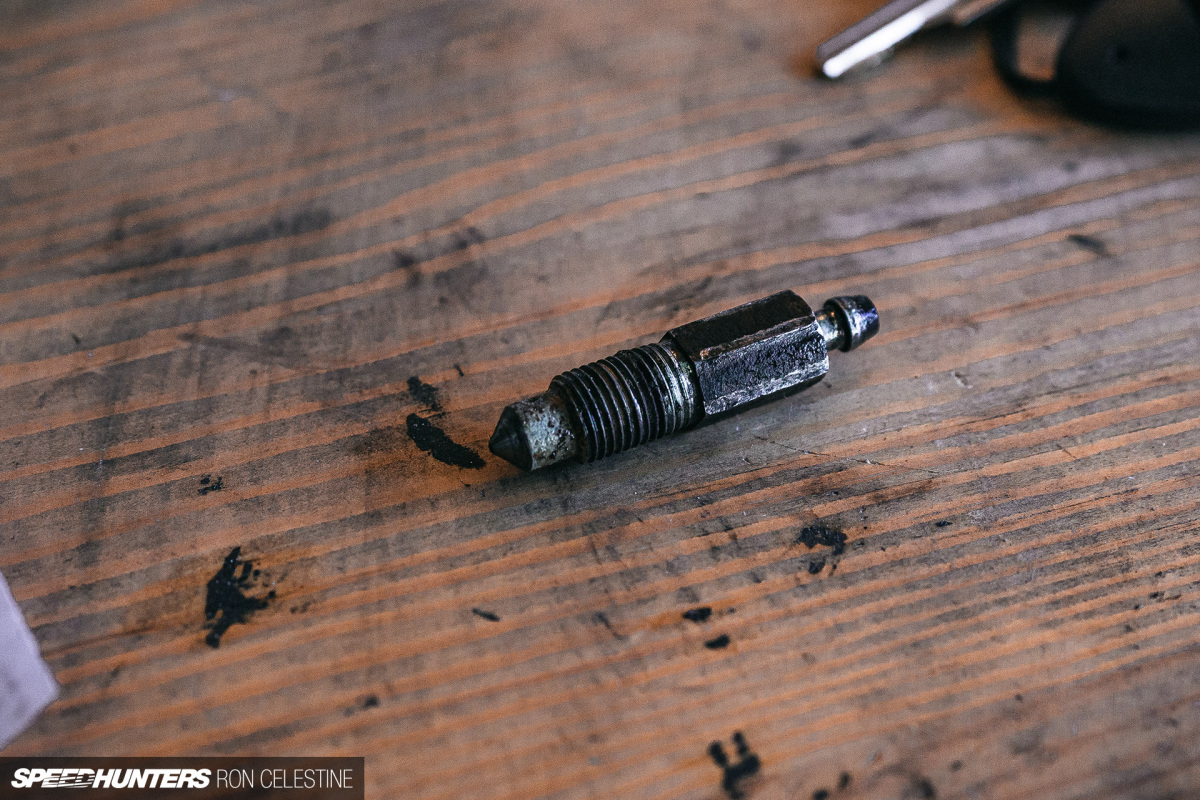
Miraculously, the opposite three got here out with relative ease regardless of the heavy oxidation current. Maybe it was Challenge Tough’s manner of claiming thanks?
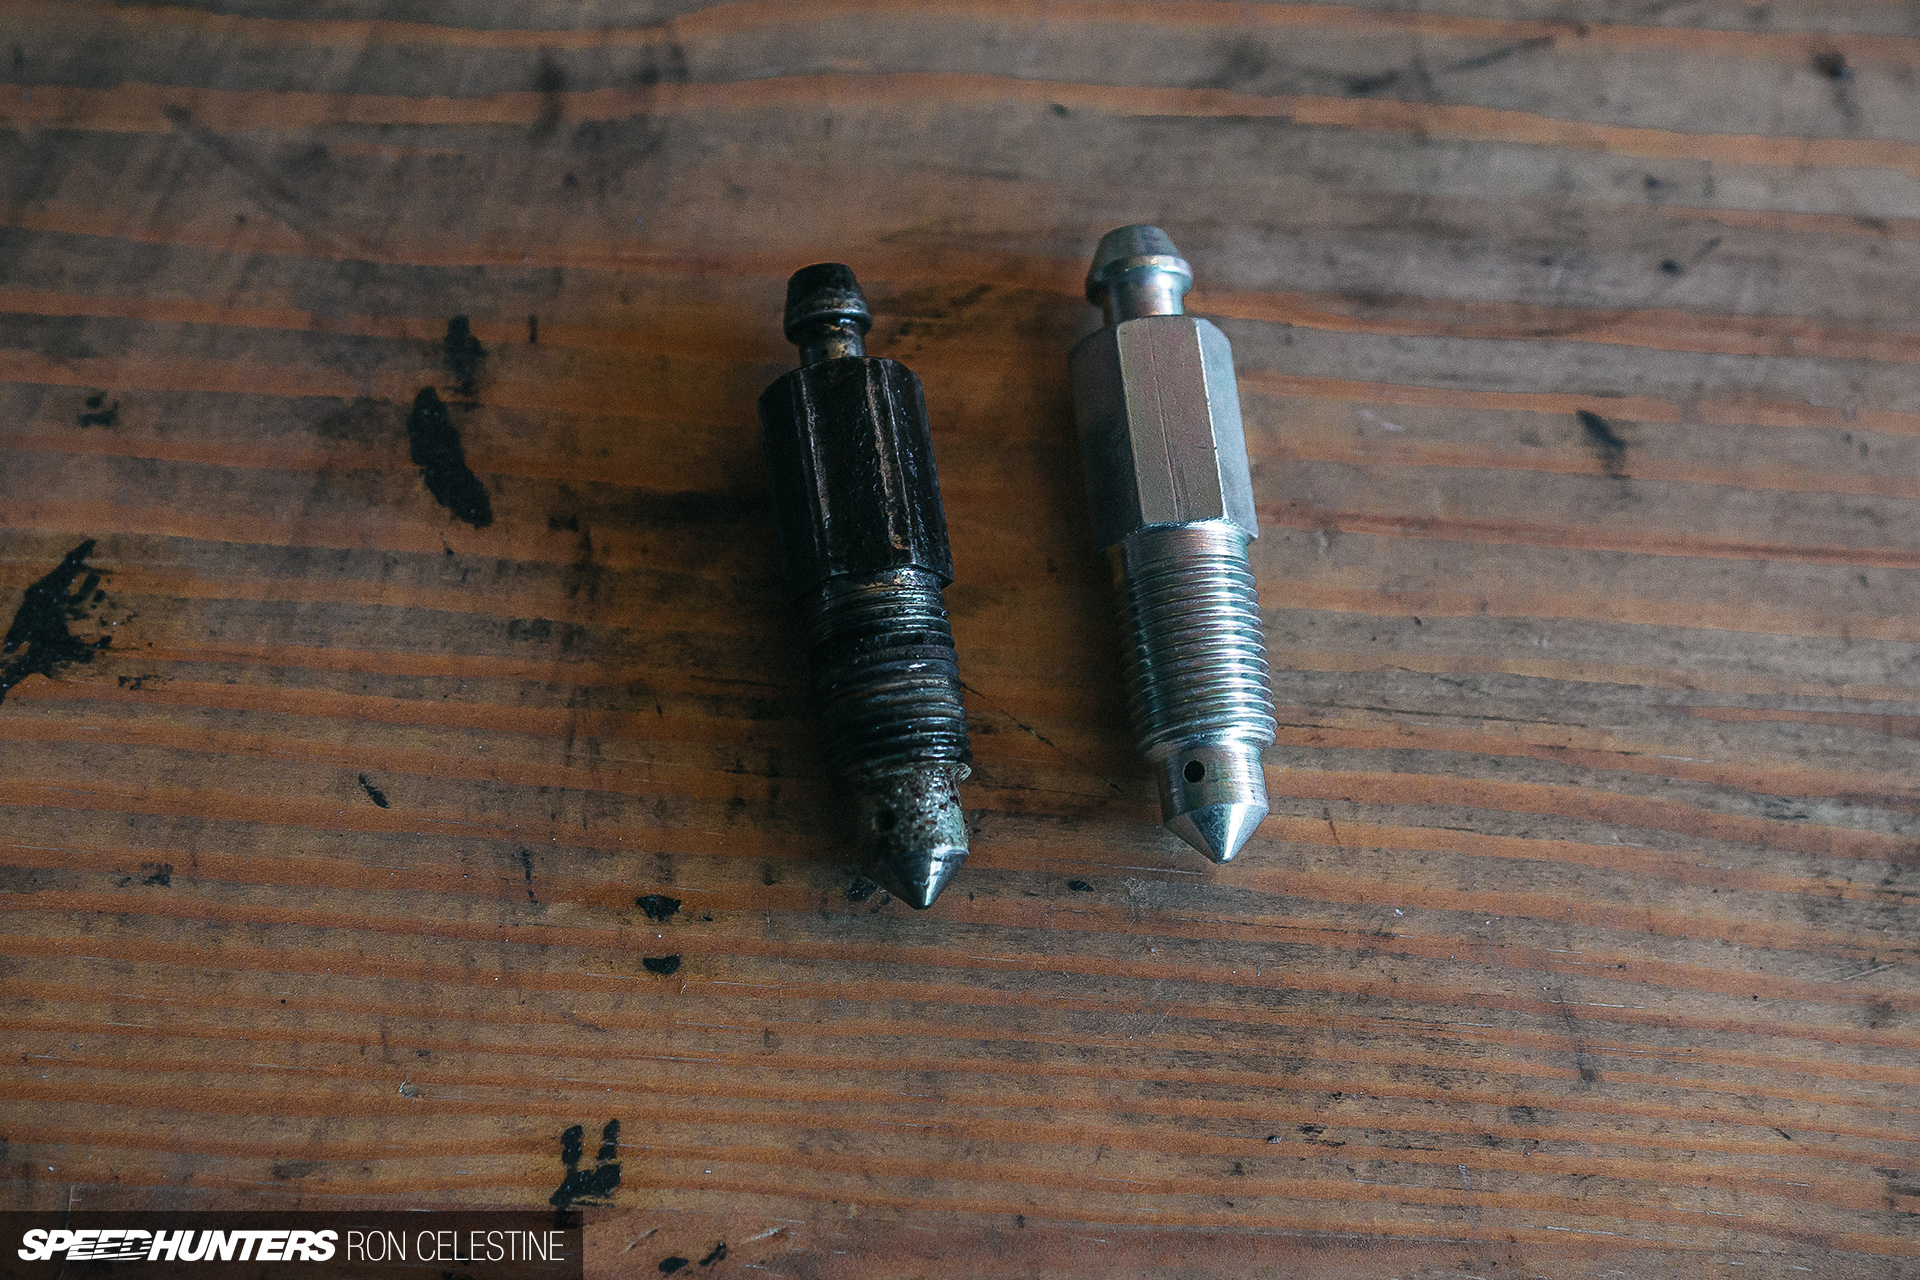
Simply take a look at the distinction between the outdated valves ones the brand new ones. Since I used to be changing all 4 bleeders, I made a decision to flush the brake fluid simply to be protected.
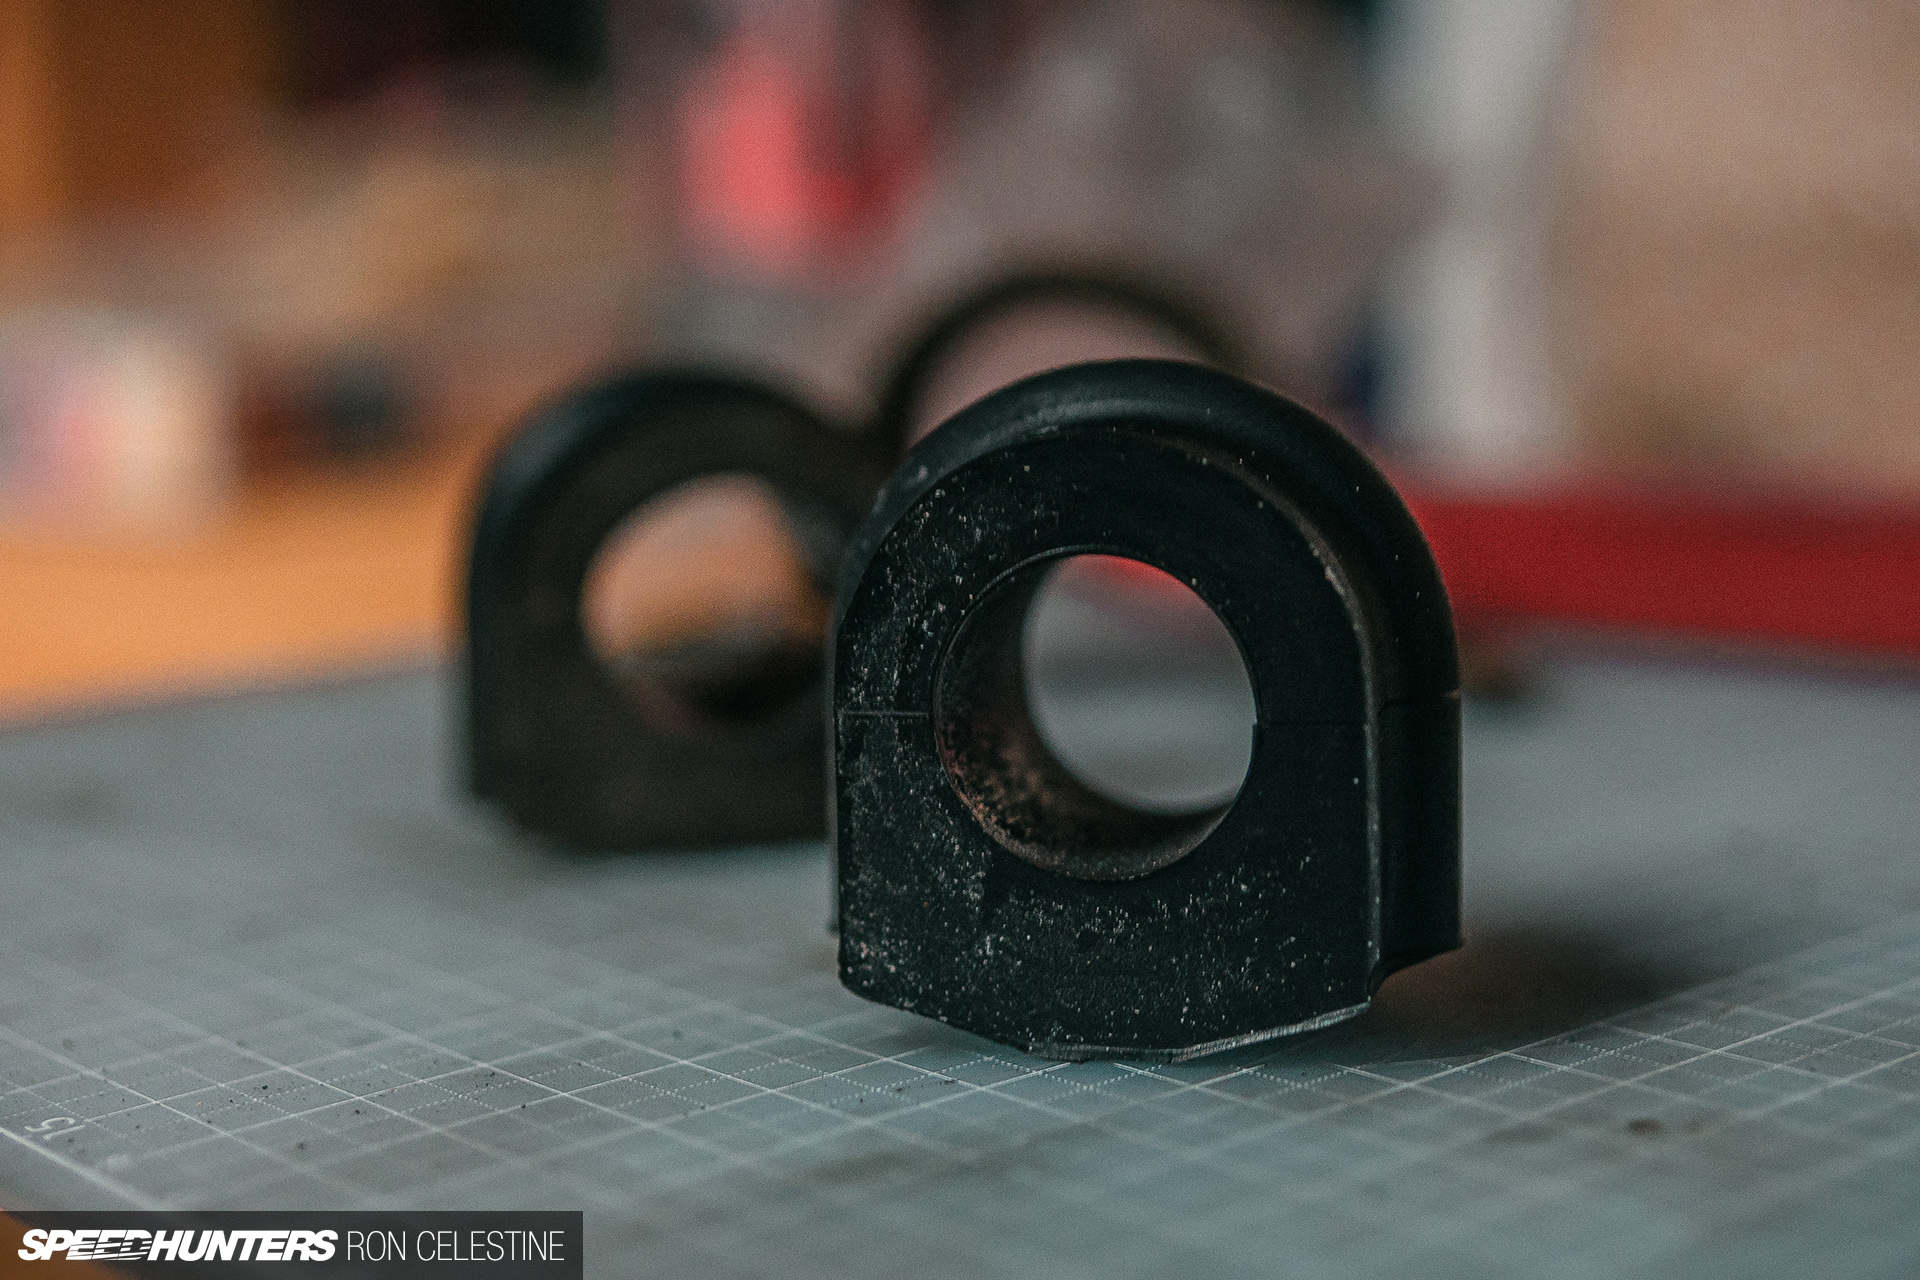
Subsequent in want of consideration have been the entrance sway bar bushings. There have been so many different issues squeaking and rattling that I by no means thought my sway bar bushings might be a perpetrator as effectively.
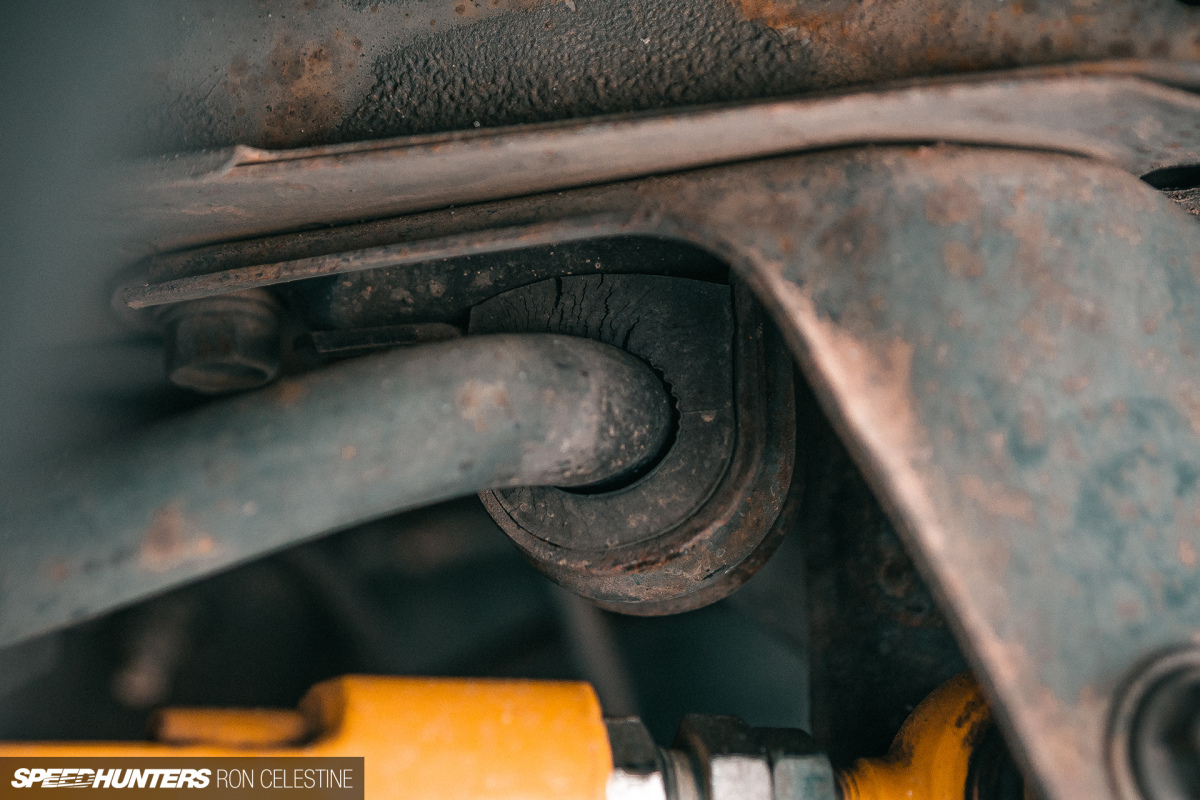
The rock arduous, cracked bushings stated in any other case, thus yet one more journey to Nissan for replacements was so as.

These I have to admit have been fairly easy to interchange. On the R34 Skyline, you must take away the caster arms to create area for the bolts to drop down. With the arms out, it’s a easy out with the outdated and in with the brand new, with a little bit of grease.
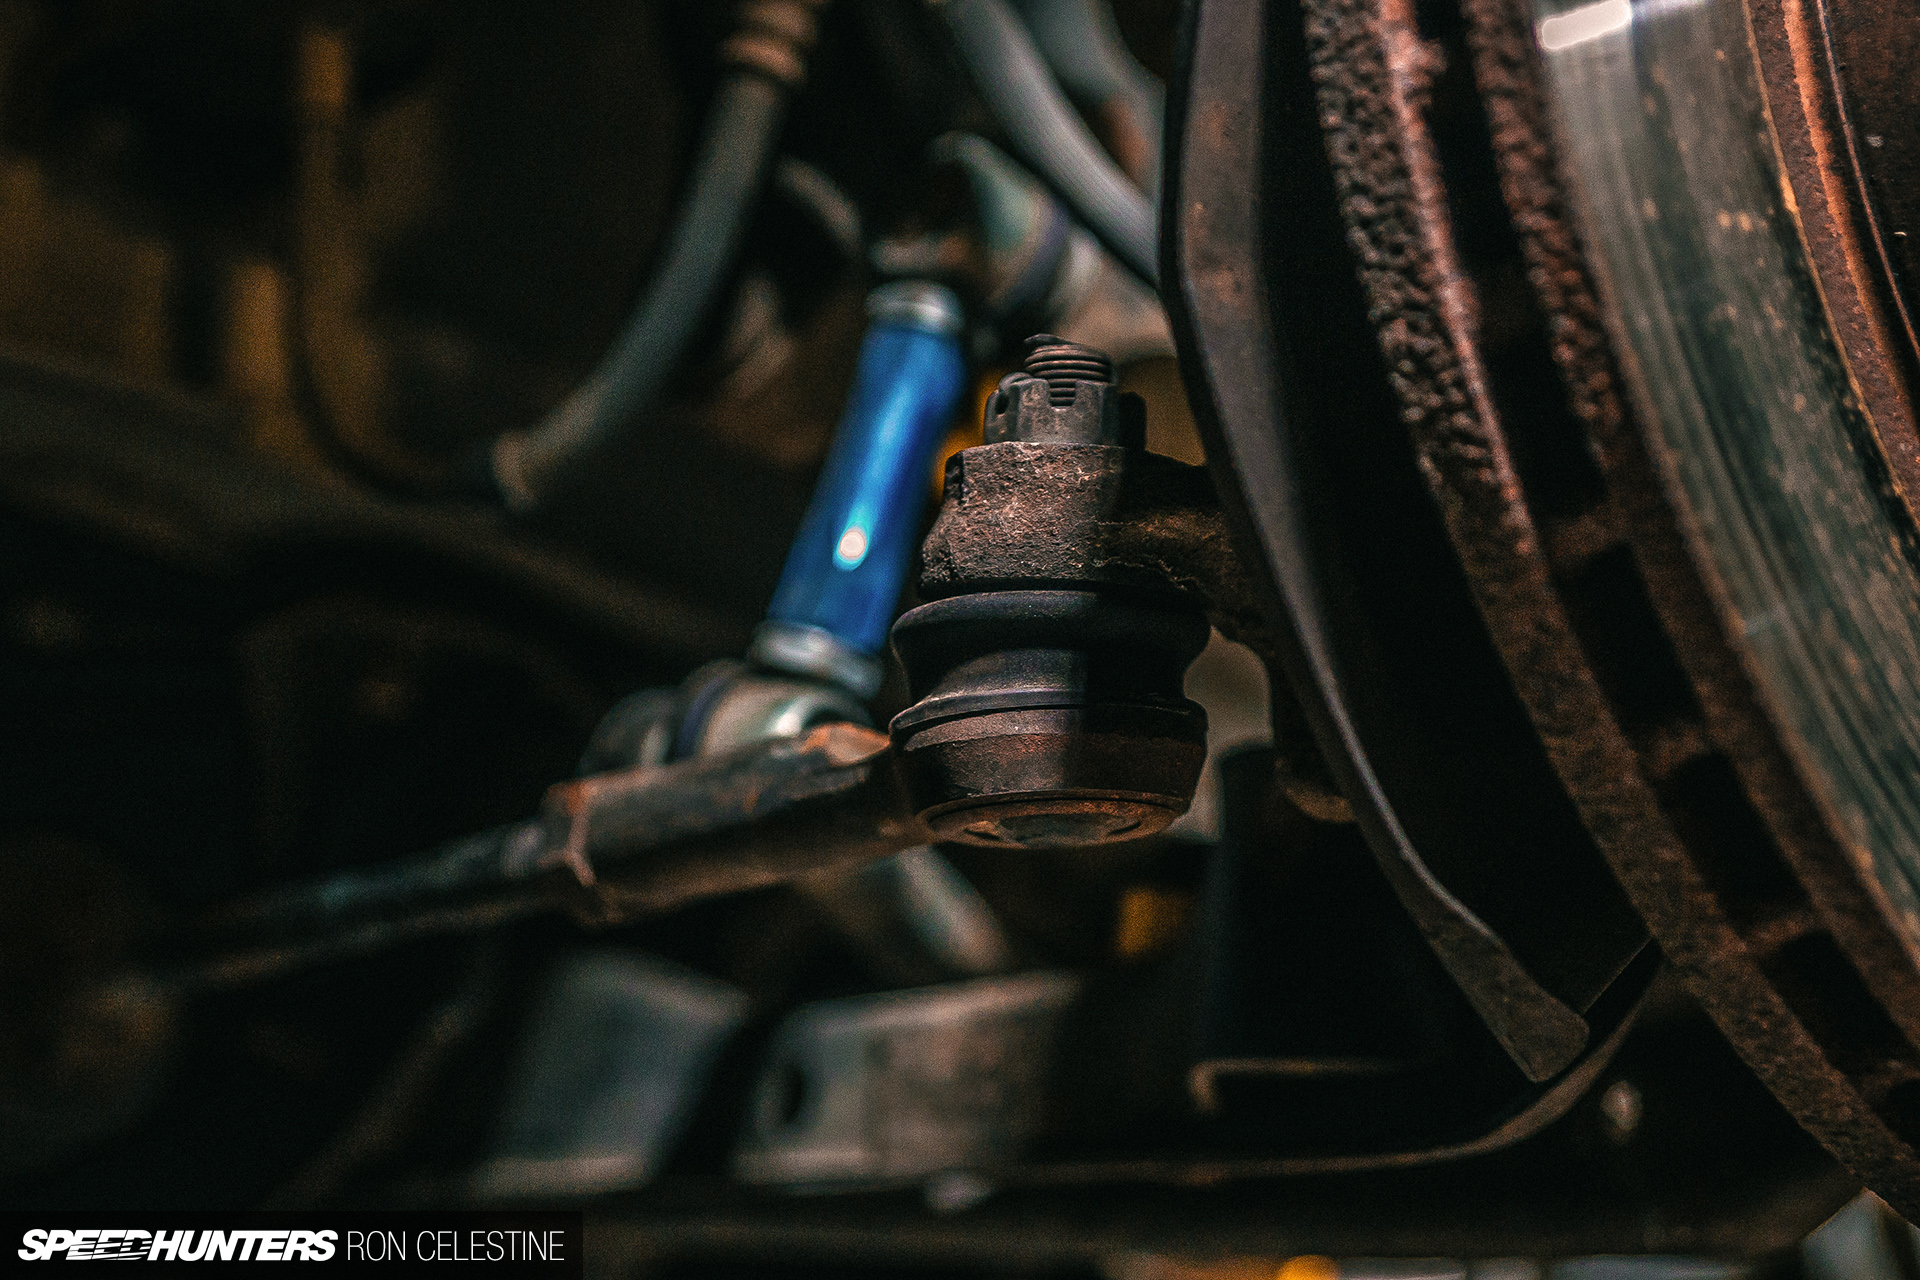
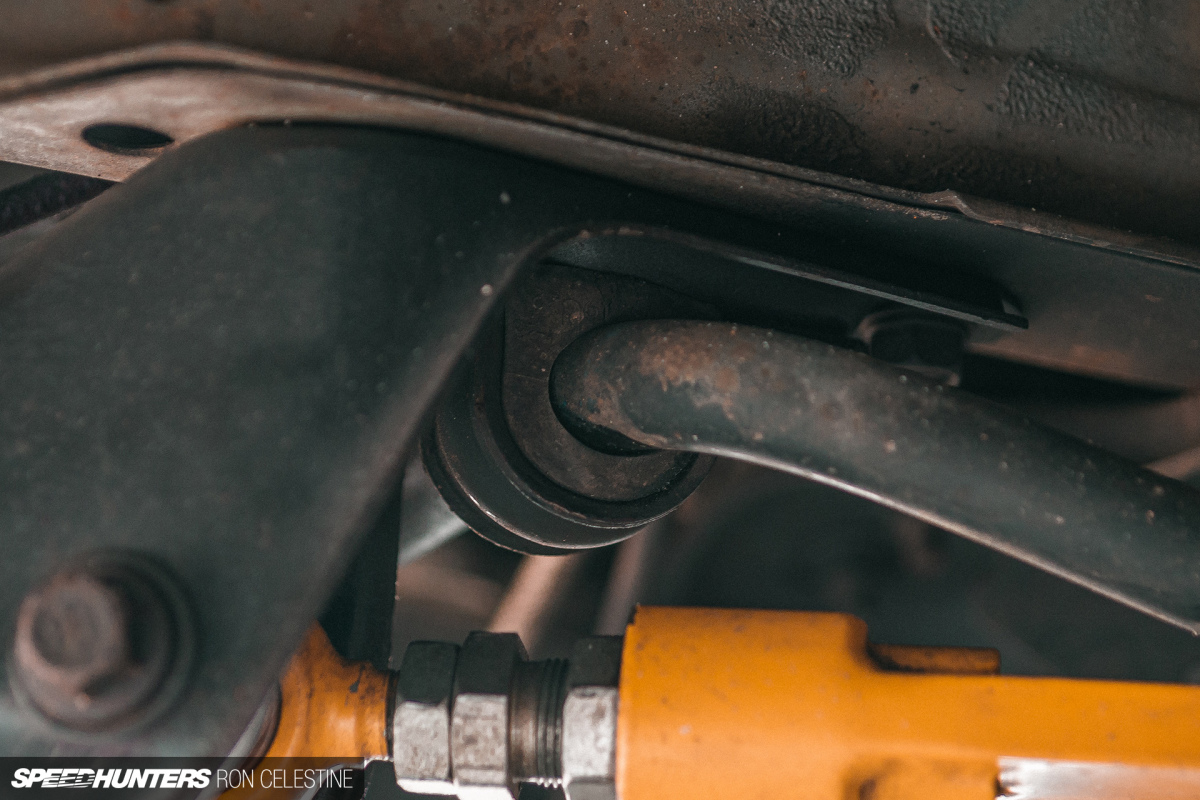
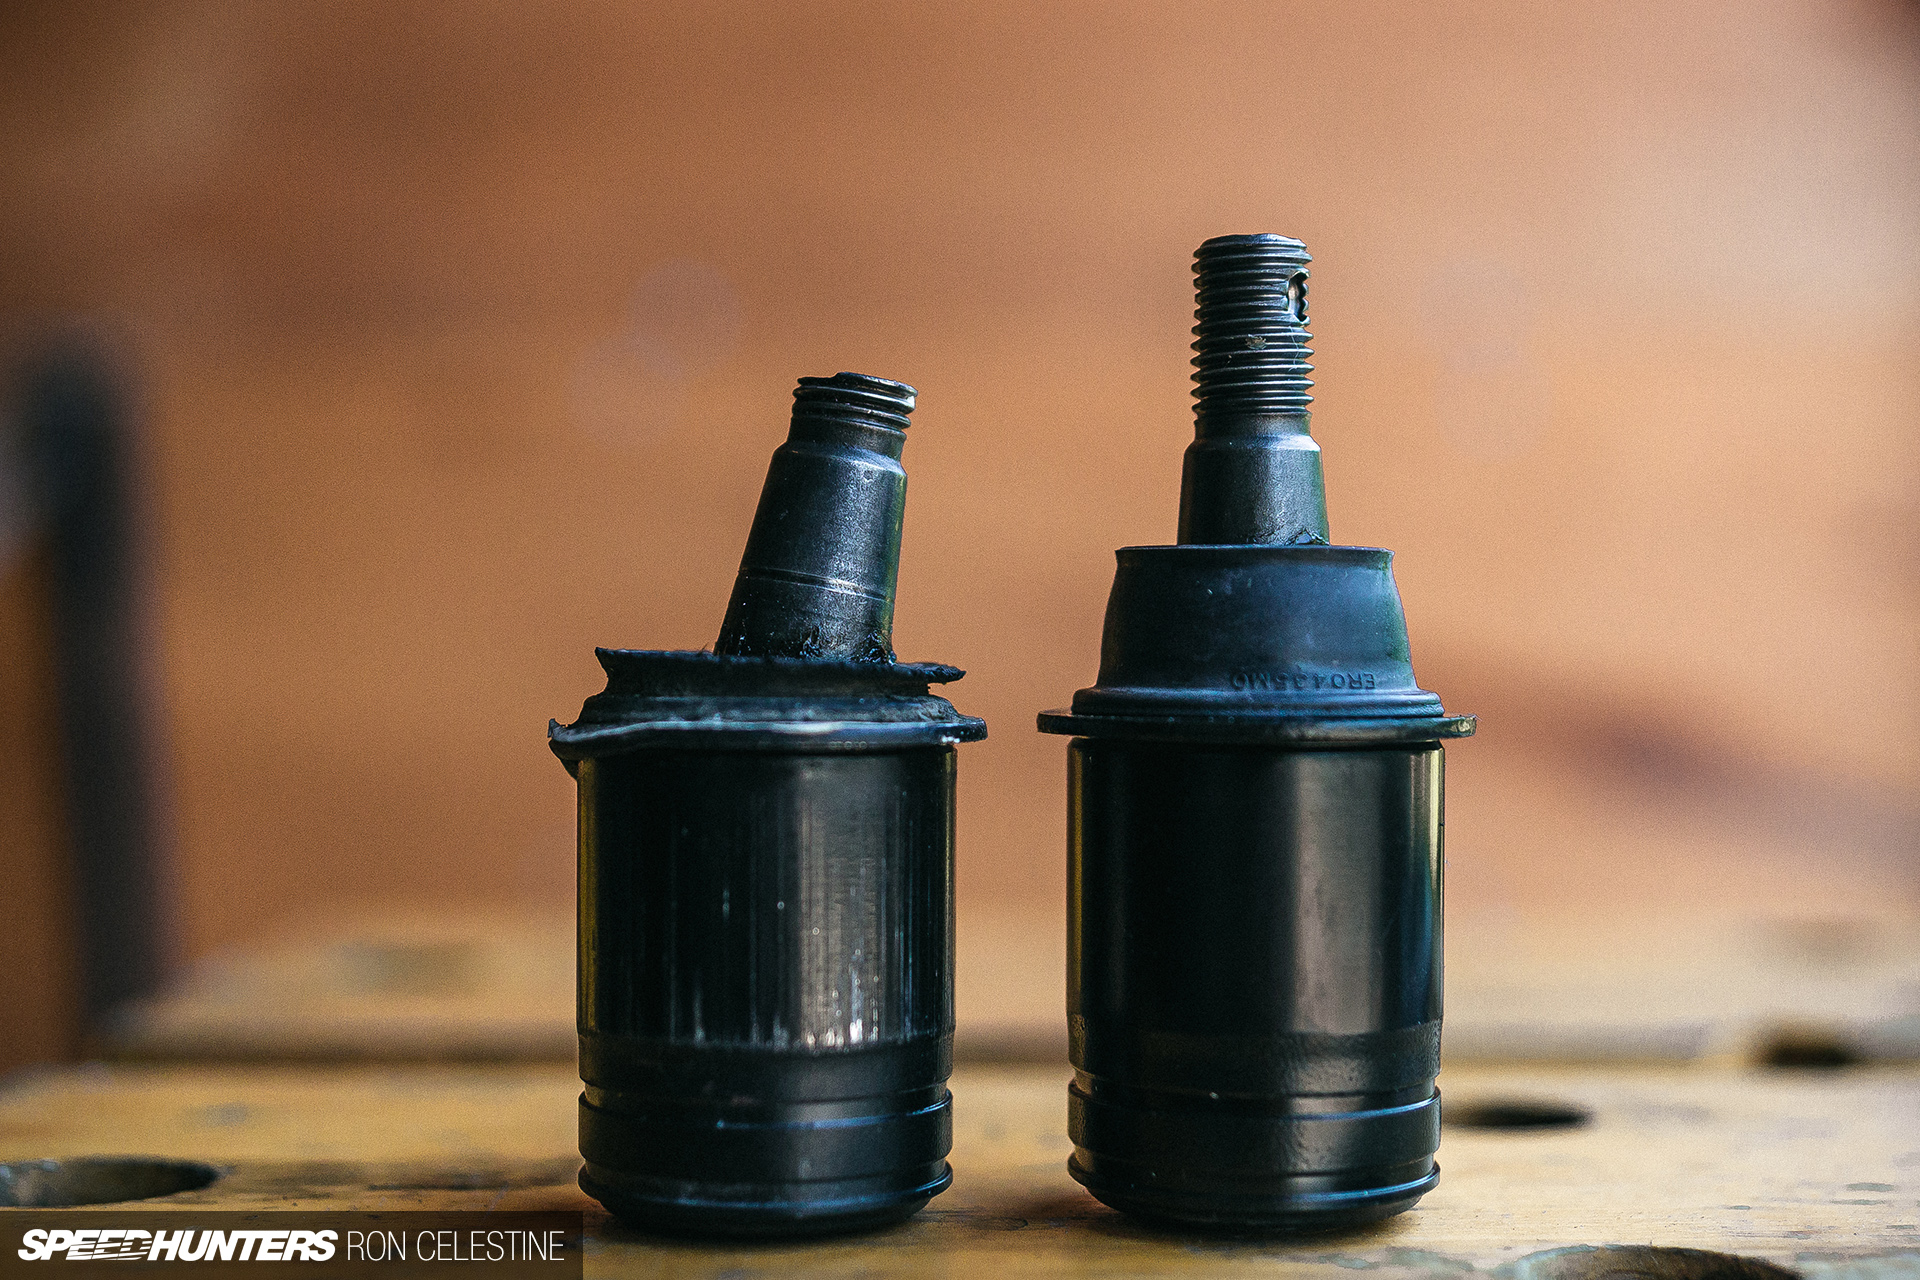
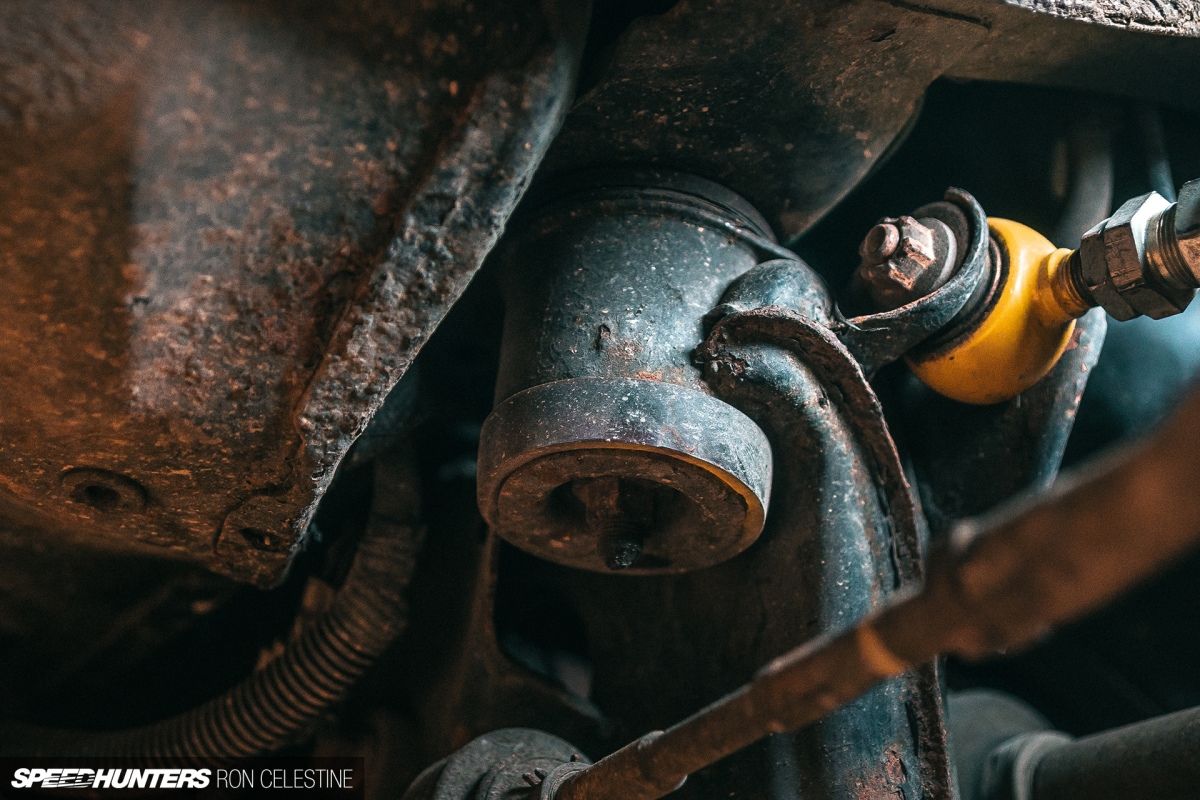
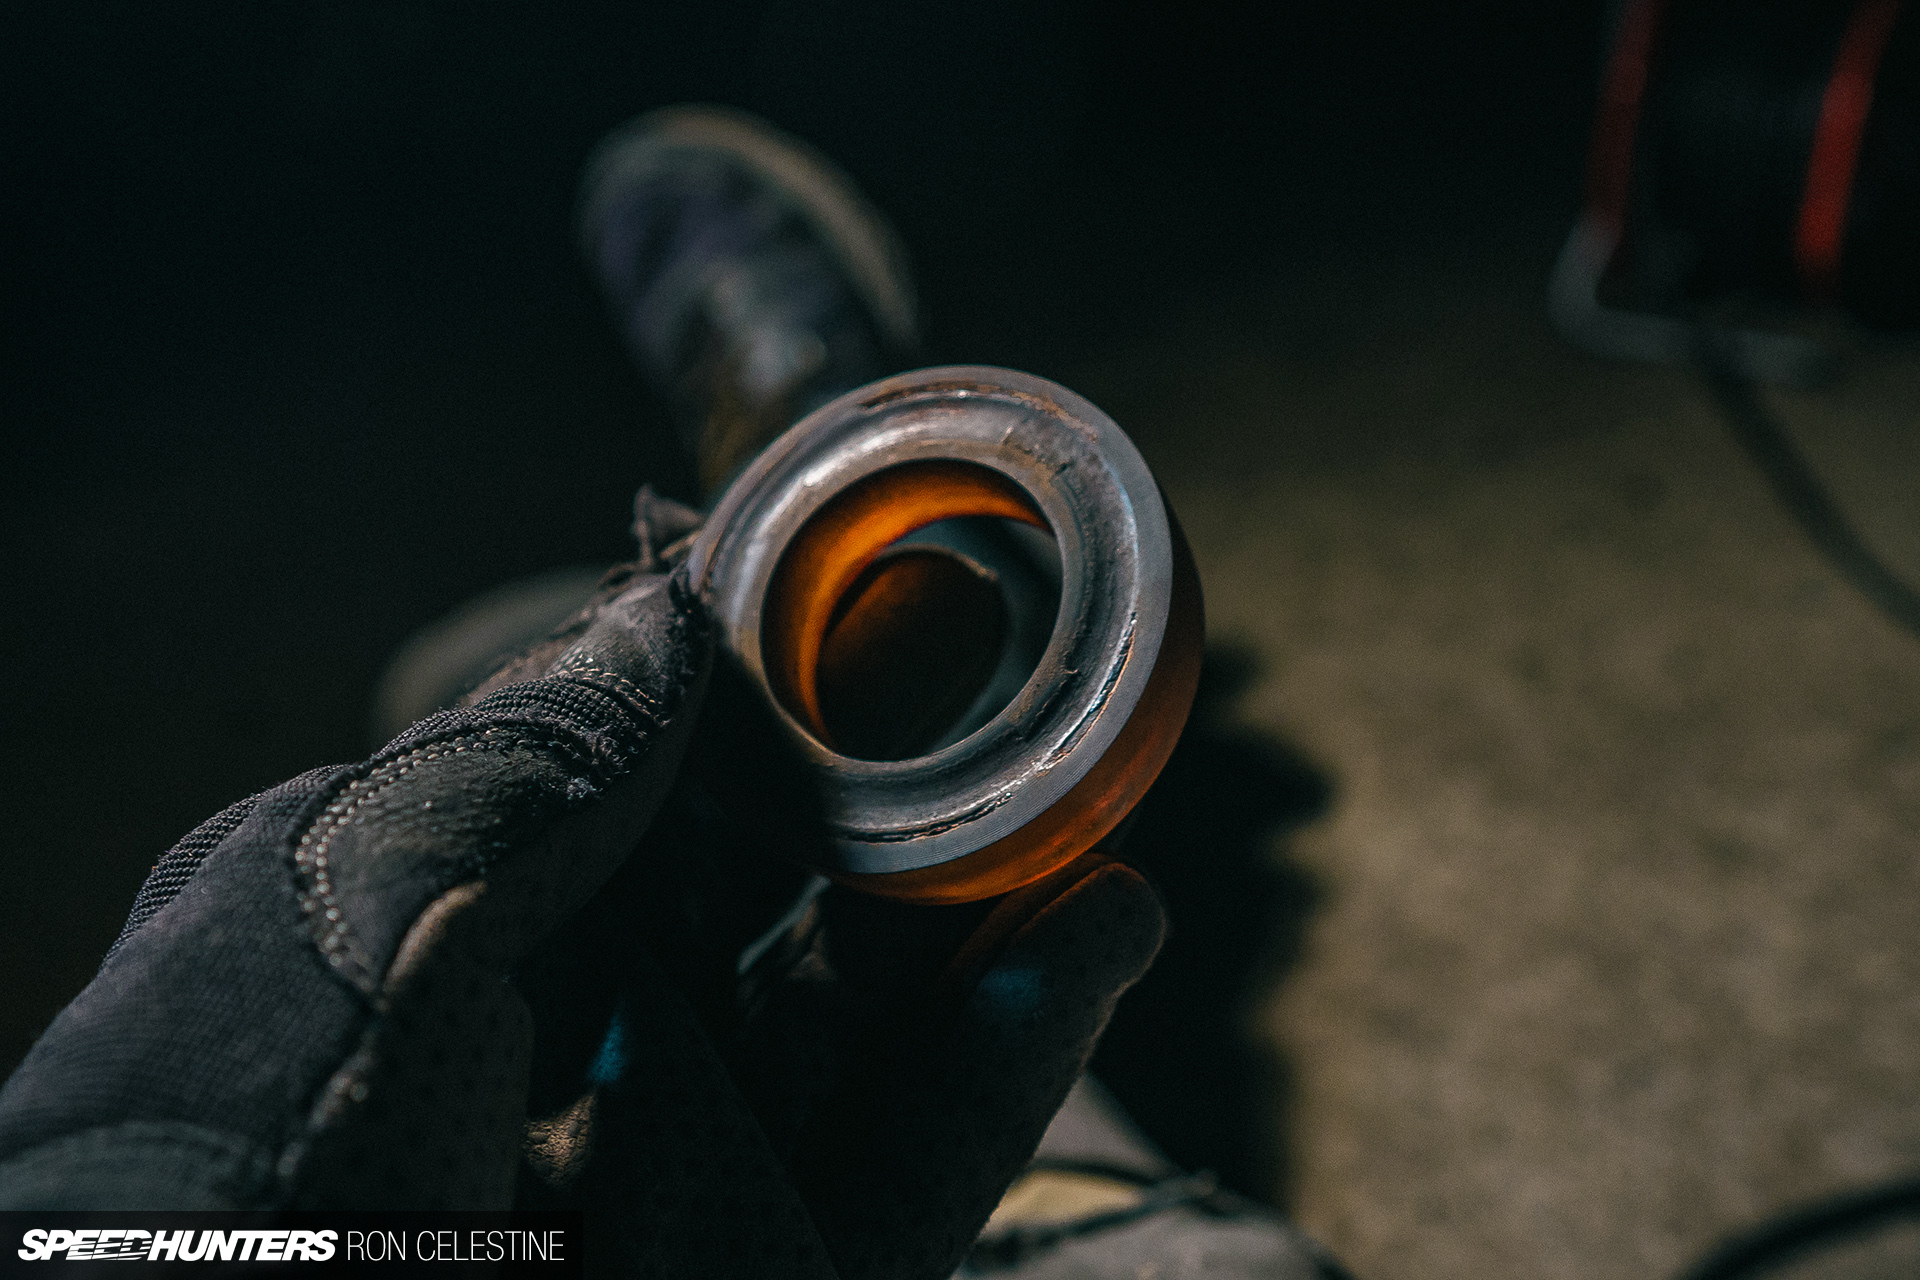
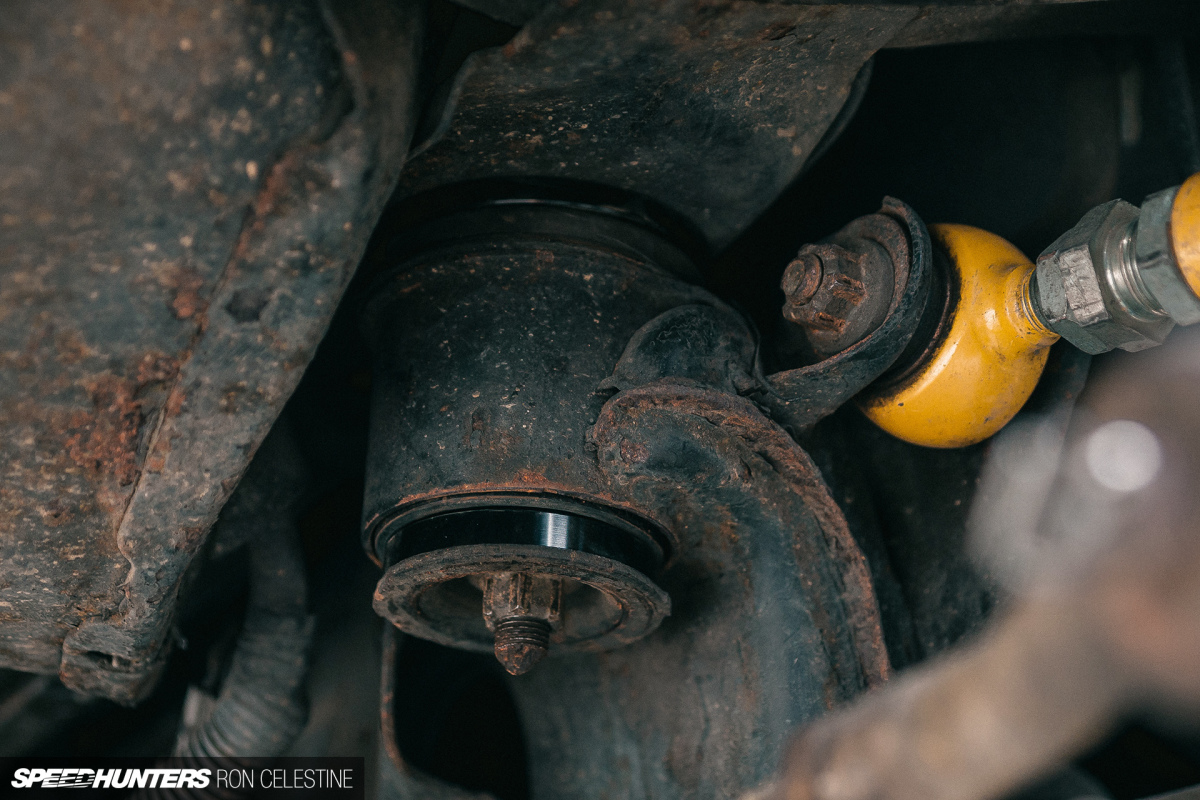
The very last thing that wanted to be taken care of was the dreaded Tremendous HICAS ball joints. These have been so worn that I might simply transfer the rear tie rods up and down by hand.

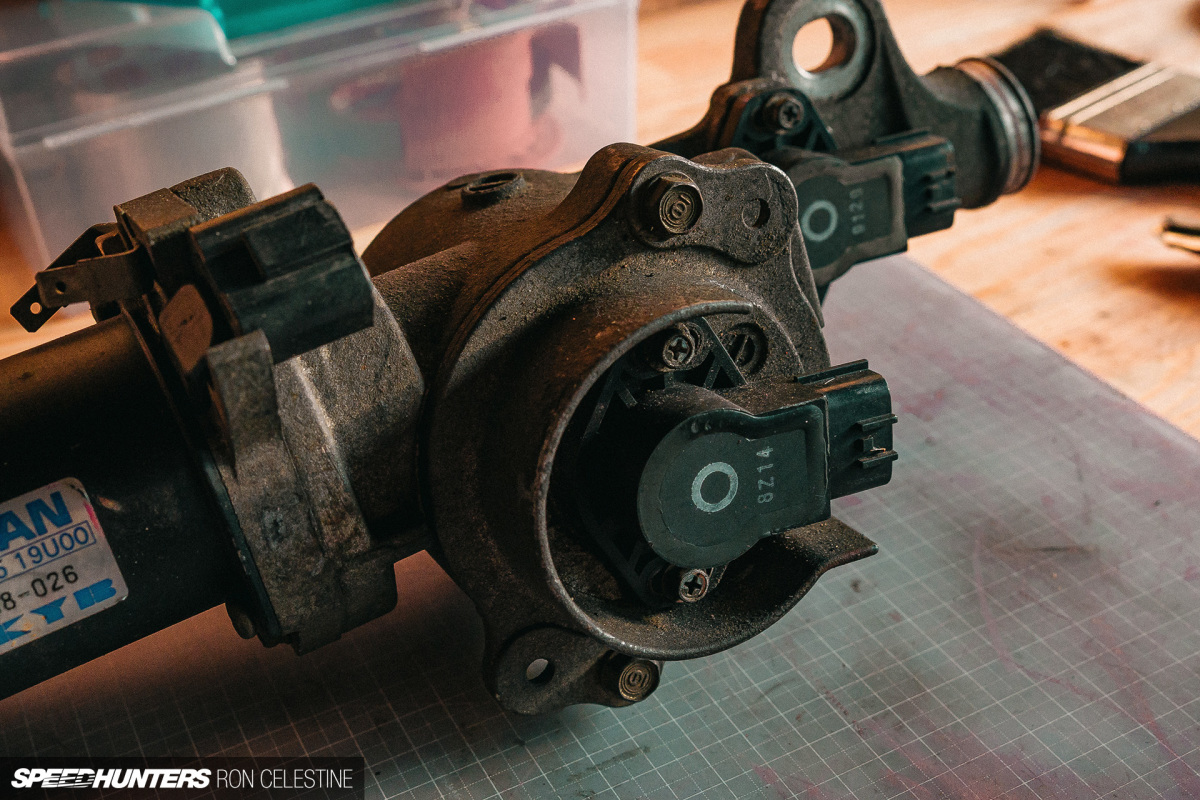
Now, most sane individuals set up a HICAS delete bar or another type of eliminator package. I’m really actually curious in regards to the system and wish to perceive it and attempt to tune it earlier than deciding to easily bin it. So, I purchased this used unit from Yahoo! Auctions, with the thought to tug it aside and get a greater perception on how the mechanisms work.
I do know that residing in Japan supplies me with quick access to elements which might be tougher to acquire exterior the nation, so a HICAS elimination package would undoubtedly be a less expensive possibility for a lot of. Amazingly although, the HICAS system is among the few issues that also features correctly in my ER34. You possibly can see it within the fast video I took here.

In relation to changing a HICAS ball joint, you possibly can take away the whole hub and press the bush out with a hydraulic press, or purchase a package that permits you to take away the ball joint whereas the meeting continues to be connected to the automobile. Then there’s the third possibility, which is to take away the ball joint on the automobile whereas making your personal extracting package. Take a wild guess which route I took…
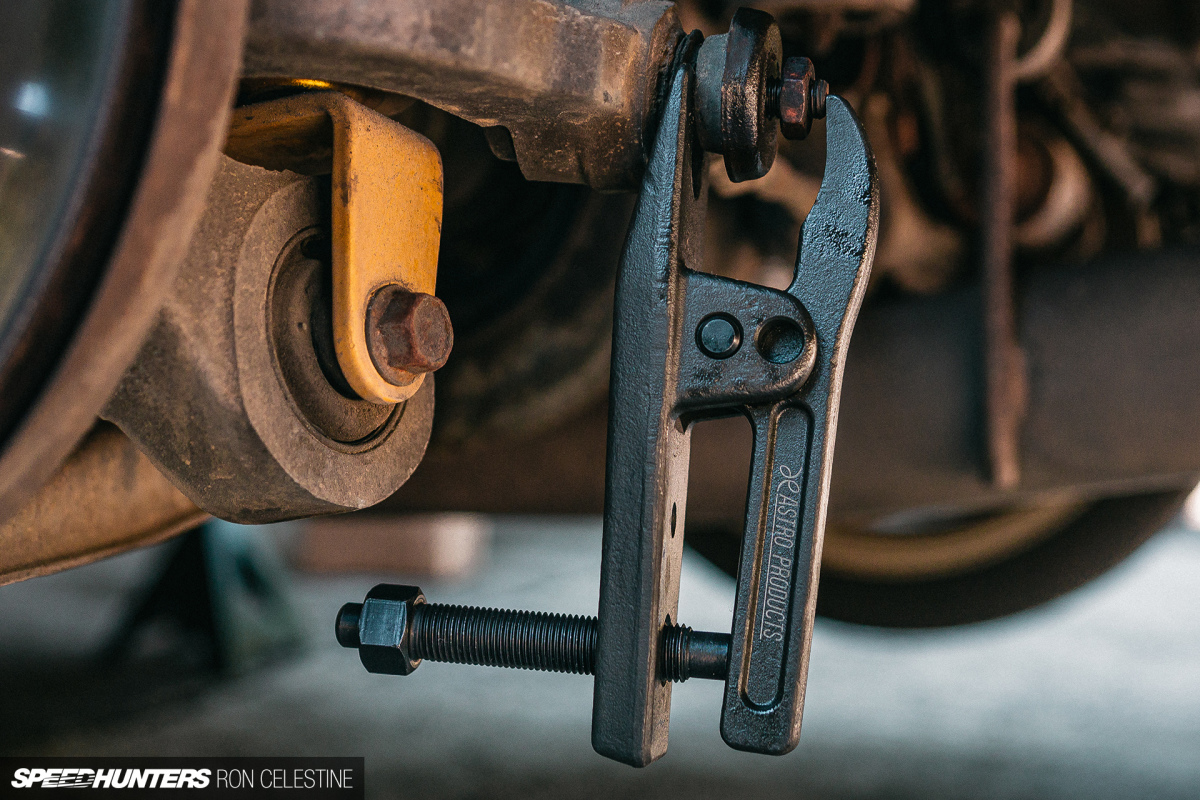

You first want to make use of a ball joint separator to, effectively, separate the joint. Nevertheless, you should make sure the nut is mainly on the final thread or off utterly earlier than you break the joint, or it’ll by no means come off. Ask me how I do know that as effectively.
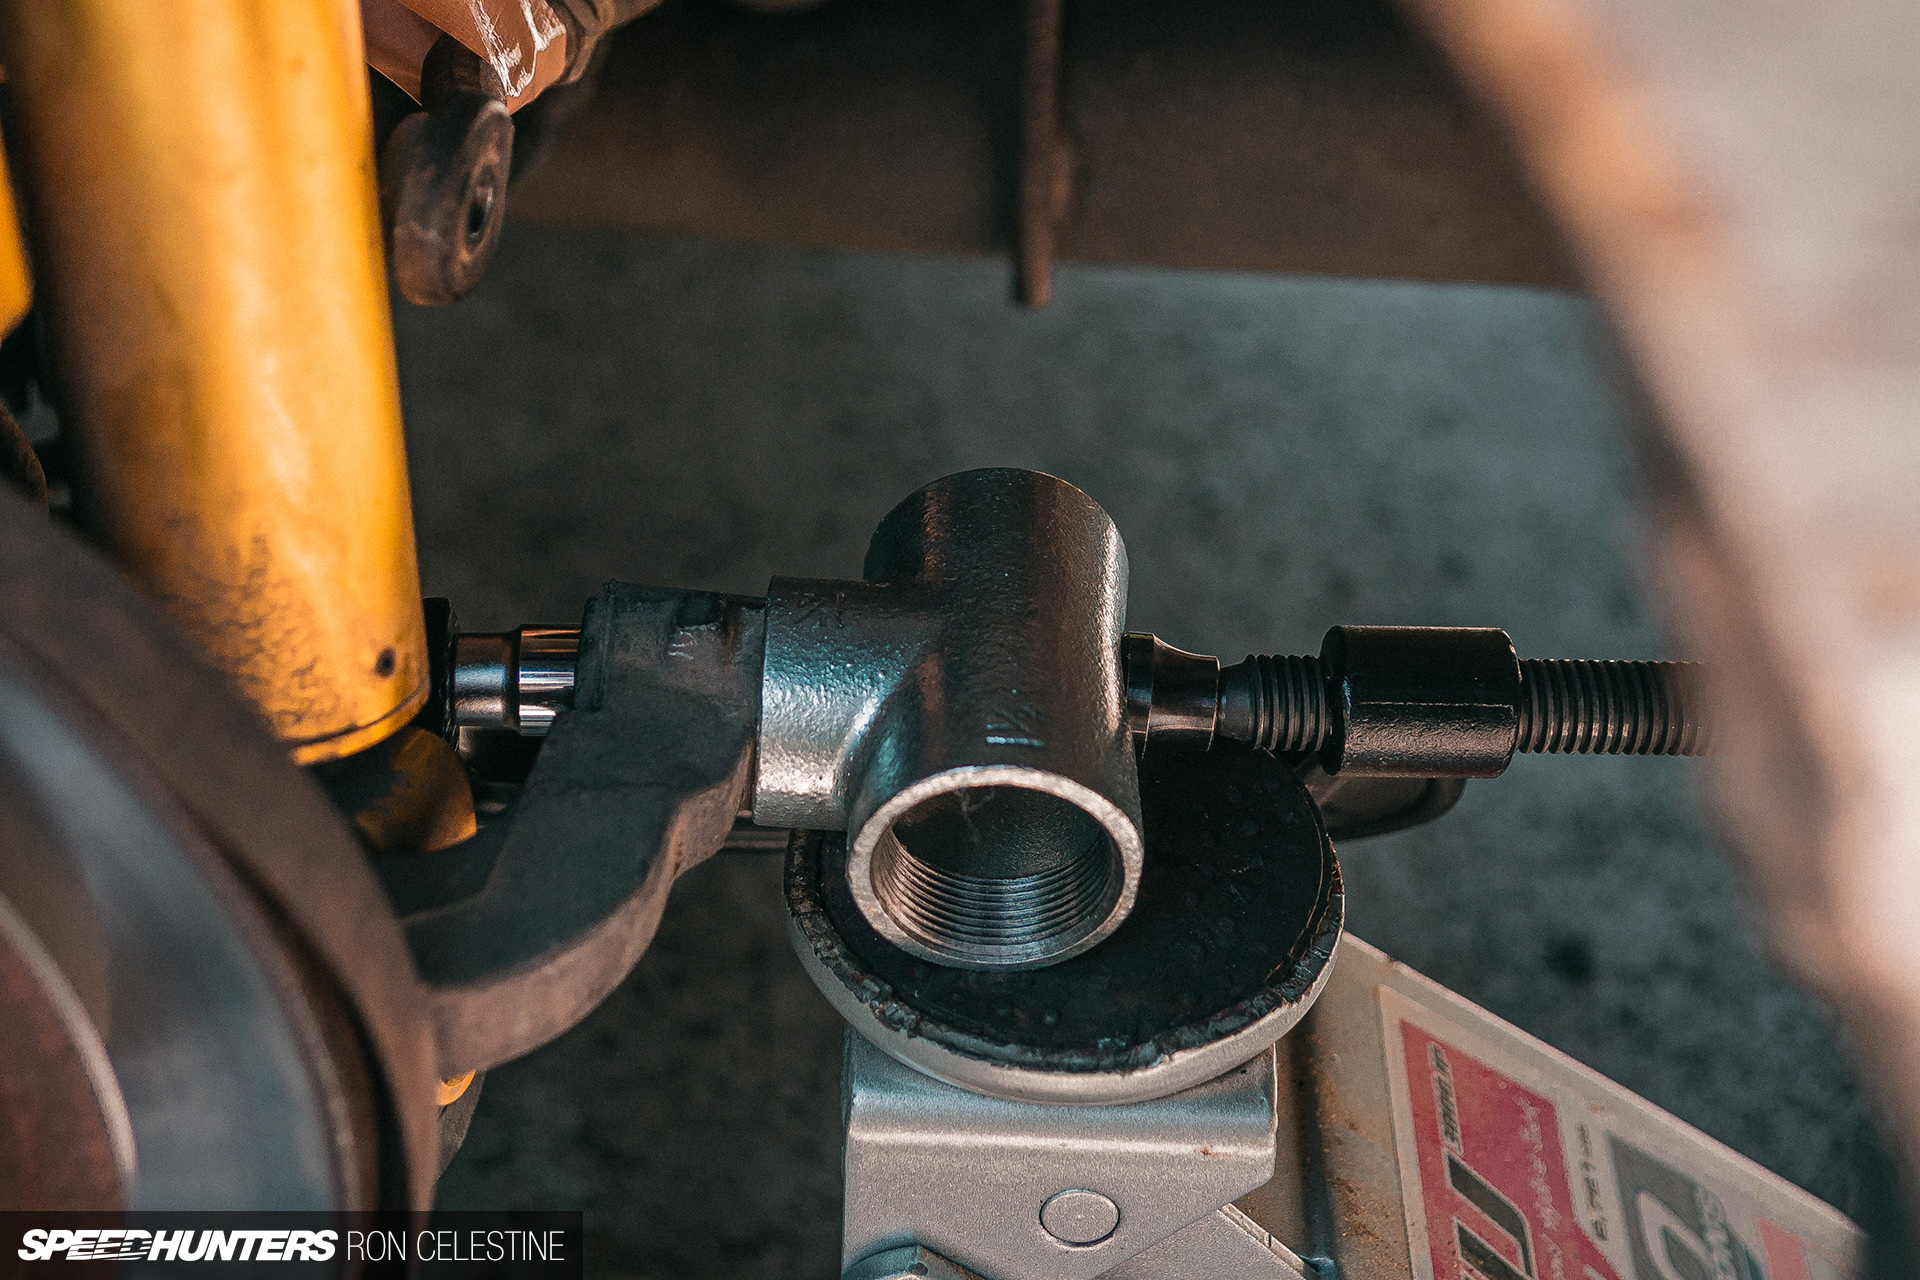
In hindsight, I might have minimize the bolt off to present myself some additional clearance for the following little bit of the method. You want a ball joint press package or a really stout, giant c-clamp, as there’s a truthful quantity of power wanted to press the ball joint out.
For my first try, I used a socket at rear and a t-joint pipe to press the ball joint into. Not solely was the t-joint not robust sufficient, however since I positioned the jack to assist act as an additional hand to carry every thing in place, the c-clamp wandered, thus not delivering the power precisely straight. I used to be in a position to press the bushing out, but it surely was a large number.
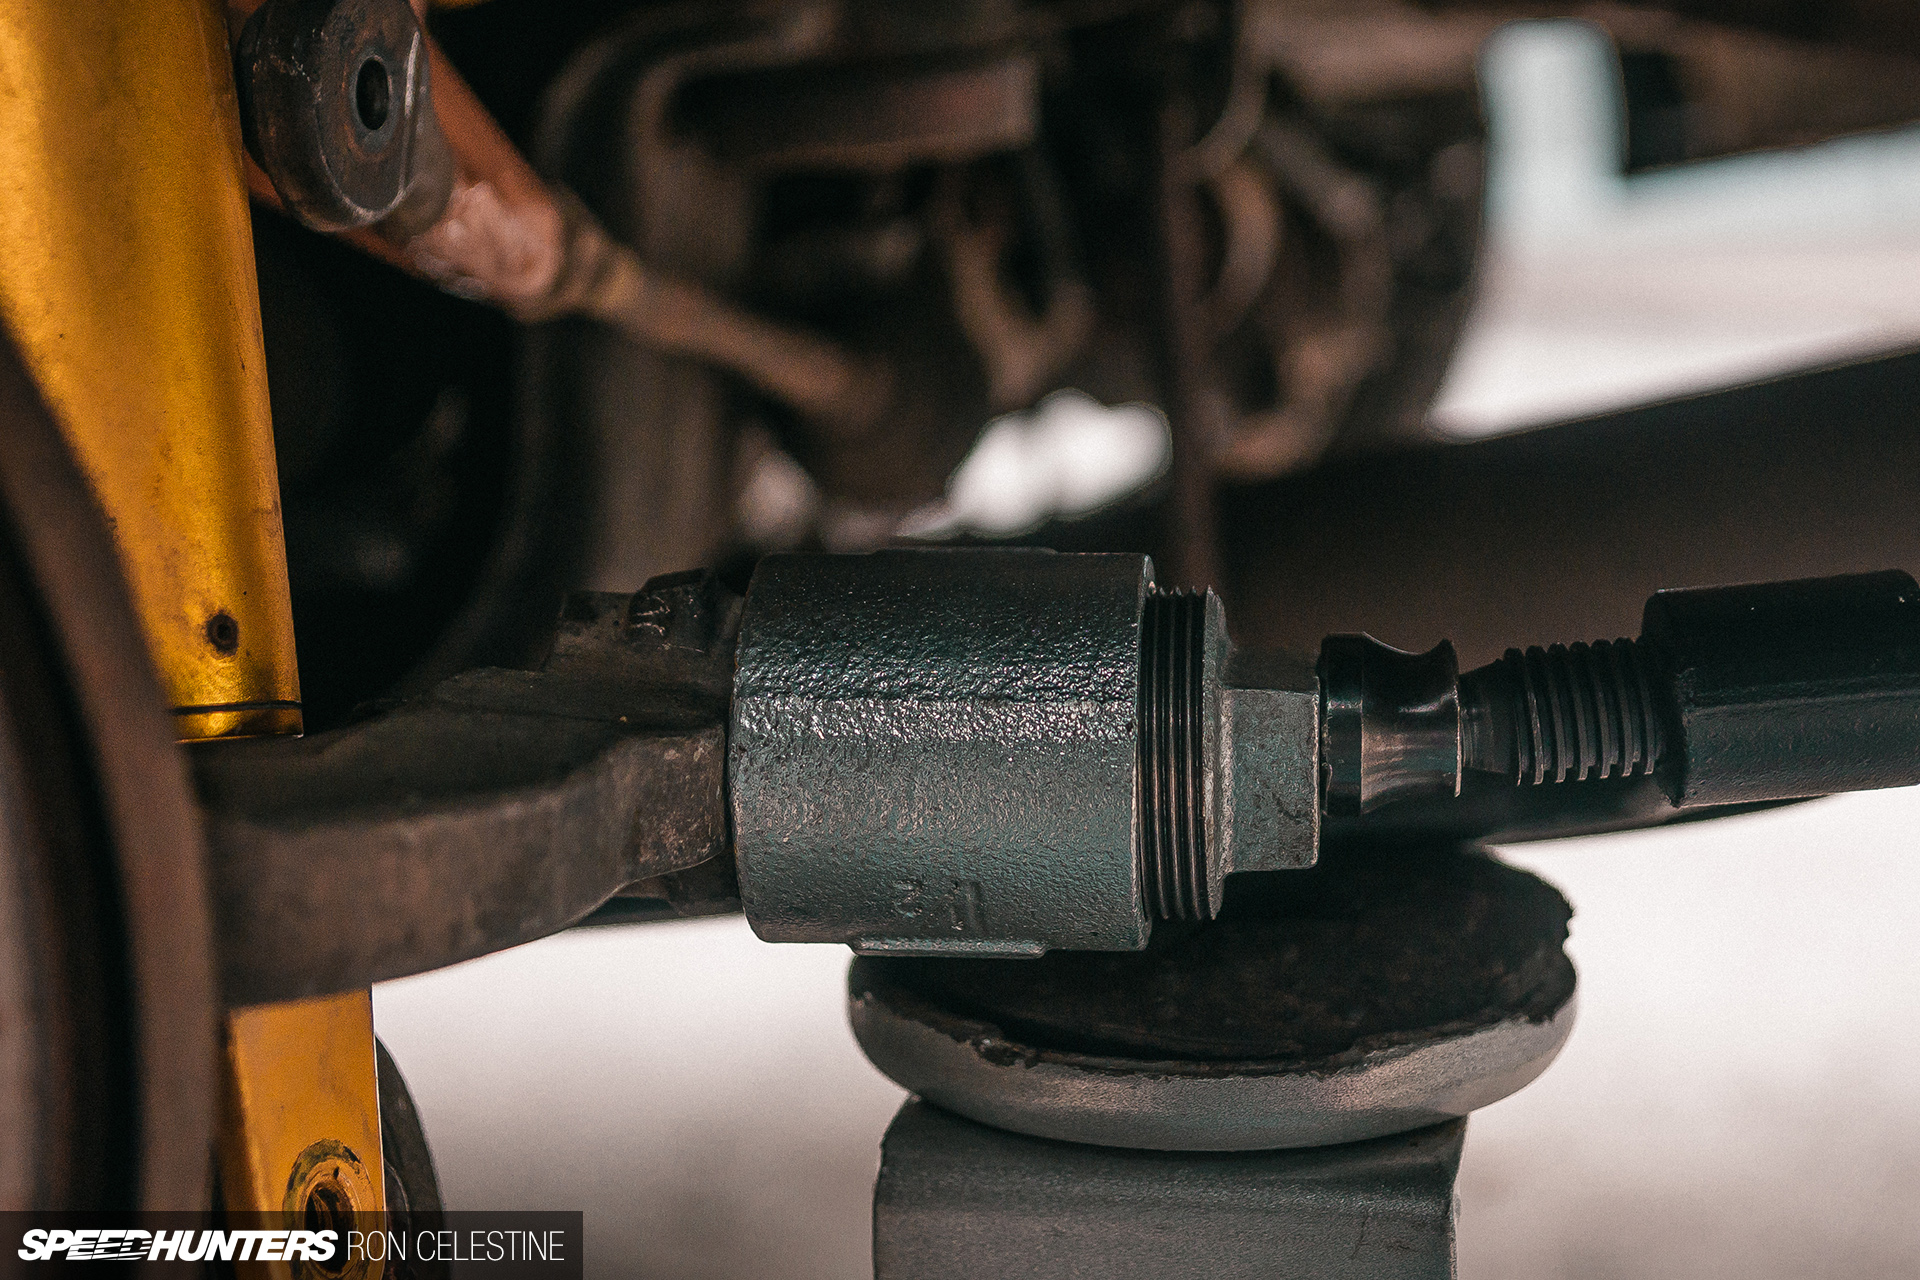
On my second go, I positioned the jack to counter the torque motion of the c-clamp (this does imply you must maintain every thing in place by your self, so use one other jack if in case you have one, a pal, or don’t skip arm day), a thicker pipe with a flat cap, and warmth. If in case you have a blow torch, warmth the skin of the bushing for about one to 2 minutes, as that makes urgent the bushing out a lot simpler. Cursing continues to be required, however this second try was way more profitable than my first.
Putting in the brand new bushing it a bit tougher as you possibly can solely press the ball joint in a single route as a consequence of a flange. A 32mm socket matches completely on that flange and a 27mm socket matches on the bottom – simply.
The entire operation is then executed in reverse, however know that when the ball joint isn’t shifting anymore, cease. One thing has gone flawed and also you both must realign the clamp, or reheat the metallic once more as there’s an excessive amount of friction. A bit grease might help, however then you must take additional warning when heating the metallic up. Sure, I did need to do one ball joint throughout as a result of I didn’t cease.
One Final Shock
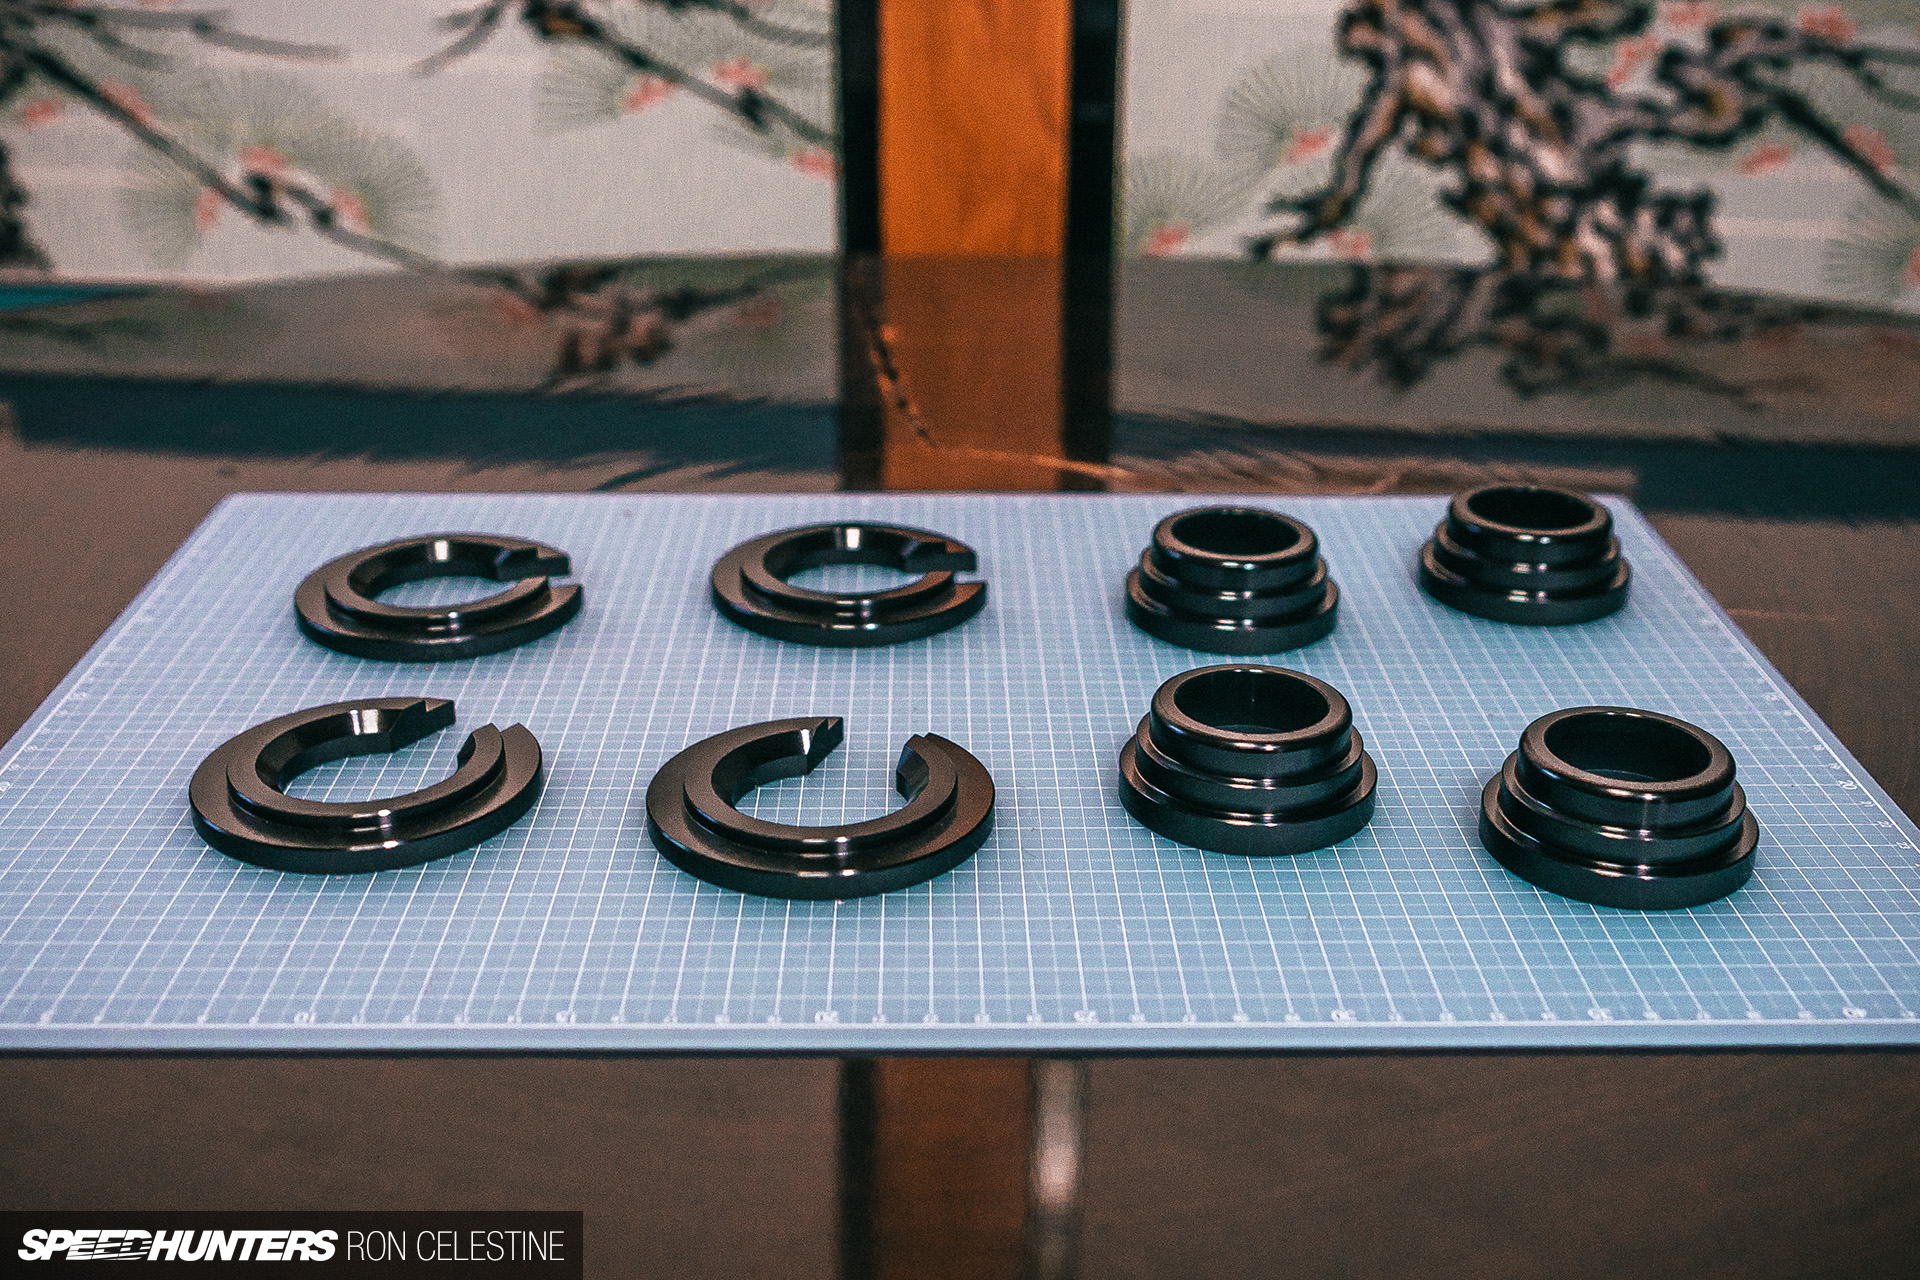
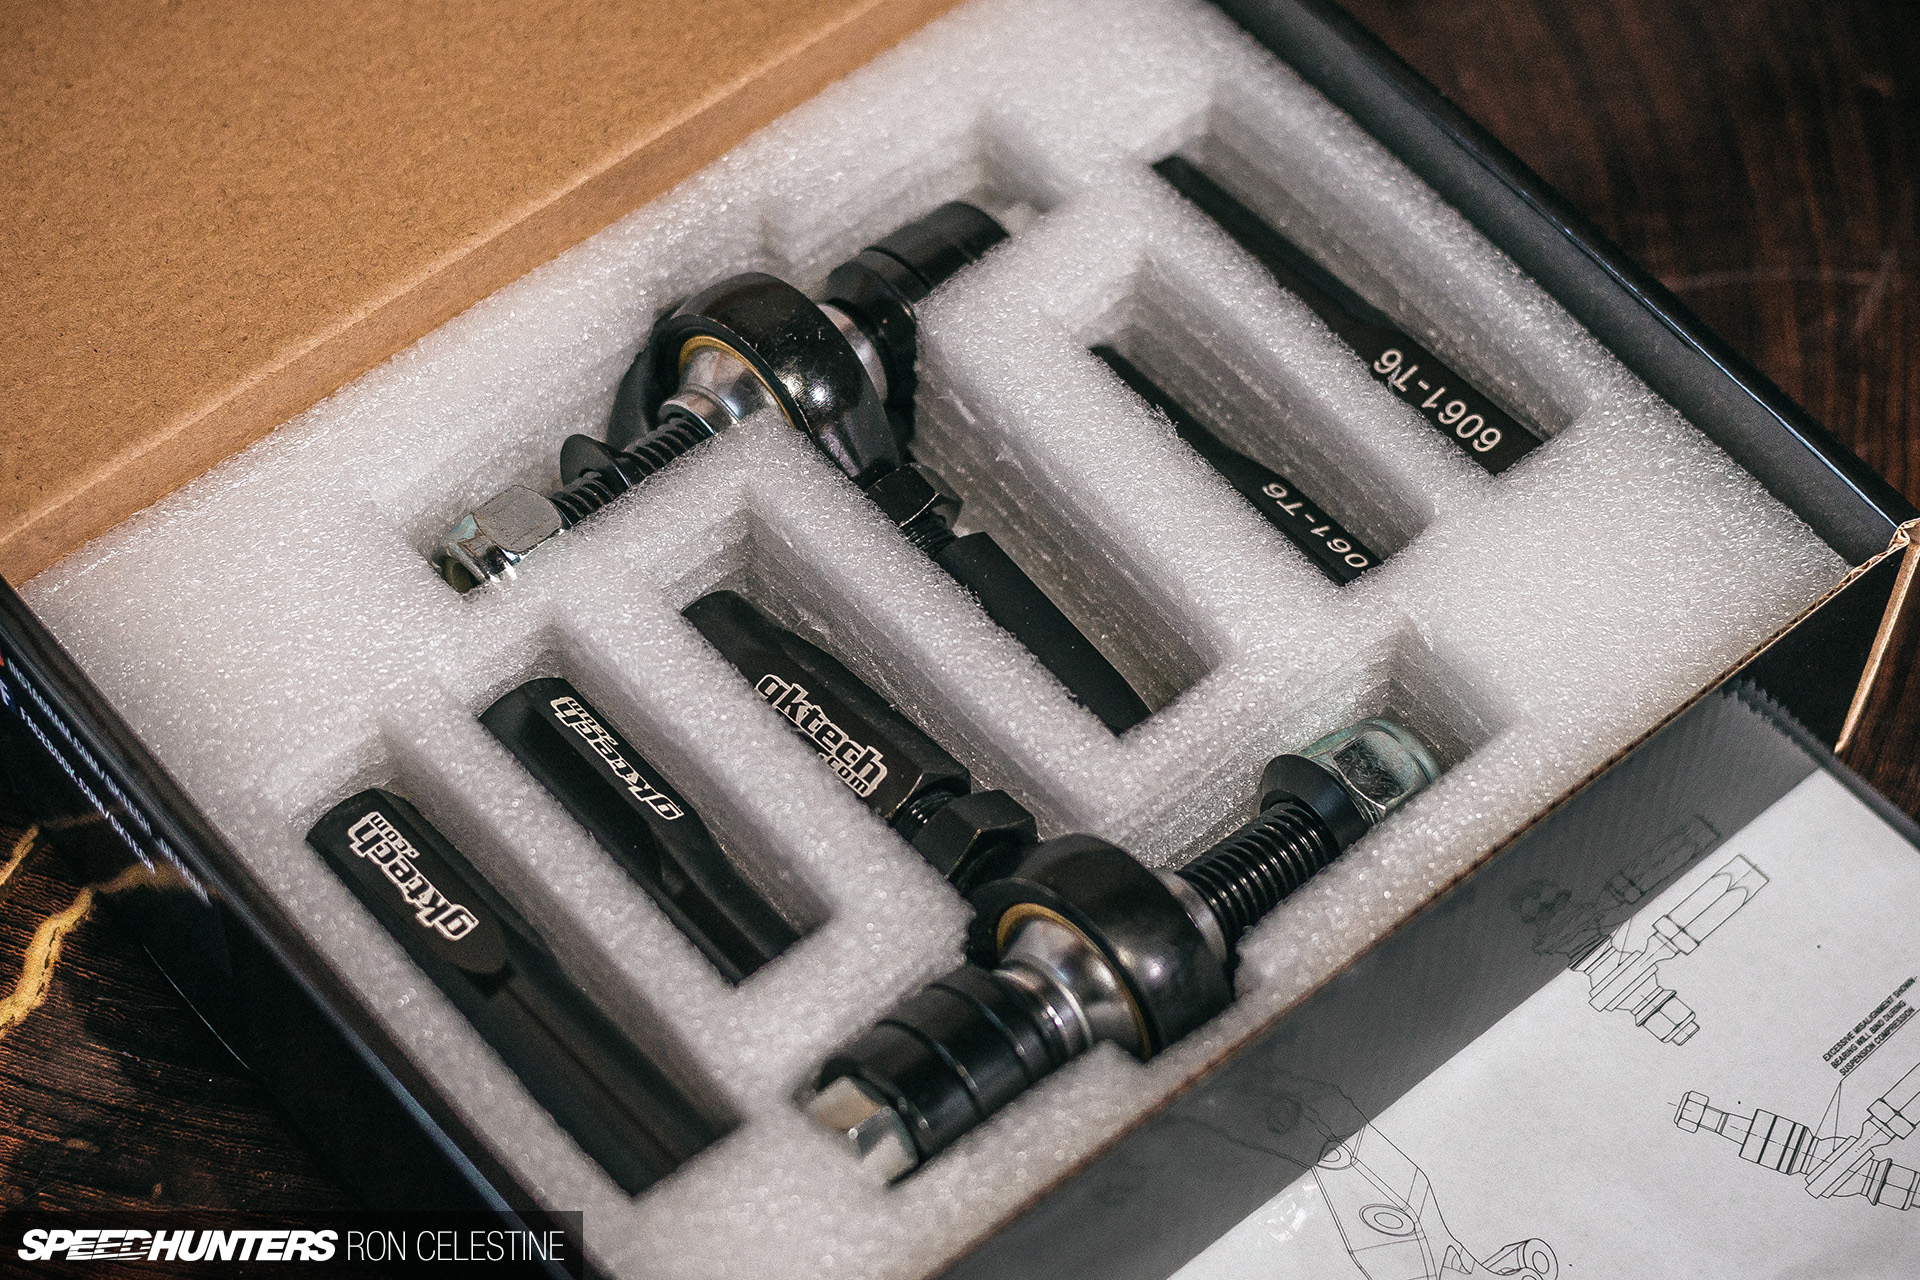
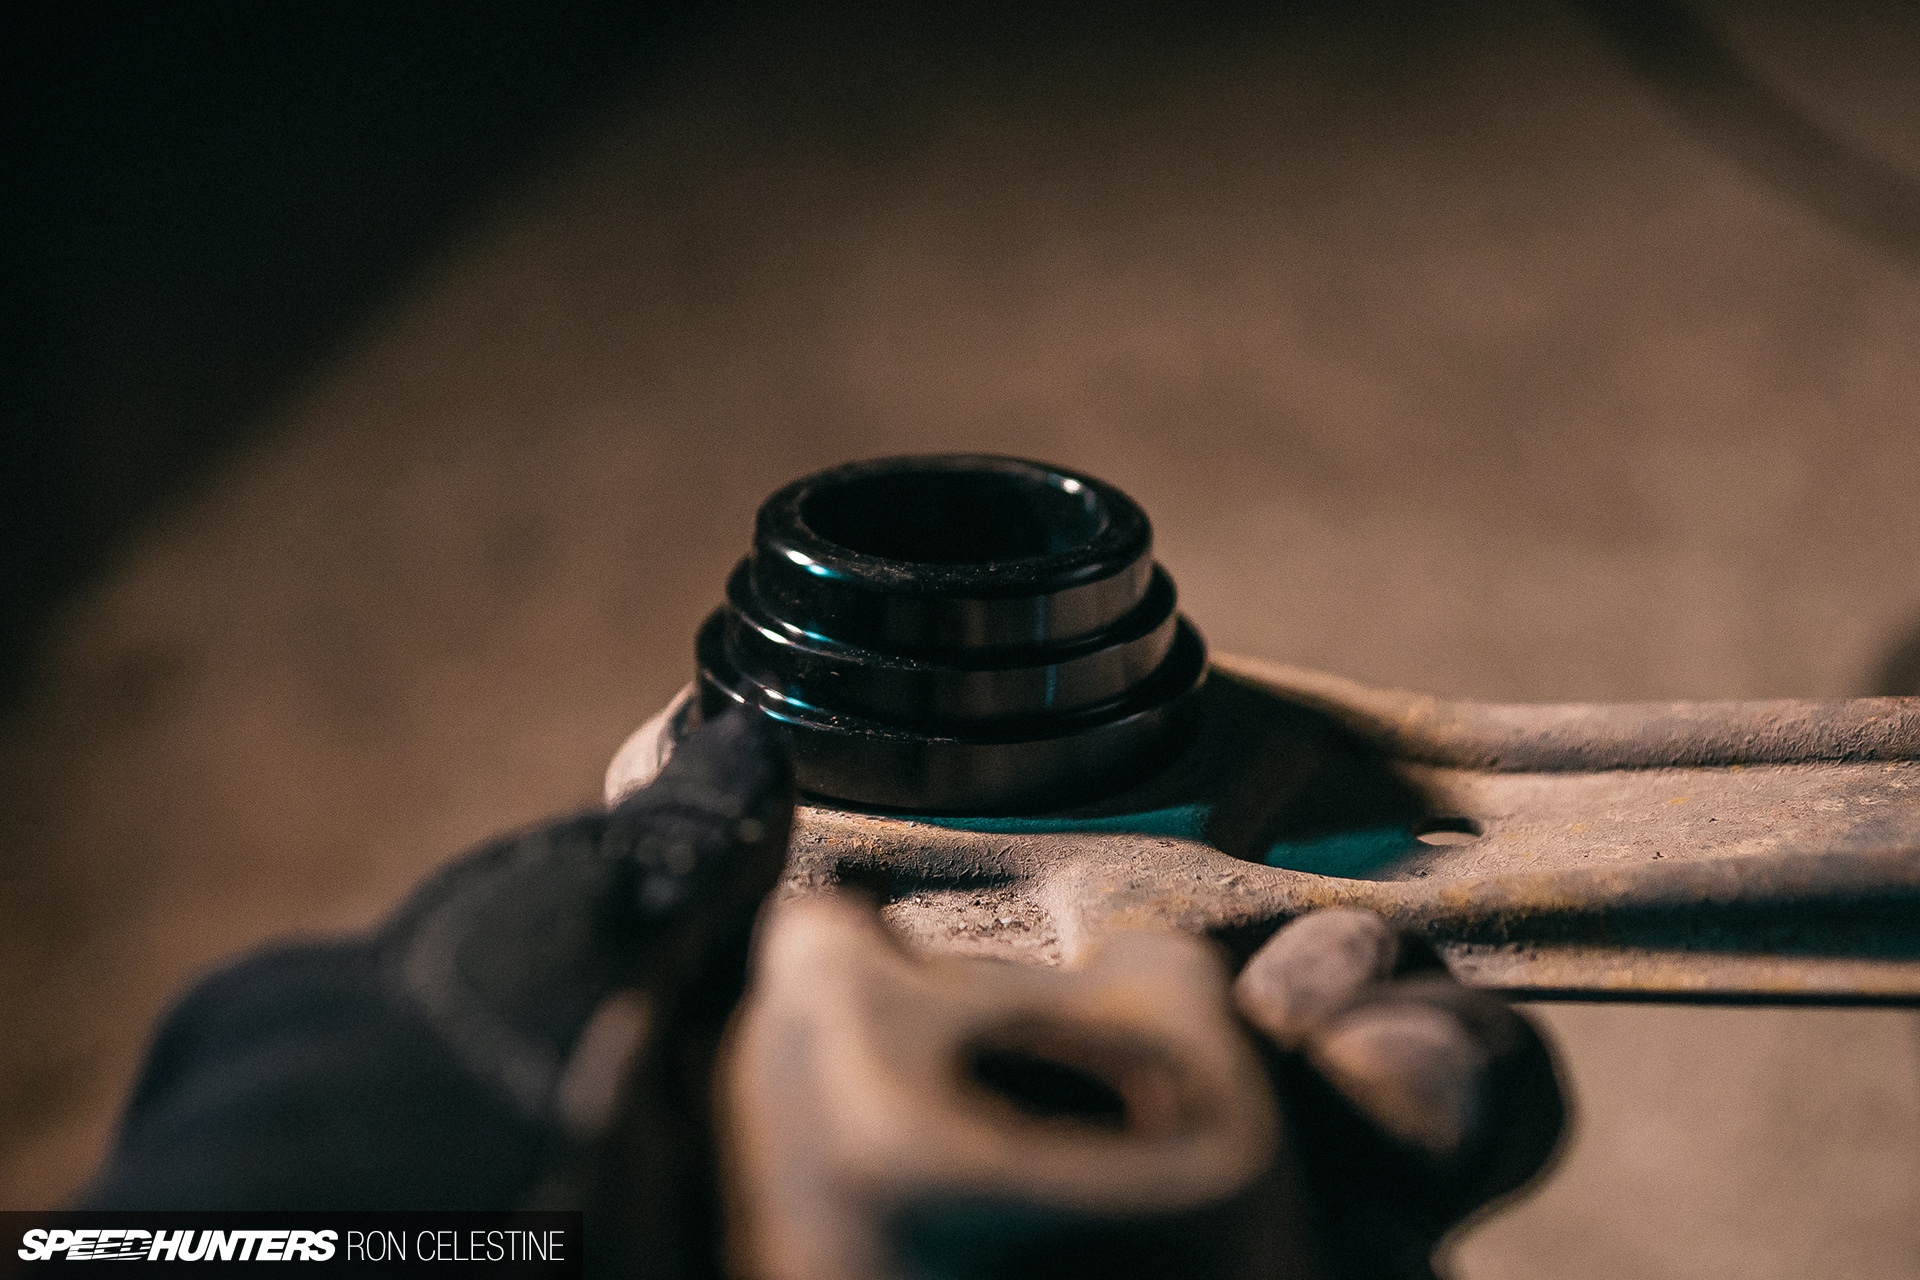
Since I used to be engaged on the Skyline’s rear finish, there was one little bit of package from GKTech I needed to put in earlier than shifting on – rear subframe collars. There was nonetheless a whole lot of motion within the automobile’s again finish which involved me when driving it arduous, and I wasn’t certain if it was the HICAS unit, the worn HICAS ball joints, or one thing utterly unrelated. The ball joint alternative did treatment the ‘slop’, however the automobile nonetheless felt a bit off.
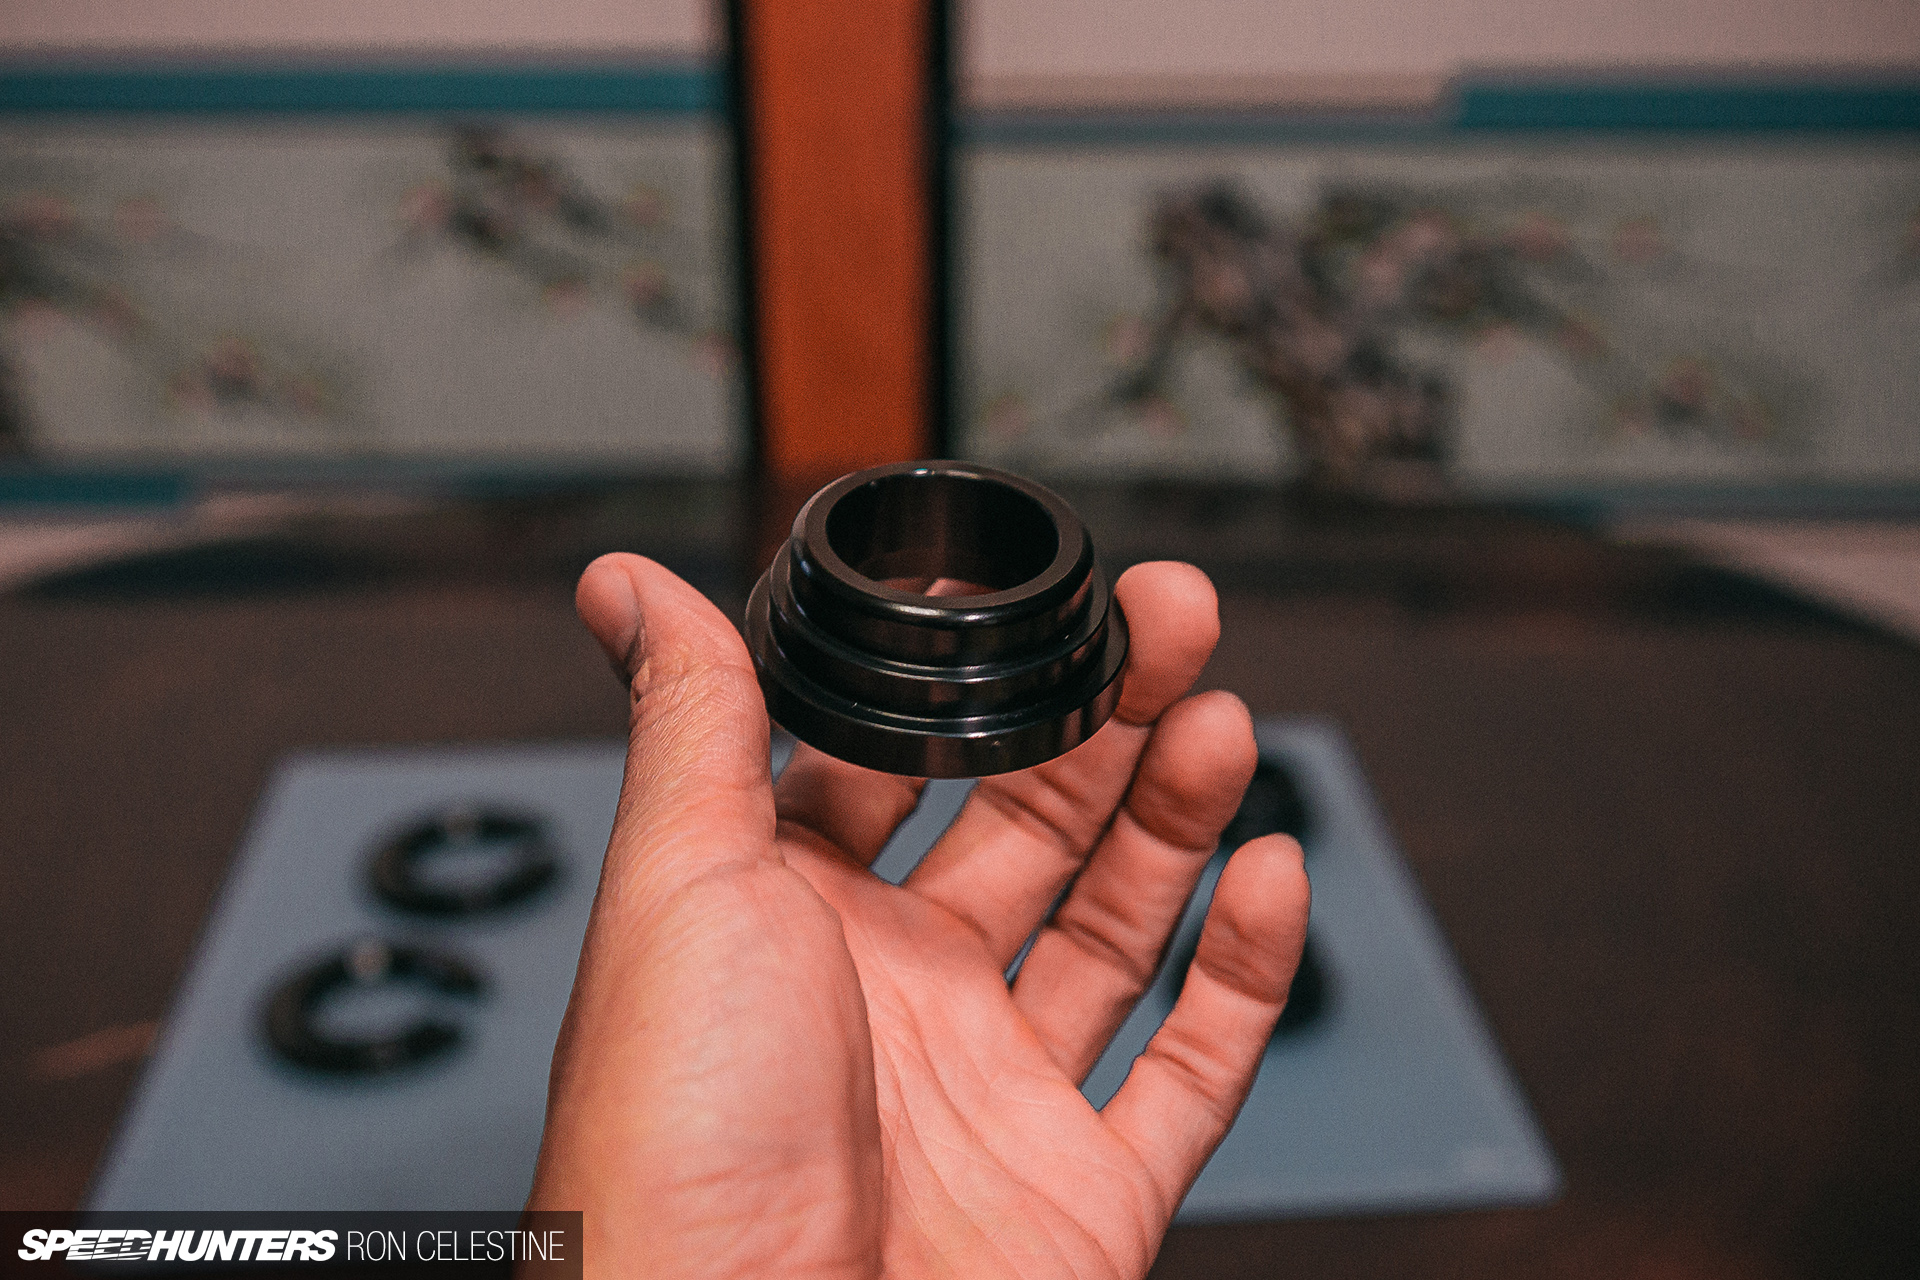


I consulted with Zac at GKTech and he advised the collars, which might assist tighten the rear up. To suit them, all you must do is assist your rear subframe with a jack on the diff, loosen the subframe bolts so that you could take away the washers, brackets, and thread the nut simply sufficient to permit the subframe to drop to the purpose the place you possibly can slip on the collars above and under.
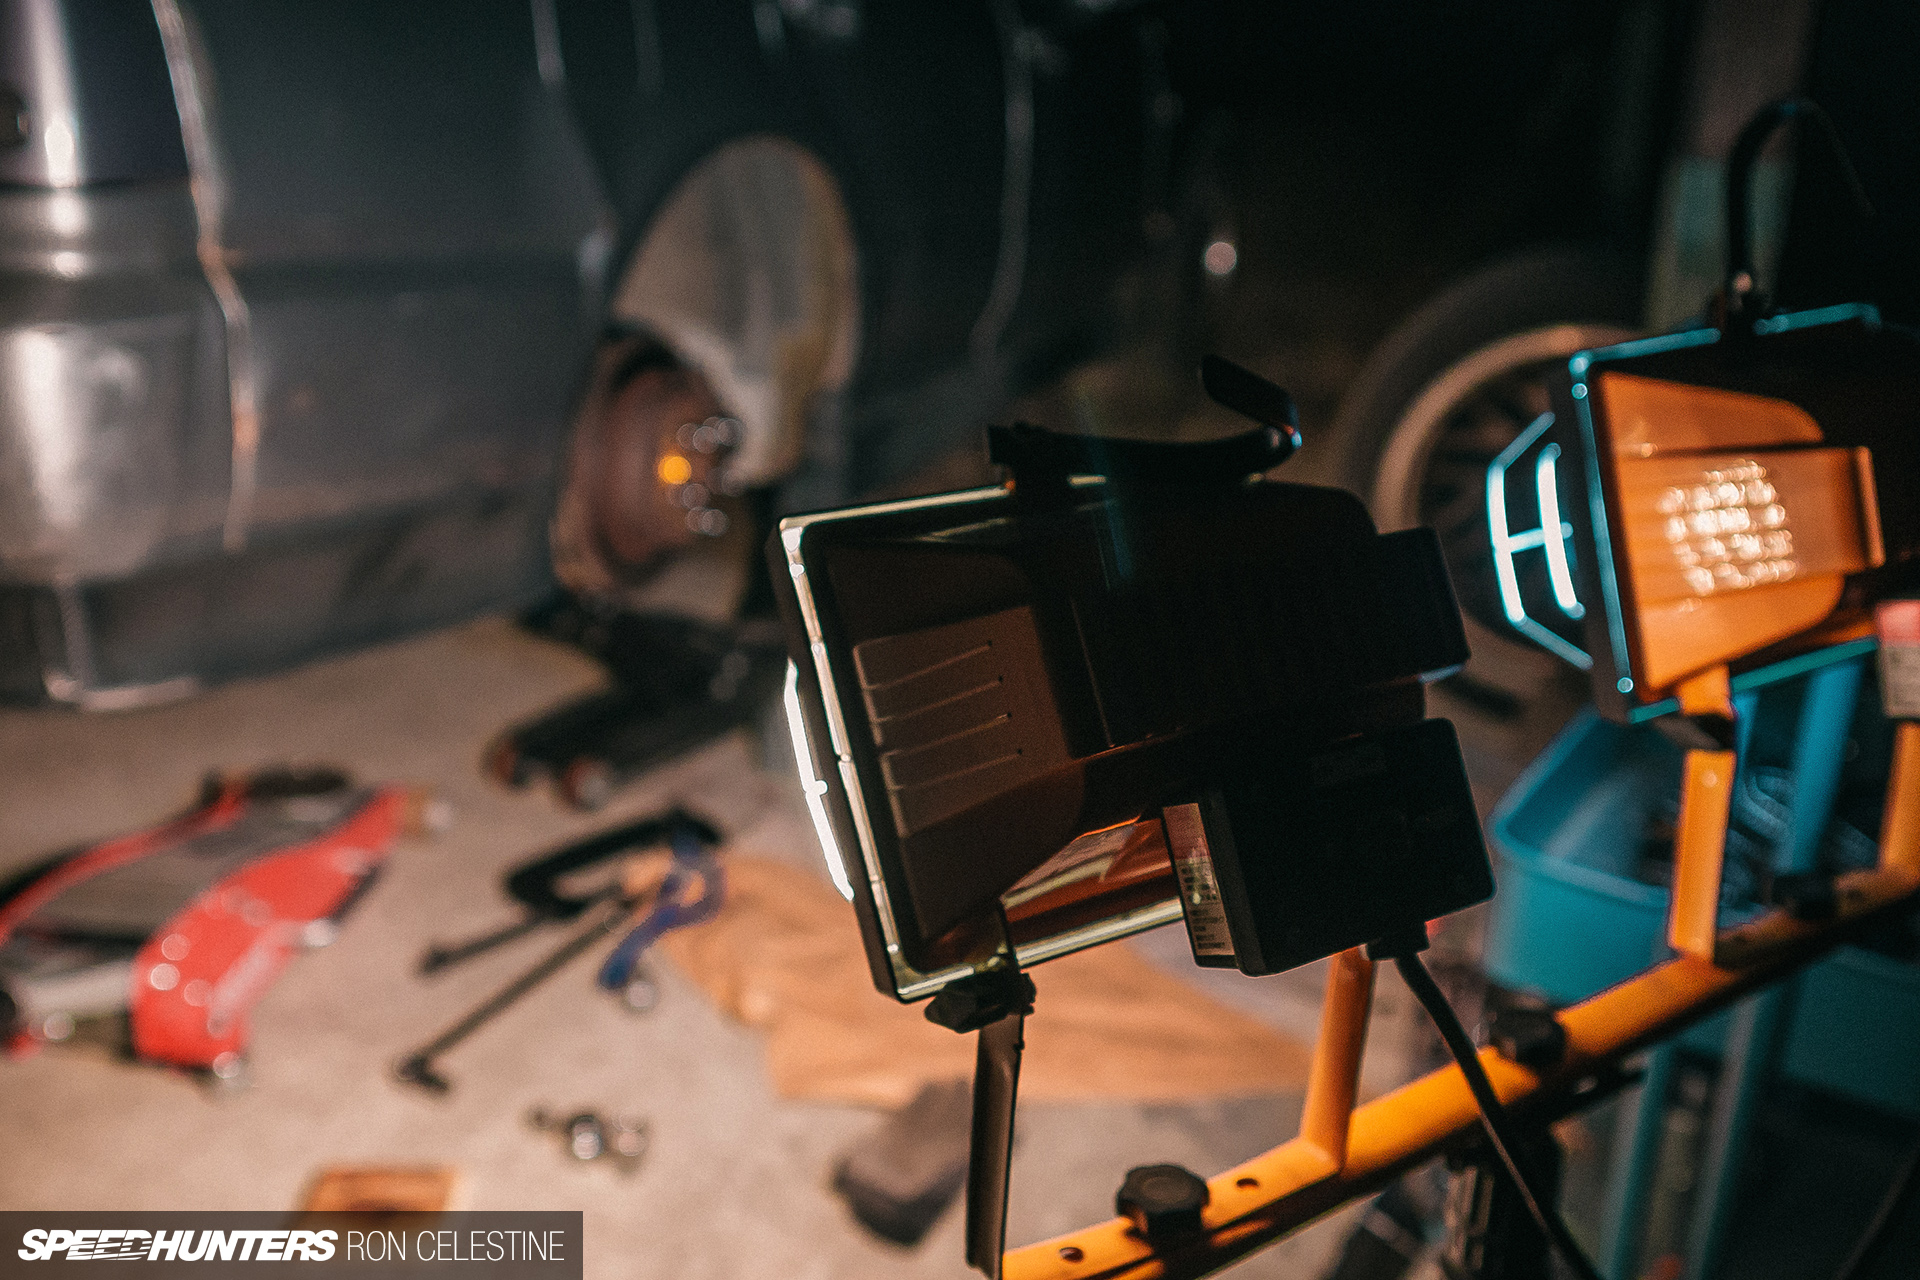
I whipped out the lights and started working becoming the collars, with GKTech’s set up video able to go on my cellphone simply in case I discovered a option to mess it up.

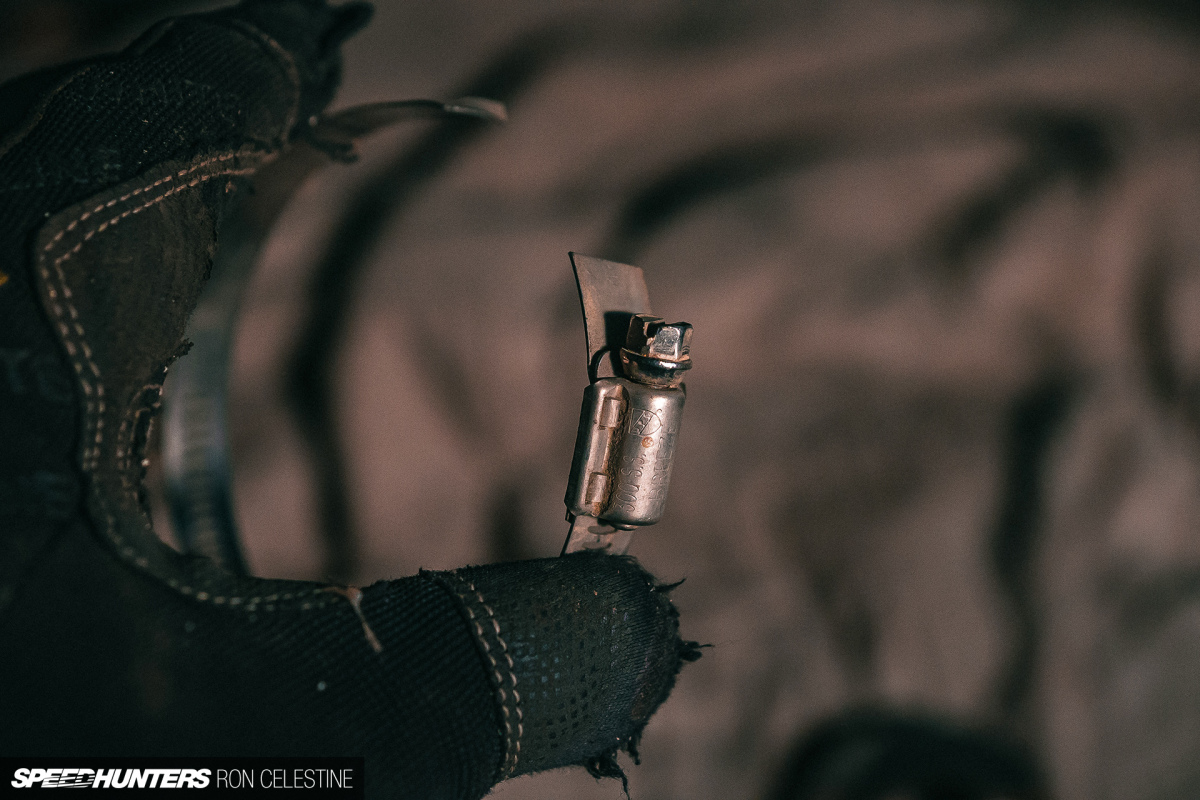
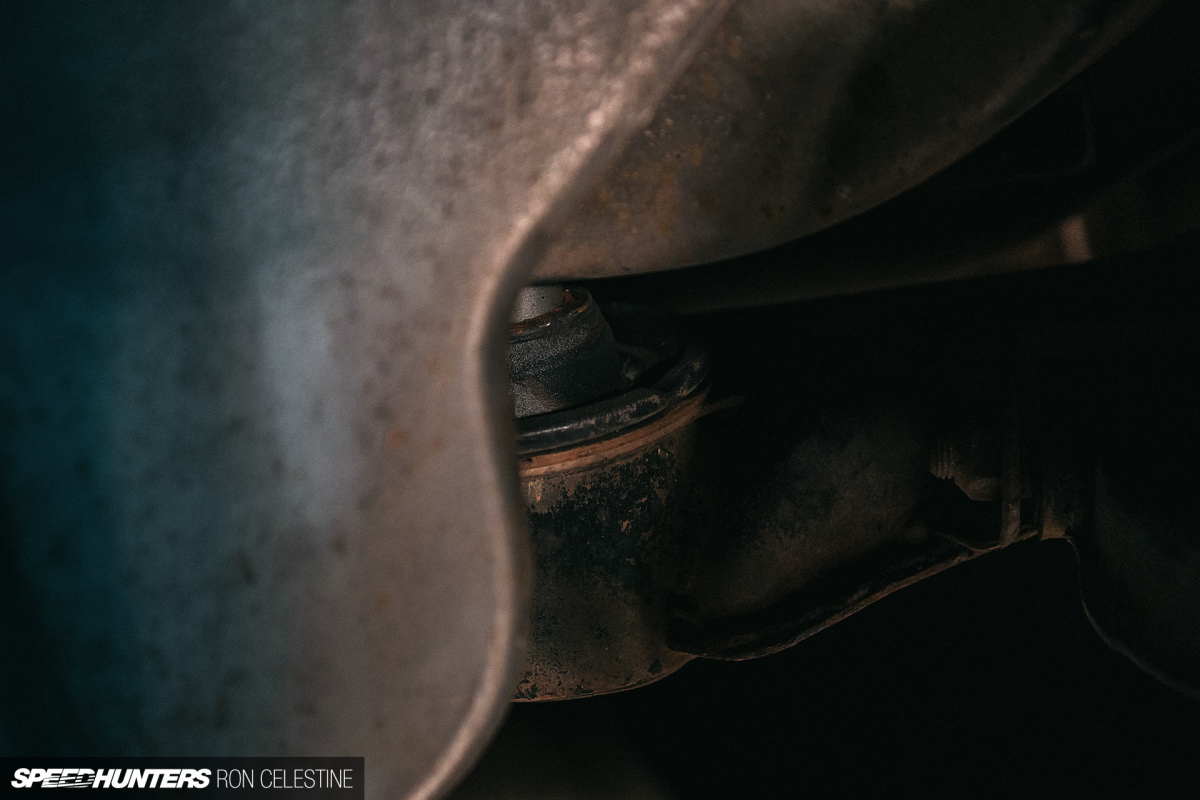
That’s once I observed one thing very peculiar. On the again aspect of the rear subframe, there appeared to be an additional ring under the subframe. On nearer inspection, it gave the impression to be a tough plastic-like polyurethane. Up entrance, these rings weren’t solely thicker, however wrapped in a hose clamp and solely fitted above the subframe.
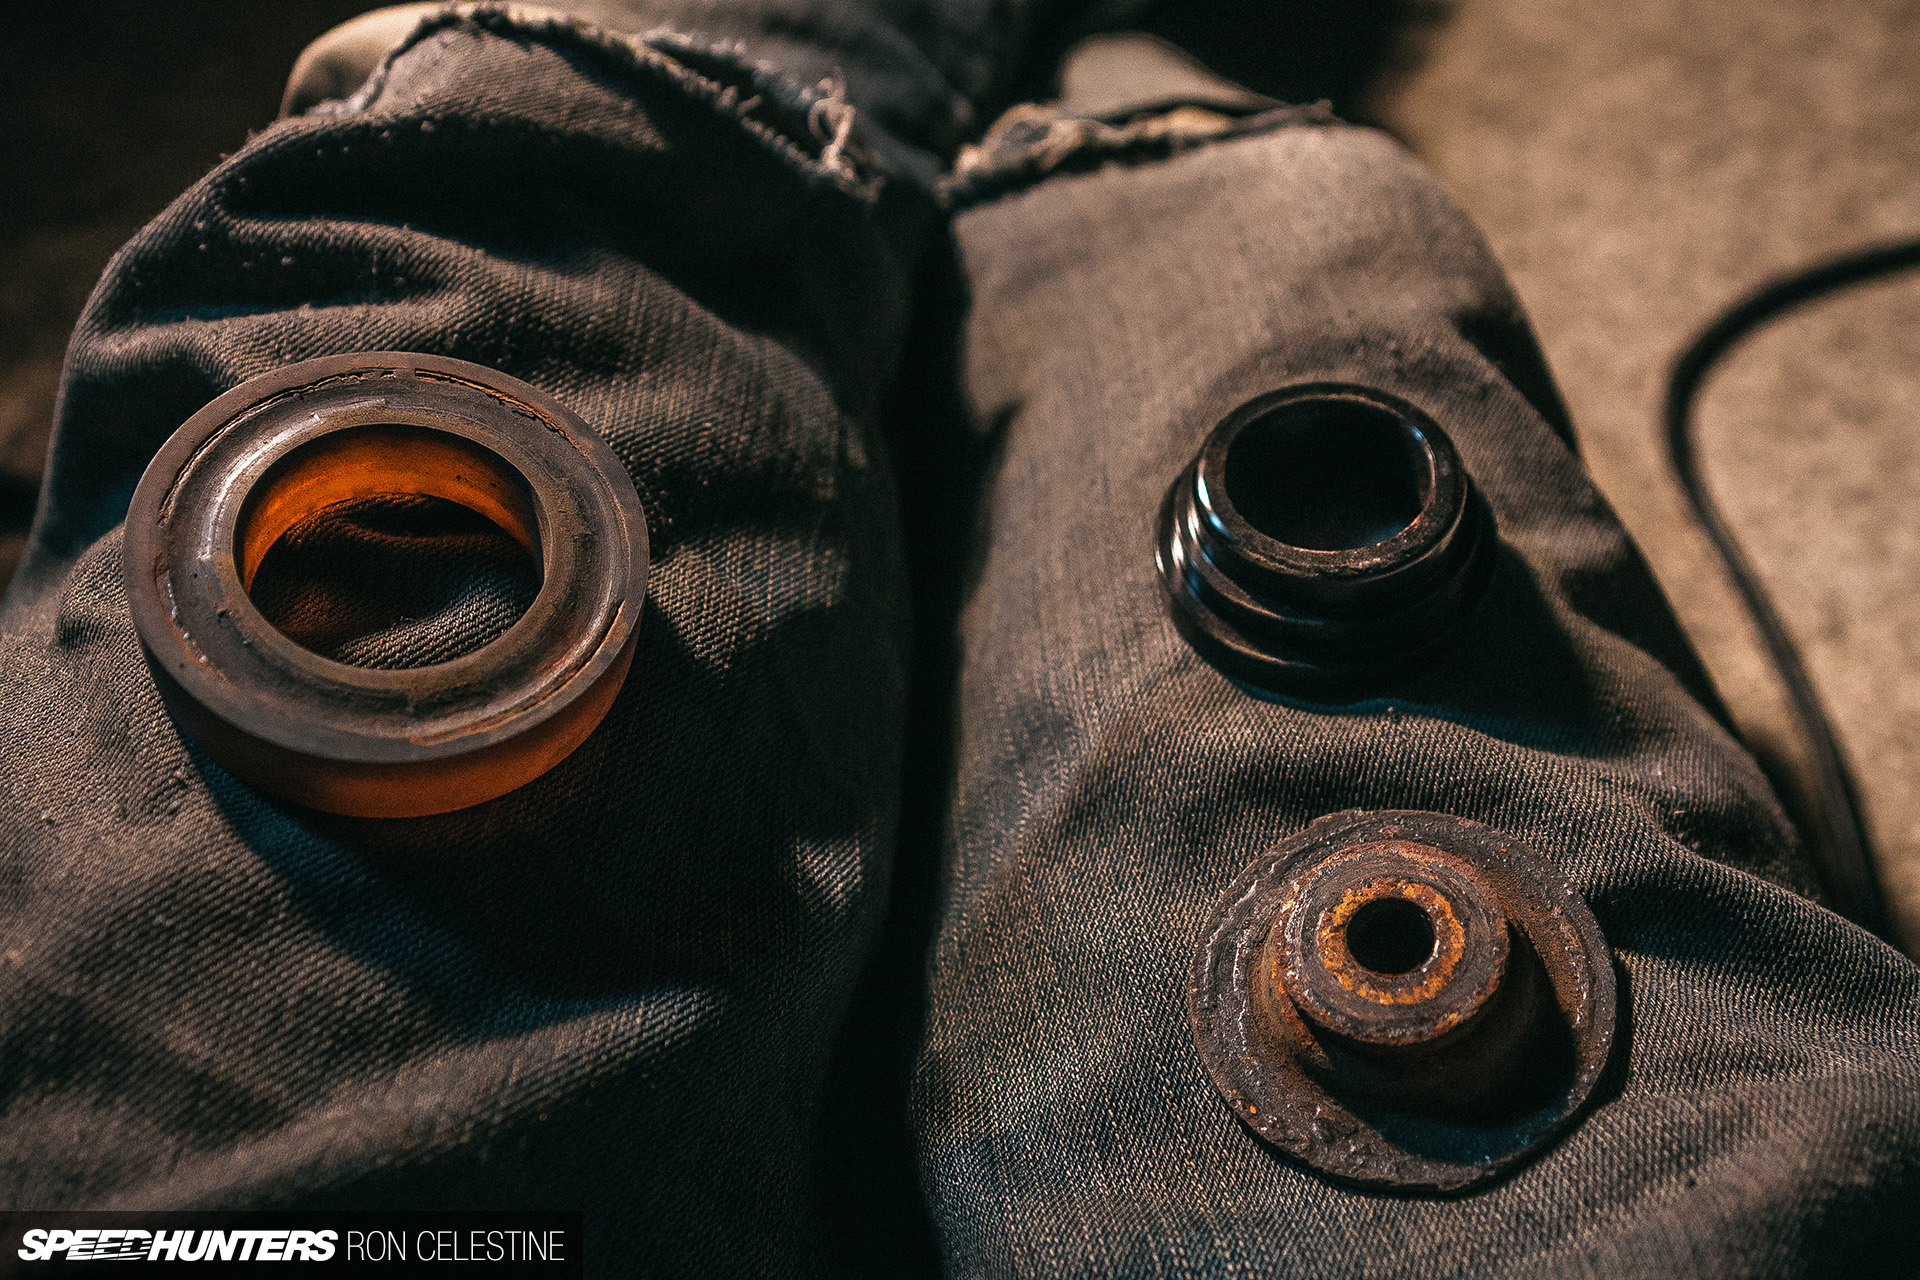
The rears have been simply eliminated as they’re positioned beneath the rear subframe, however the fronts are so tall that they’re not popping out until you drop the entire entrance subframe.
As soon as once more, I ended what I used to be doing and began to analysis what these might be. It seems that folks use these ‘pineapple rings’ to offset the geometry of the diff and subframe to try to improve traction. Principally, they have been configured to induce squatting.
I despatched the automobile’s earlier proprietor an image of one of many rings and a message asking if he knew something about them. He confirmed that they have been put in so the automobile had extra grip off the road for drifting and gymkhana.

I can perceive why individuals need extra traction within the rear, and these are a really low cost and straightforward option to obtain that. Traction arms, management arms, larger wheels and tires are all expensive. Nevertheless, they shift the load in an uncommon method and have a detrimental impact on dealing with.
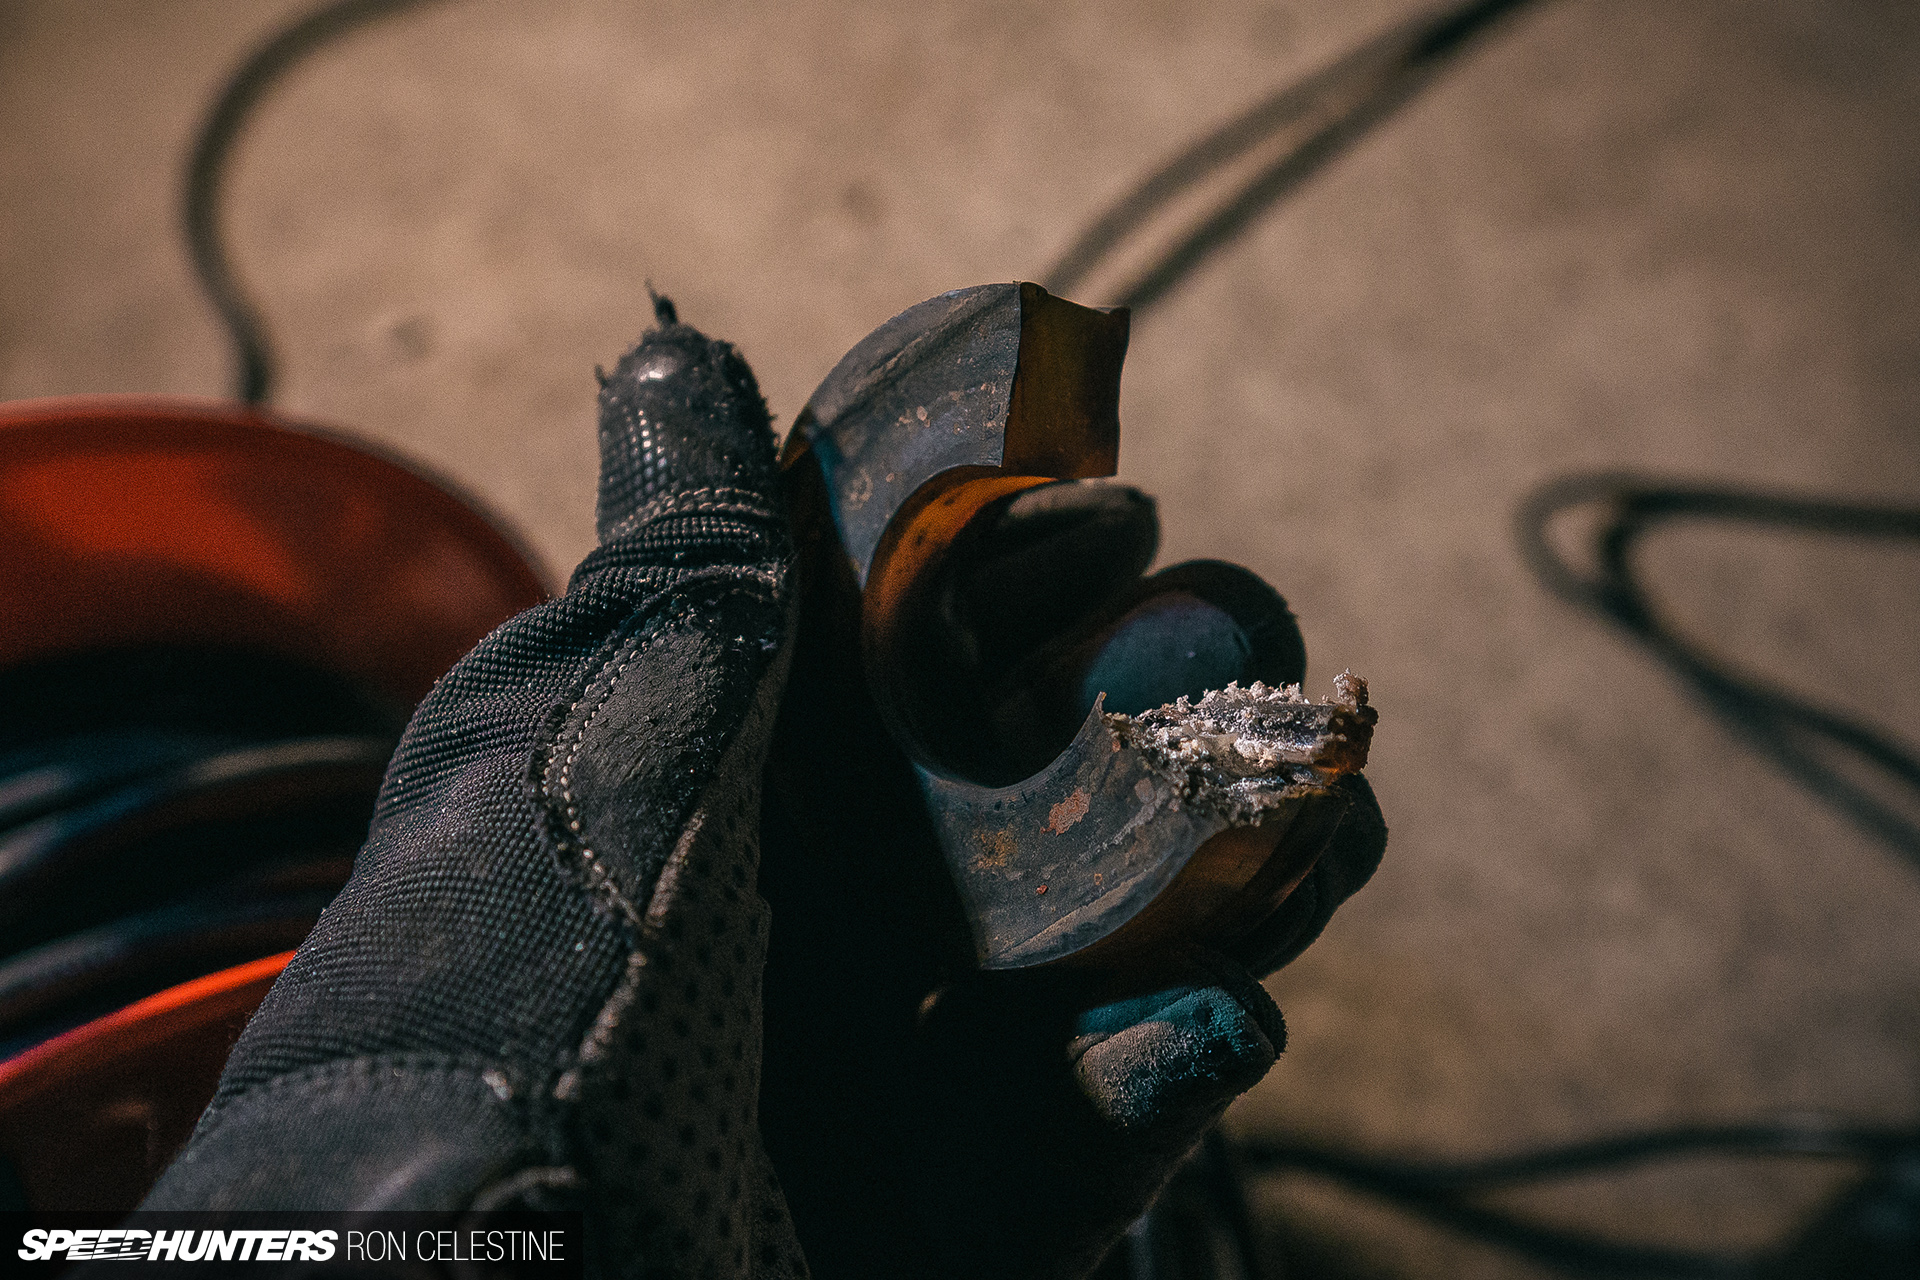
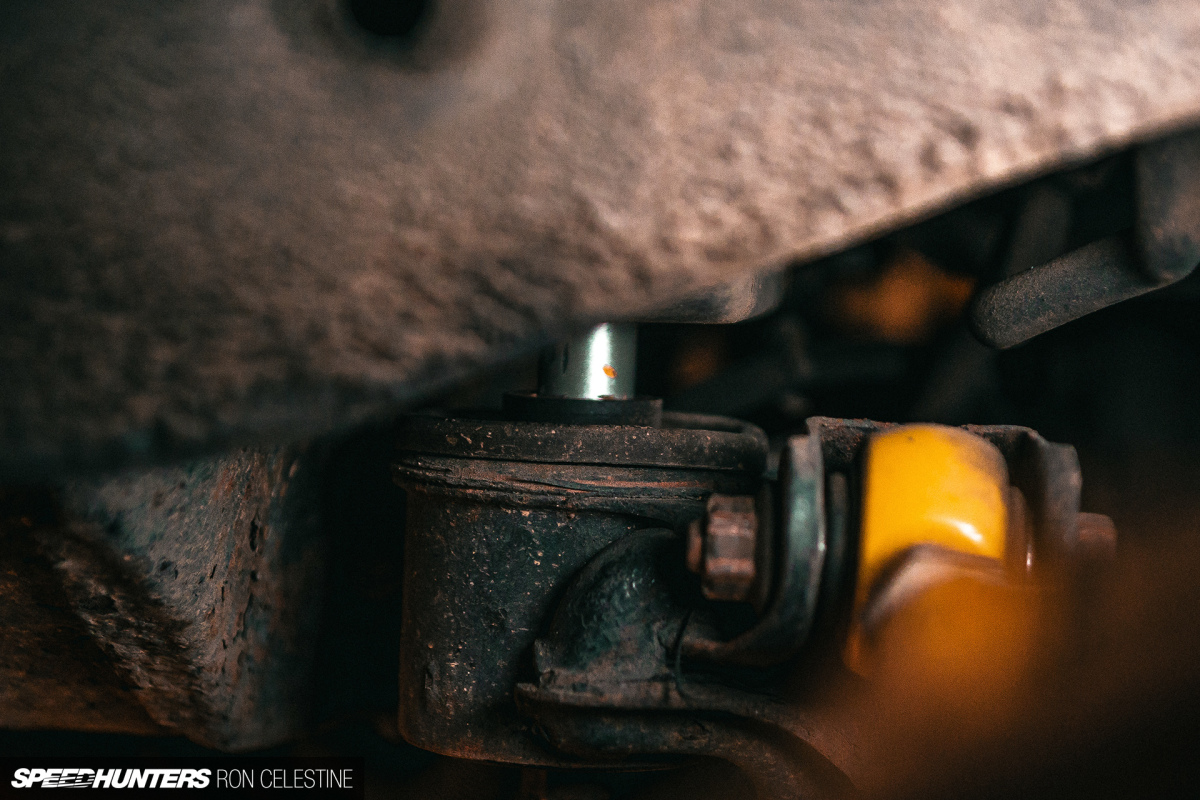
Realizing what I used to be coping with, I broke out the Dremel and hacked away on the spacers till I might simply take away them. Then I fitted the GKTech collars.
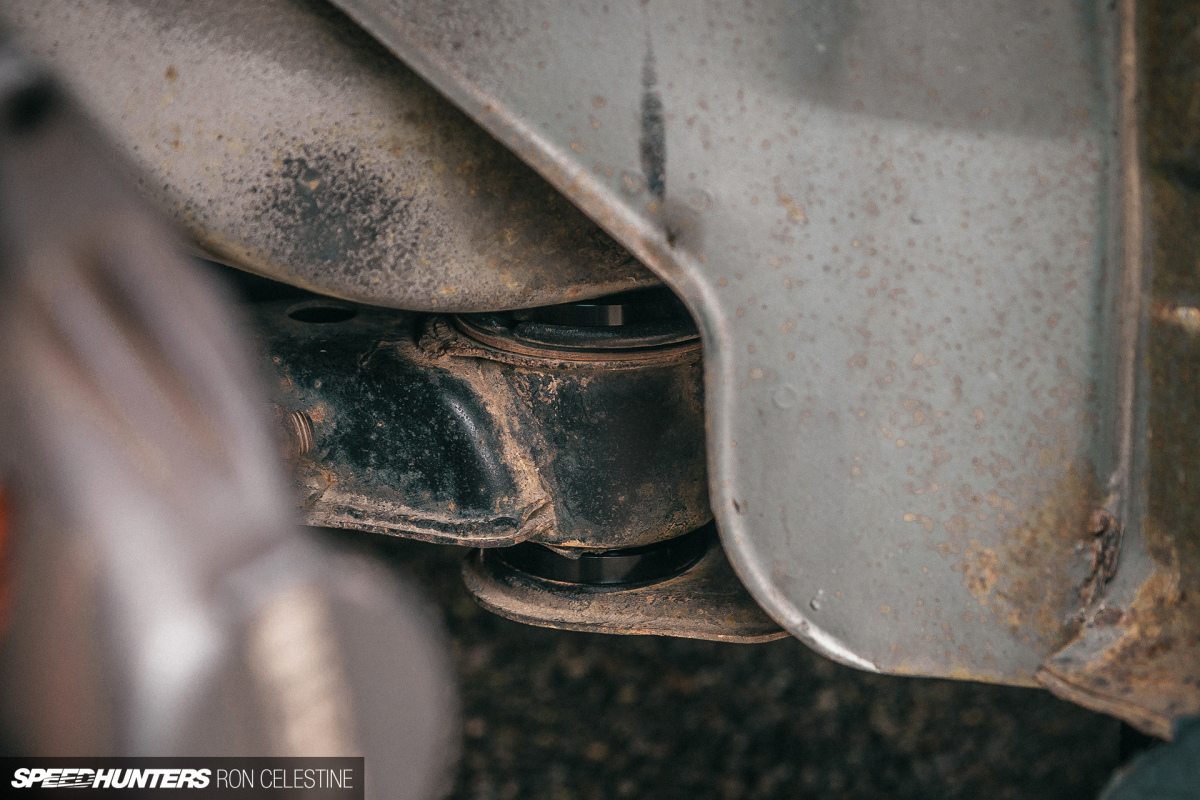
At this level I undoubtedly wanted to do an alignment because the spacers had modified a lot, however I needed to do an apples-to-apples comparability. Unsurprisingly, the odd weight switch feeling I had grown accustomed to was now gone, and the rear felt good and tight. If something, it felt higher than the entrance, however that was to be anticipated previous to an alignment.
What I wasn’t anticipating, however one thing that makes whole sense now, was an enchancment in gear shifts. Once I put in the CUBE Velocity brief shifter, I assumed that was one of the best it will ever be, however the automobile now shifts effortlessly and feels 10 instances higher with the geometry again in its designated place.
Now it’s time to maneuver onto the ultimate huge undertaking. Keep tuned.
Ron Celestine
Instagram: celestinephotography
[ad_2]
Source link